
There are so many fun and easy projects to make for Christmas. Check out a HTV on canvas with lights behind it Christmas sign plus a few more other ideas!
Hi Friends!! The holidays are creeping up on us which means Christmas projects! I just wrote a whole post on all the cool DIY Christmas decor and gifts that you can make with a Cricut.
I have a bunch more Cricut Christmas projects that I am working on and I will be sharing them all with you as I make them. First up is this easy DIY light up canvas wall decor.
You could do so many different designs to make it your own. This would also make a great gift too!


Materials for DIY Light Up Canvas Wall Decor
Disclosure: This post contains affiliate links from Amazon and/or Cricut.com. I receive a small commission at no cost to you when you make a purchase using my links (purple text).
- Canvas – I used an 11×14. I bought a two-pack here.
- Heat Transfer Vinyl
- Cricut Explore or another cutting machine
- Heat Press or iron – Click here to check out the one I have
- Fairy Lights
- Paint and paintbrush (optional)
Designing in Cricut Design Space
The first thing you need to do is decide on a design – this is the hardest part!!! The easiest thing to do is to google silhouettes. I googled “reindeer in tree silhouette” and a ton pop up.
Download one and upload it to Cricut Design Space. I also googled the Santa with reindeer png and uploaded that also.
This is what my CDS looked like. I put an 11×14 square behind it so I could decide how big I wanted it.

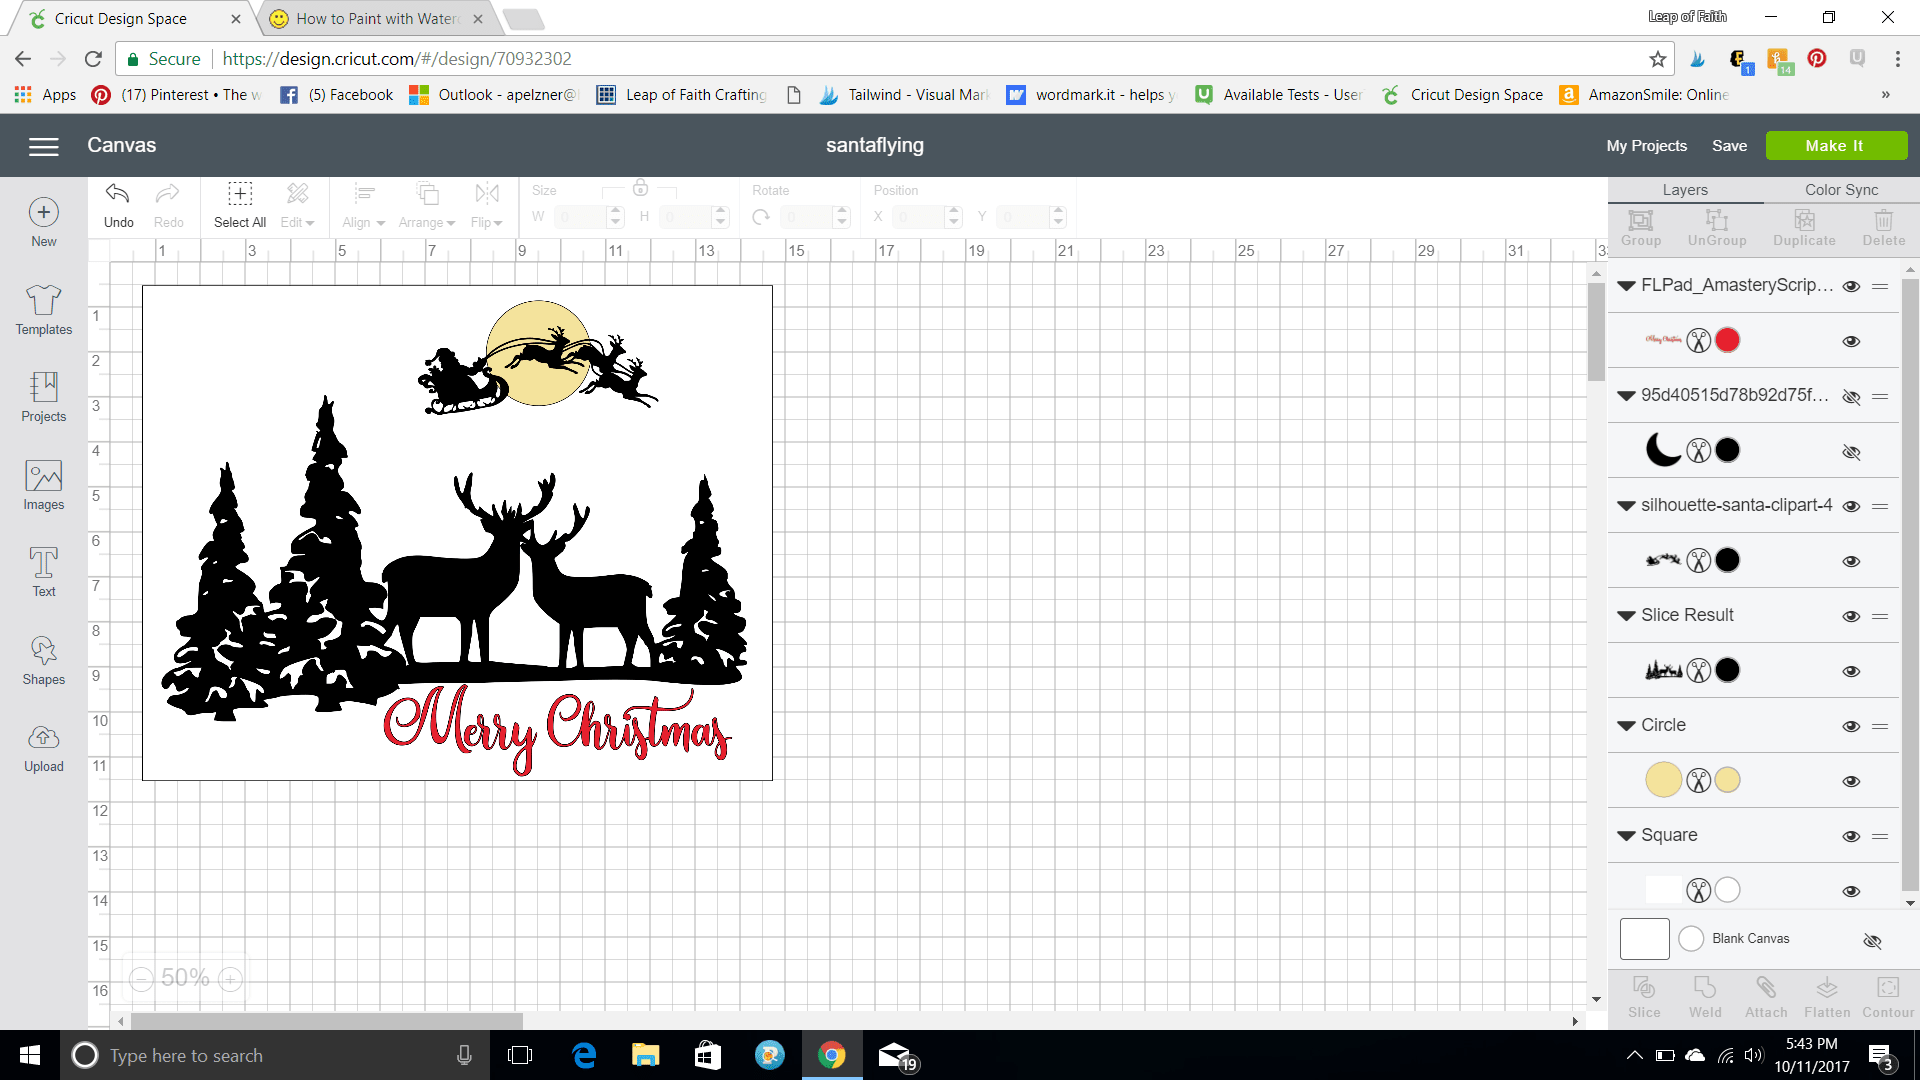
My first thought was to cut it out with freezer paper and use that as a stencil to paint. The lights will shine through paint but not vinyl.
I was having one of those bad freezer paper cutting days (ugh!) so I decided to go with heat transfer vinyl.
This file was perfect because of the white cut-outs of snow on the trees. I knew I would put the lights behind those spots.
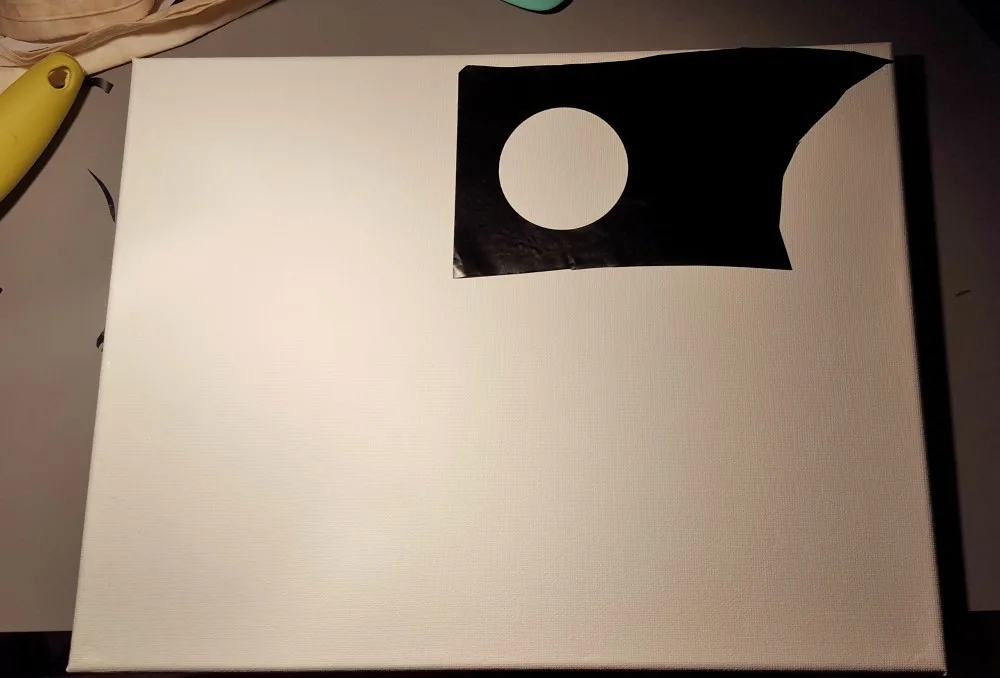
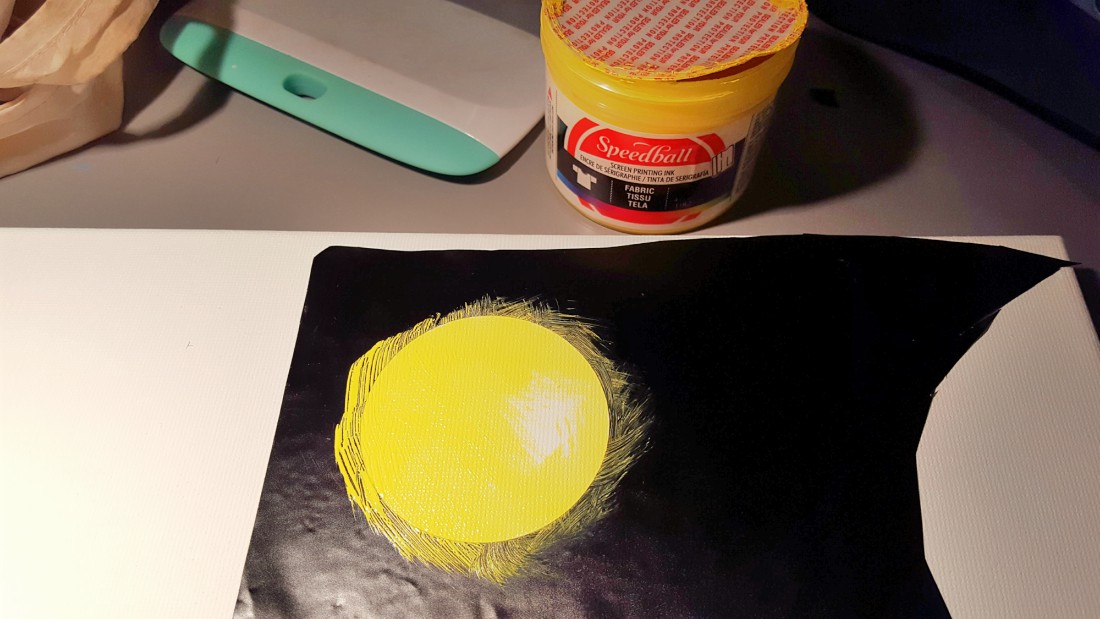
For the moon, I wanted some lights to shine through so I did paint that using some 631 vinyl as a stencil. I used this same method in my Halloween reverse canvas project.
For everything else, I mirrored the image and cut it with HTV.
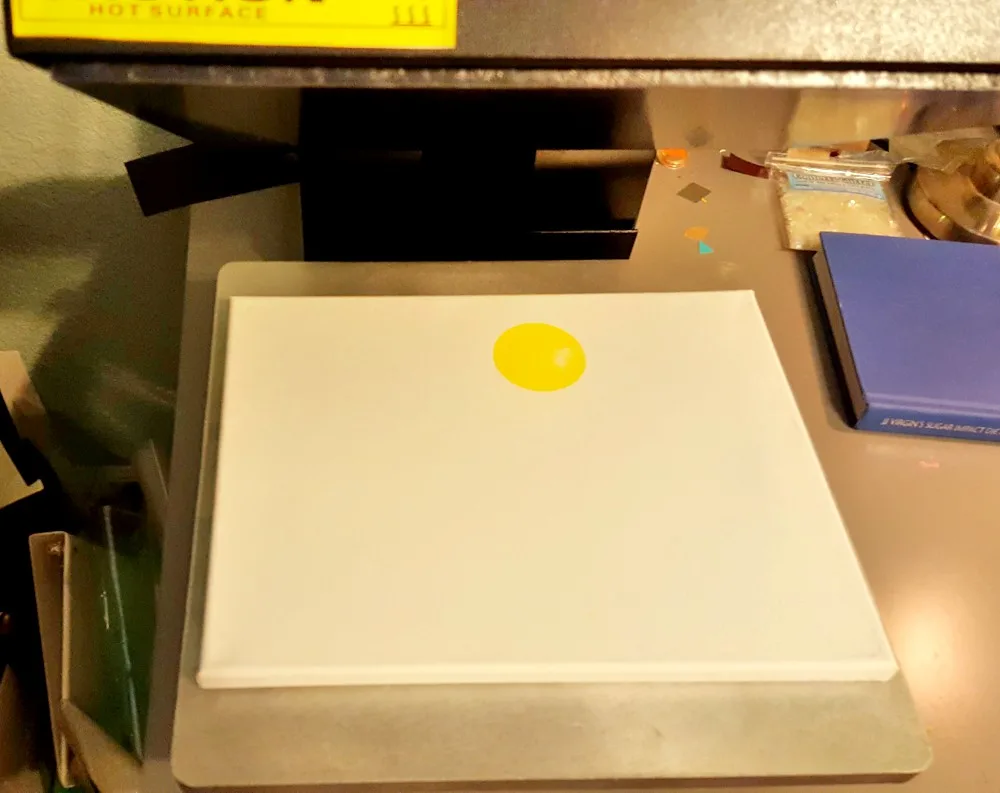
I laid it out on my canvas and decided where the moon should go. I applied the vinyl and blot painted the circle so it looked like it had texture. Peel off vinyl after you’re done painting.


Applying HTV to a Canvas
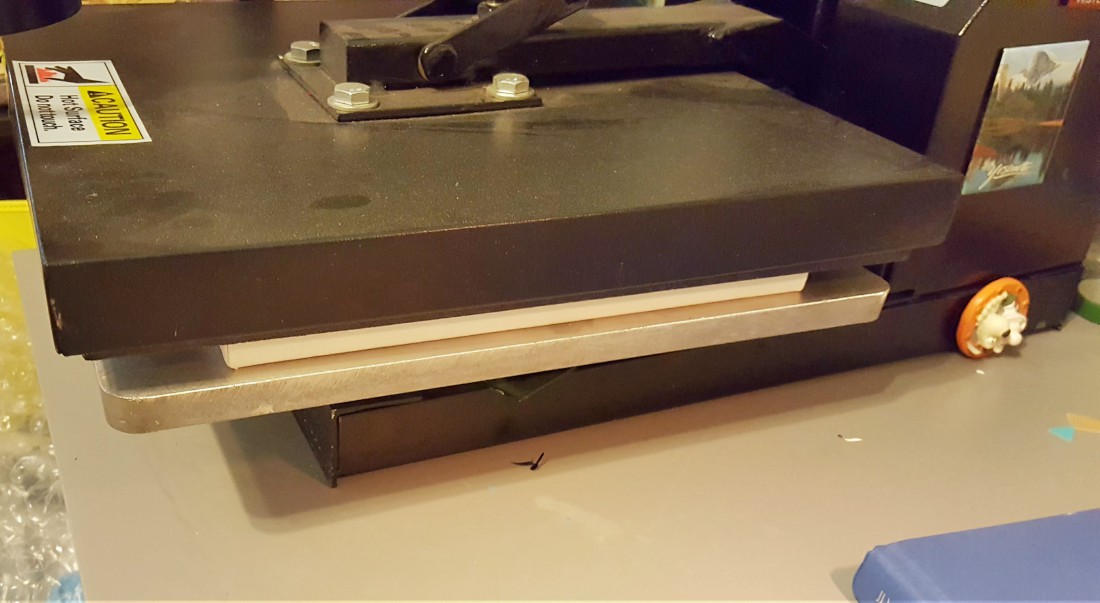
I used my heat press to apply the HTV but you could also use an iron.
I placed a large stack of 8×10 cardstock on the backside of the canvas or you can put a book there. This makes it have a hard service in the middle to push against.


Once the paint dried (I left it overnight), I placed the black layer of vinyl on the canvas where I wanted it.
I took the orange foam pad off the heat press and loosened my pressure so that the top could lay flat.
I played around quite a bit with the temperature since it didn’t stick the first few times I did it. For me, 345 – 350 degrees Fahrenheit worked the best.


I pressed it for 15- 20 seconds, peeled off the plastic, and then placed the red “Merry Christmas” vinyl on.
I covered the whole design with a Teflon sheet (or you could use parchment paper) and pressed again.
When the vinyl is on the edge, it was a little harder to adhere so I made sure the stack of paper was pushed up really tight against that side and pressed again.

You just have to make sure not to press it for too long or too many times so that the vinyl melts! If you have problems with the edges, you might want to break out your iron.
An EasyPress would be perfect for this project but I didn’t have one at the time!
You’re almost done!! I wanted the edges to look a little more finished so I painted black acrylic paint all around the sides. If you don’t care, you can skip this step.


Now onto the fairy lights behind the canvas… I got these inexpensive fairy lights (I got a pack since I knew I’d use them for other Cricut Christmas projects) on Amazon. Click here for lights.
Here’s the real technical part – I just used tape to add them to the back! From the backside of the canvas, I could see the open spaces and I twisted and turned the lights so they’d show in the openings and taped it down.


Then I found a cardboard box and cut a piece out that would fit in the backside to hold everything in. I taped the switch on the backside of the cardboard and I was done!
You could add some black cardstock over the cardboard if you want a real finished look.
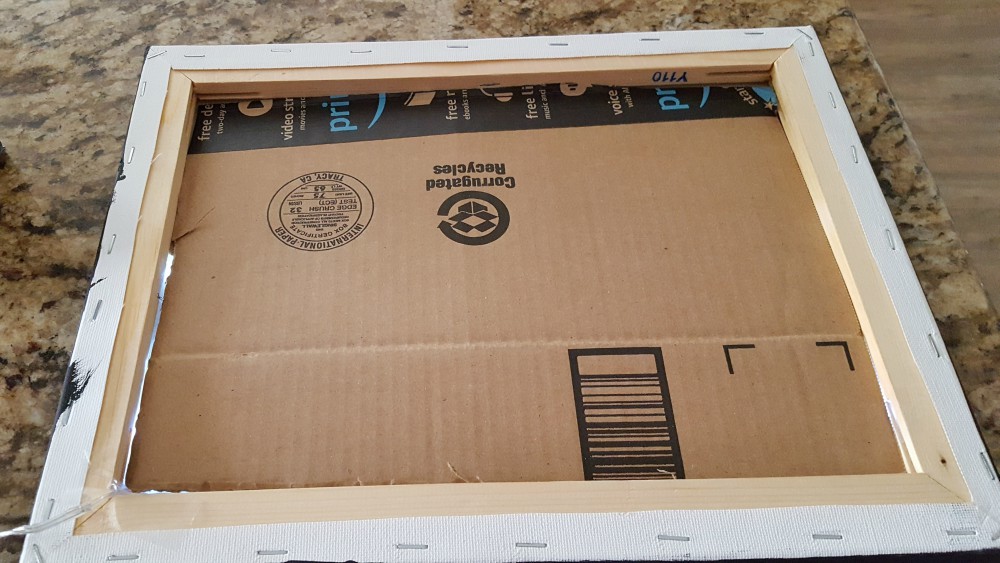
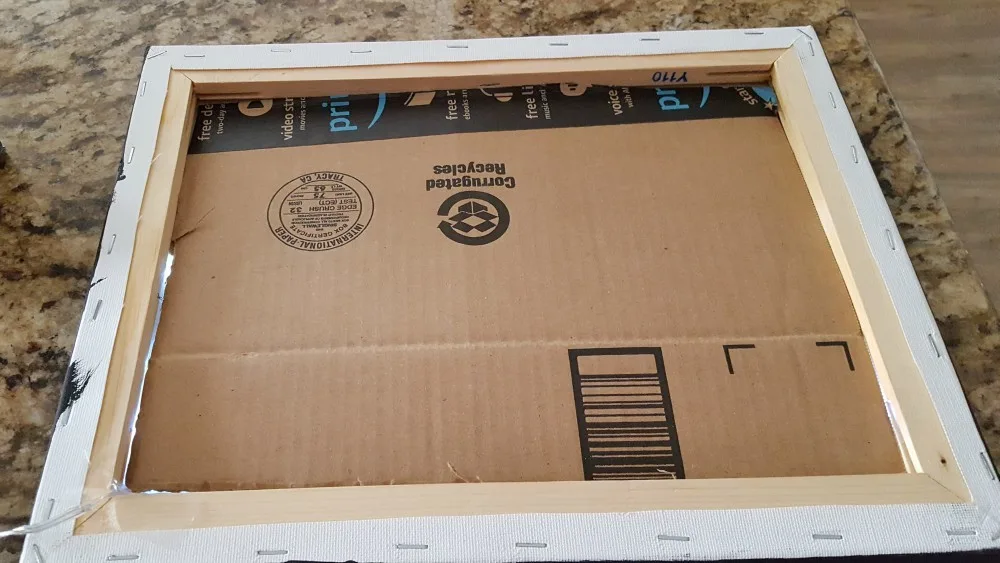
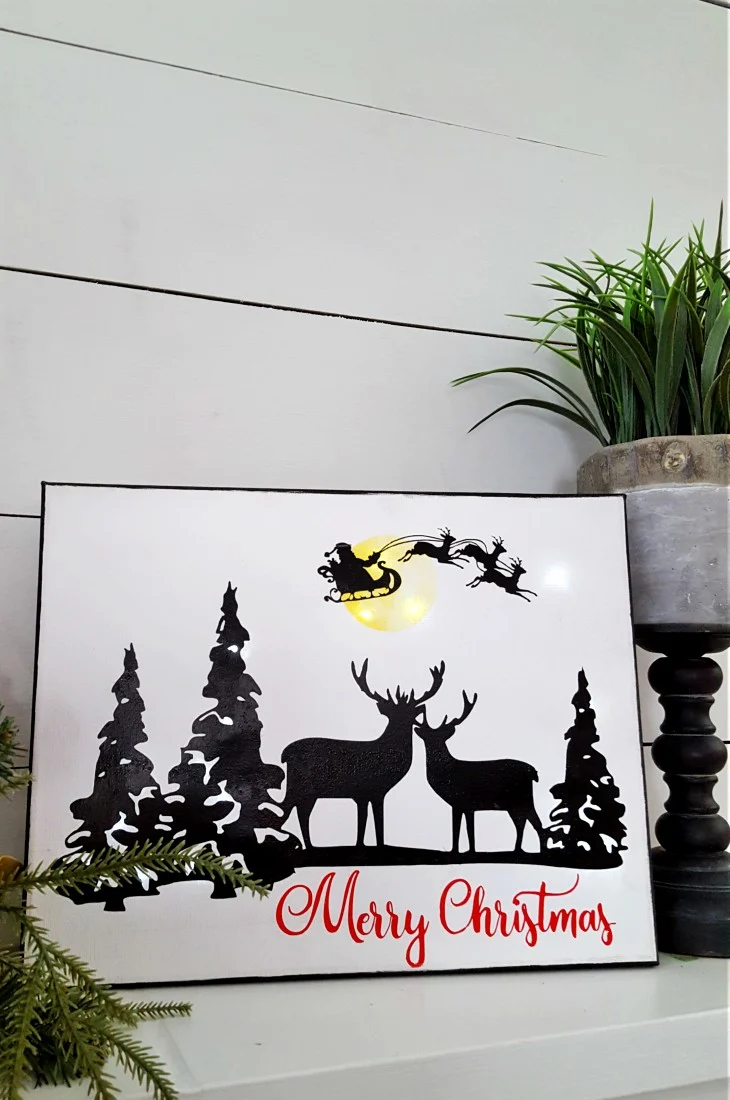
I figure since no one will see the back, why bother?? This is the final product!!
So fun! Wish I could take a better picture of it in the dark but my low light photography skills are a little lacking!


What design would you put on the canvas??


Make sure to browse through a bunch more amazing Cricut Christmas projects to get more inspiration!
Thanks so much for stopping by!


