Hi Friends!! I have a fun tutorial for you today!! Have you played around with the new patterned HTV vinyl (AKA iron-on) yet???
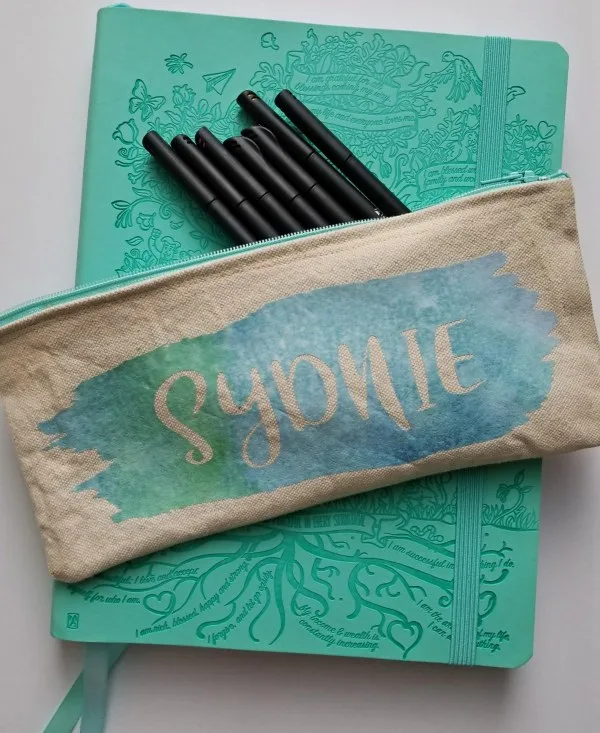
It’s so pretty and you can make some fun customized items with it. For my daughter’s 8th grade promotion, I gave her a new planner and some fun pens so I decided to make her a quick and easy canvas DIY pencil-case.
This really is super easy, with just some basic sewing skills.
Don’t let the zipper scare you! I have made some lined zipper pouches that I love but they are a little more complicated, so I thought I’d show you one that is really simple and cute!
Materials Needed for DIY Pencil Case with Patterned HTV vinyl
Disclosure: This post contains affiliate links from Amazon and/or Cricut.com. I receive a small commission at no cost to you when you make a purchase using my links.
- material – I had some canvas fabric so I used that. You only need about a 12×12 square.
- zipper – I used a 9 inch zipper (which is 10.5 inches total length with fabric ends) – you can get a whole set on Amazon here or from a craft store
- Cricut Maker or other cutting machine – I use my Cricut all the time. Find out all the great things you can do with it, in my ultimate guide of Cricut Ideas found here
- Patterned HTV vinyl or iron on – I used this Cricut iron-on found here!
- heat press or iron – this is the Heat Press I use and love!
- sewing machine & thread – this is the Brother sewing machine I use
How to Make a Cricut Pencil Case
You’ll want your fabric the total length of your zipper. As mentioned above, an actual 9 inch zipper is usually 10.5 inches long with the ends so that is how long you want your fabric.
The height can be whatever you want. I made mine 5 inches tall. I used my Cricut maker to cut out the canvas fabric but you can just cut it with scissors (I’m just not very good with cutting straight lines!!)
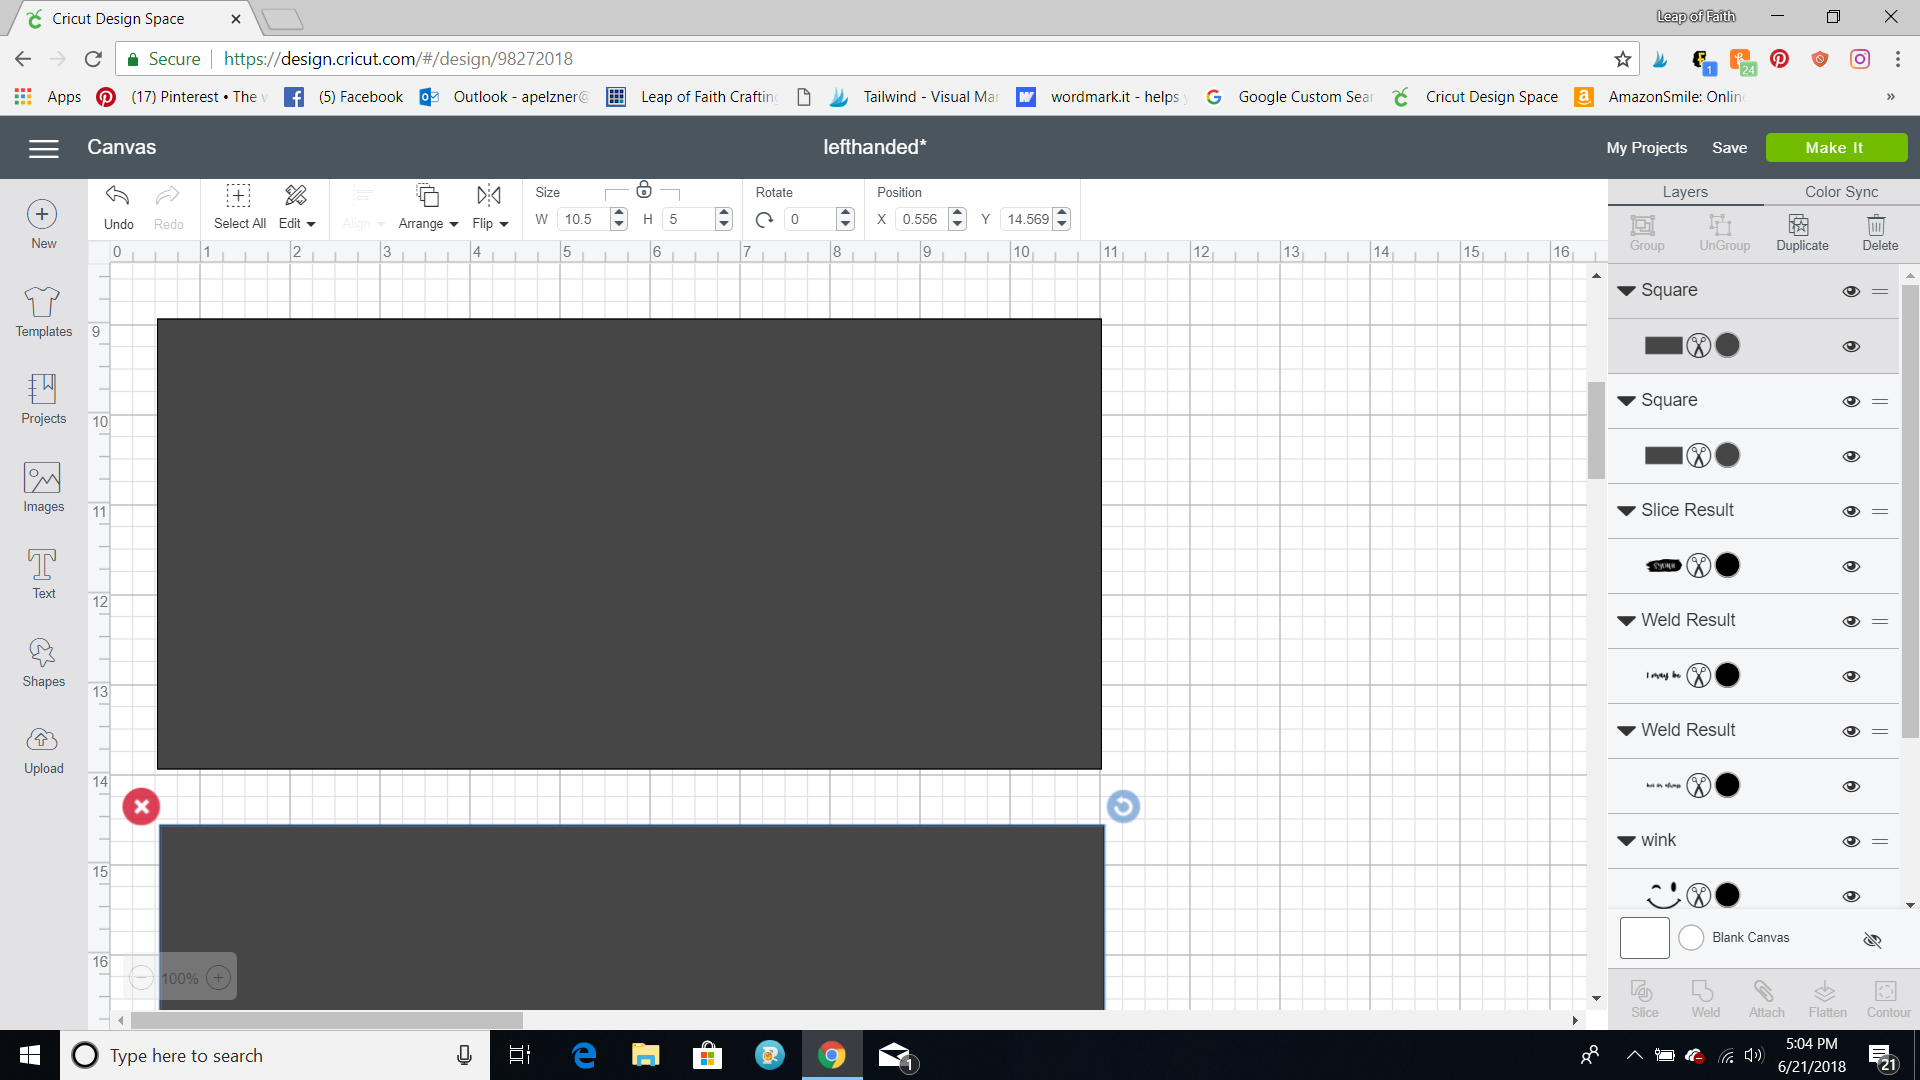
I just added two rectangles in CDS and made them 10.5 x 5 inches.
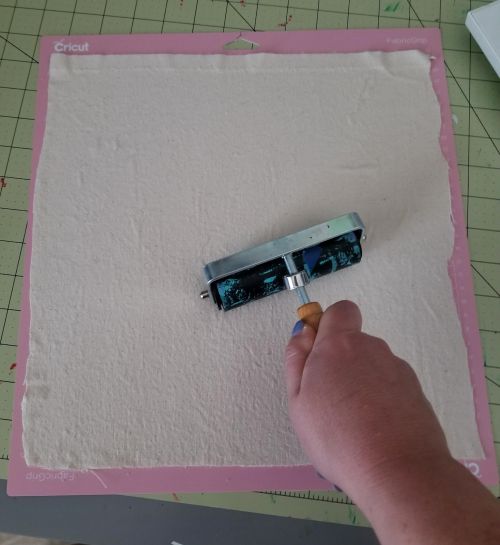
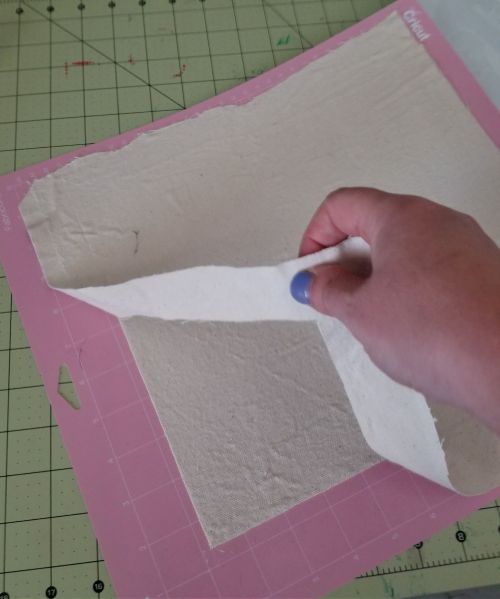
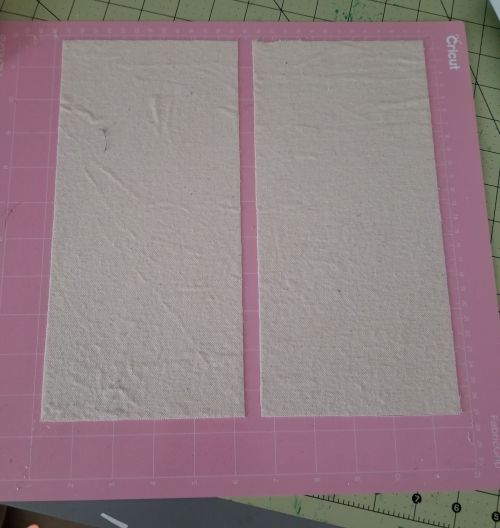
I put a 12×12 piece of fabric canvas on a fabric grip map, pressed it down with a brayer, and cut it out using the rotary blade on the canvas setting.
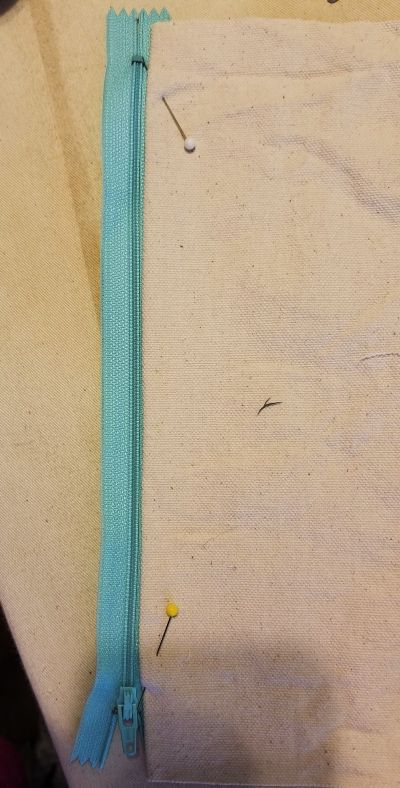
I was going super simple on attaching the zipper so I just pressed down about 1/2 inch at top of each rectangle (match to width of fabric on side of zipper) and pinned right sides next to each other.
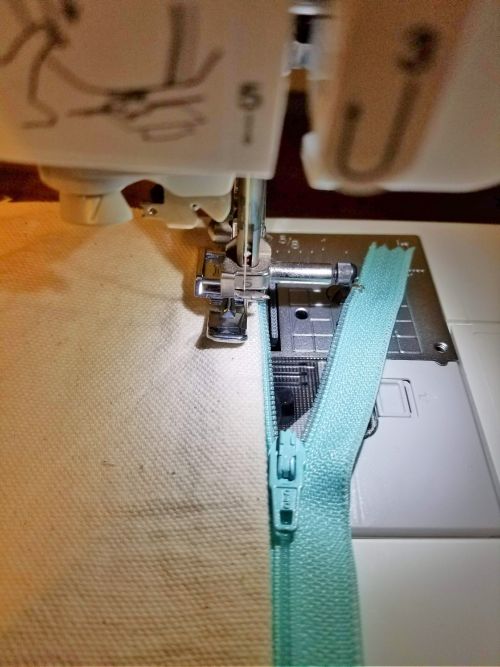
Then using my zipper foot I sewed a simple line stitch down the length of the zipper and then added a second line stitch parallel to the first about 2 mm apart.
The pressed seam is face down.
Then I did the same thing with other side.
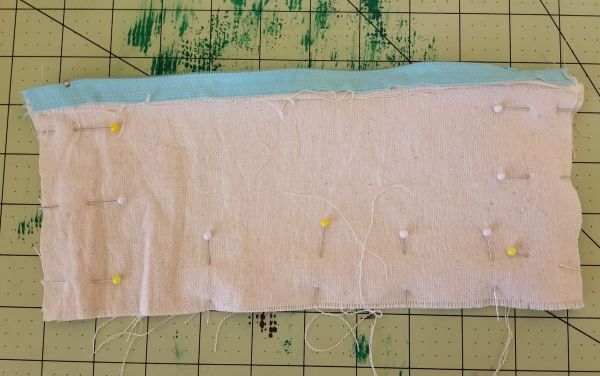
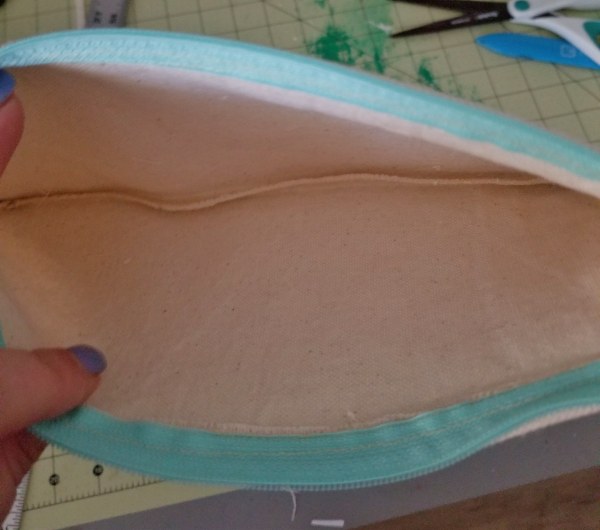
OPEN the zipper!!! Now face the right sides together and pin around the three sides.
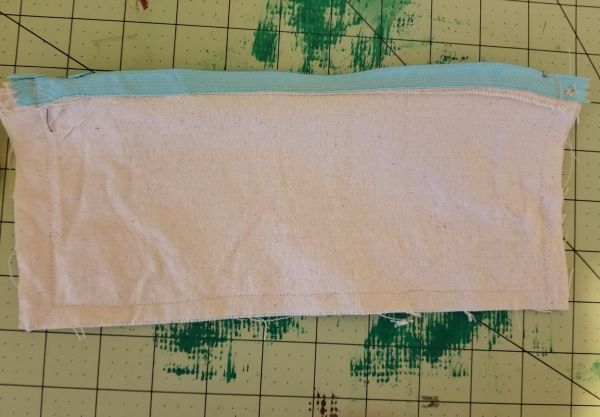
Stitch around all three sides with about a 3/8 inch seam allowance lifting your presser foot at the corners and turning the fabric about 3/8 inch from edge.
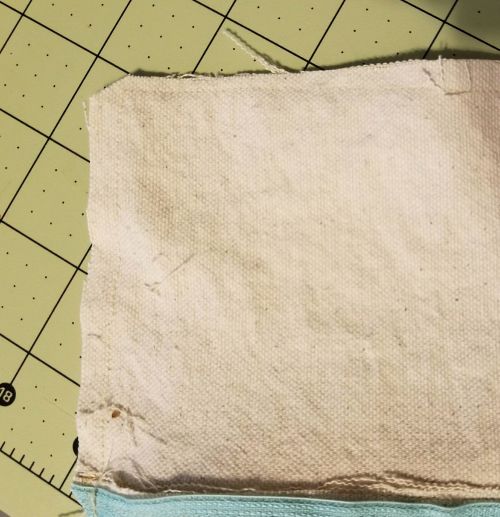
Trim the sides and cut corners diagonally close to stitch so that the corners will not be bulky.
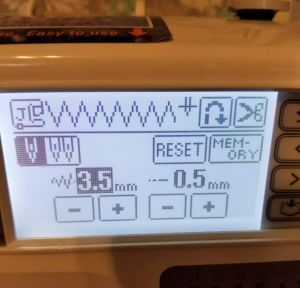
This is an optional step. If you want to cover the edges, do a zig zag stitch all the away around. Cut all the stray thread.
The canvas will unravel some at the edges and will stop where the stitching is. Trim off some of the extra canvas material under the zipper flap if need be.
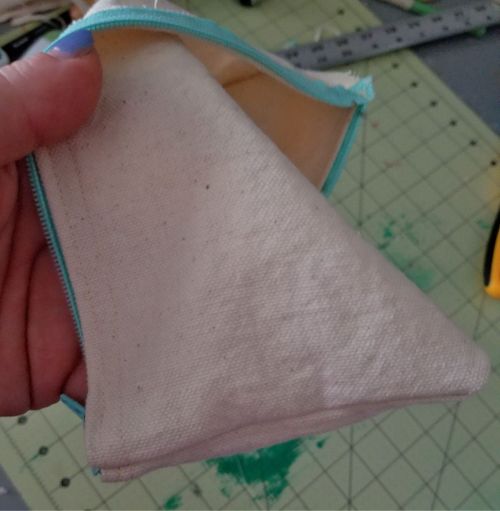
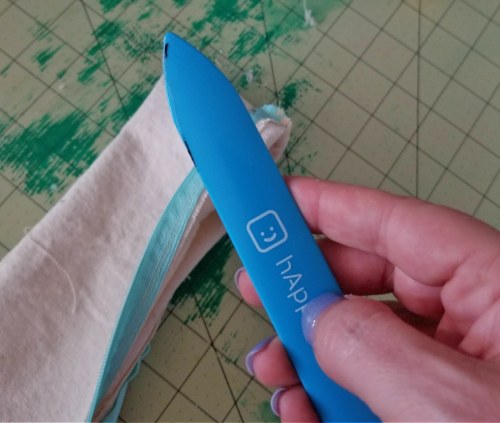
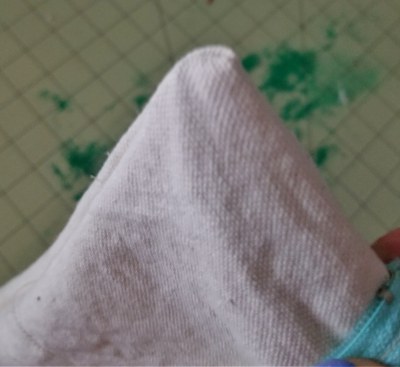
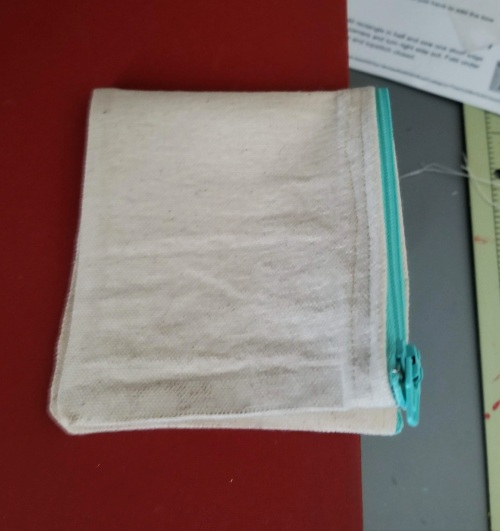
Now you are going to turn the zipper pouch right-side out. Put your hand in the zipper opening and pull out the corners.
Use something (not pokey scissors!) to push the corners out so that it’s a flat rectangle. Iron it flat.
Customizing a Cricut Zipper Pouch
That’s it for the zipper pencil-case part. Now, let’s personalize it with some patterned HTV vinyl!
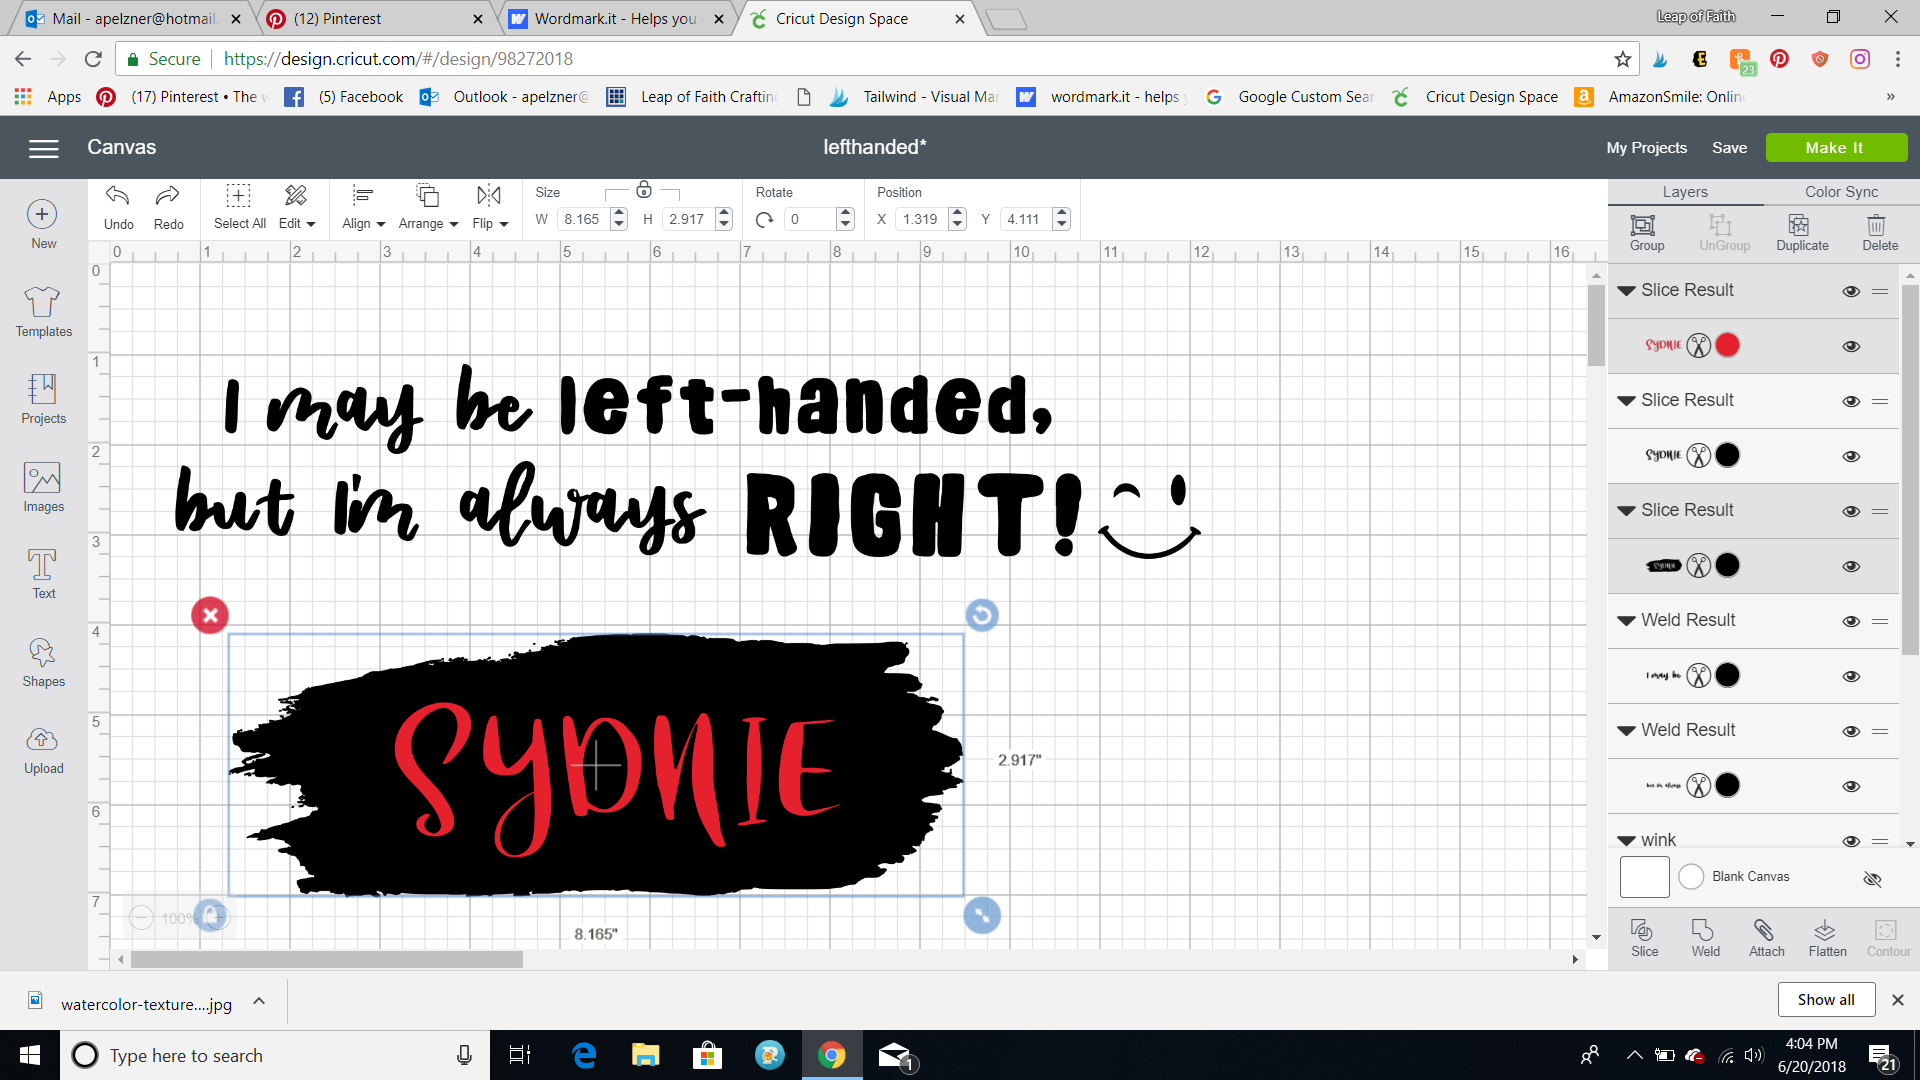
Design whatever cut you want in Cricut Design Space. I uploaded a watercolor splash, saved it to cut, and sliced out my daughter’s name.
Align the name text over the splash image, click on both of them, and then click on the slice tool in the lower right corner.
Click on the name and pull both cuts off and delete them.
Now you are left with a sliced out image.
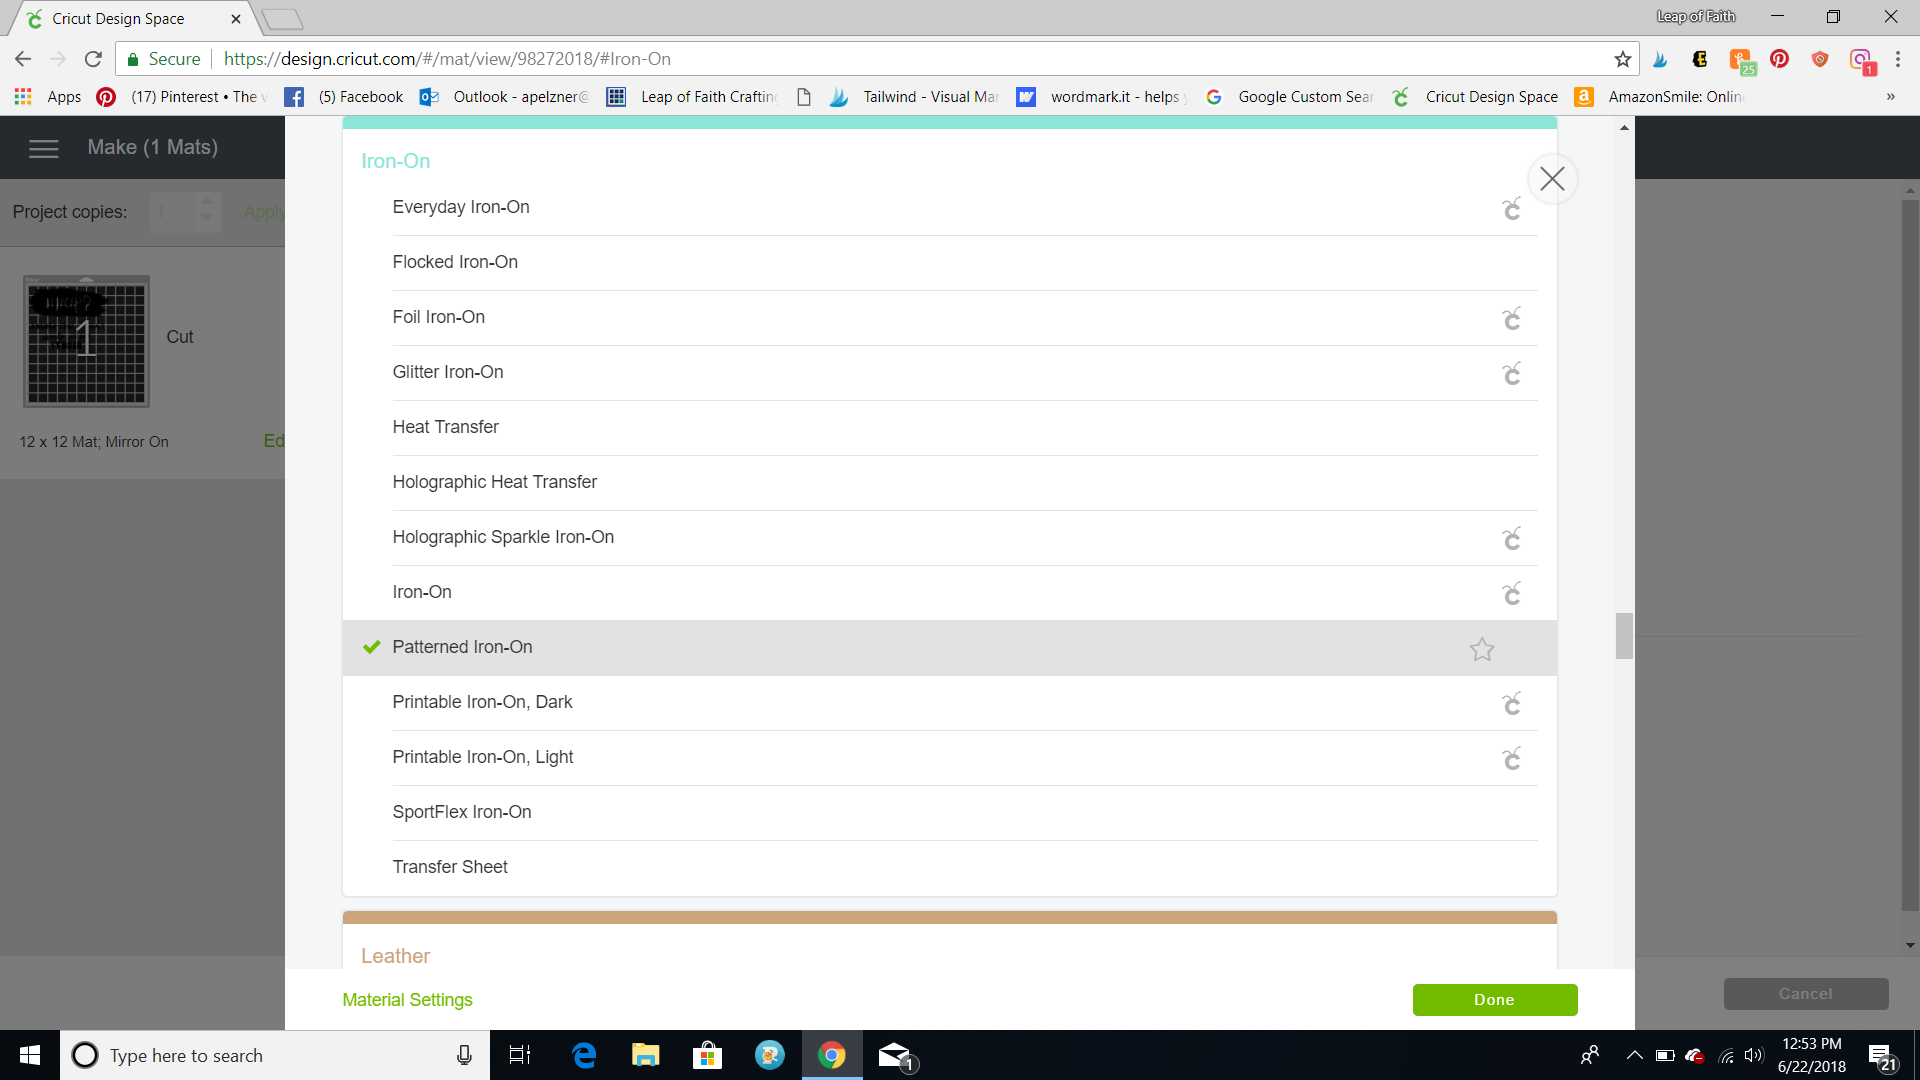
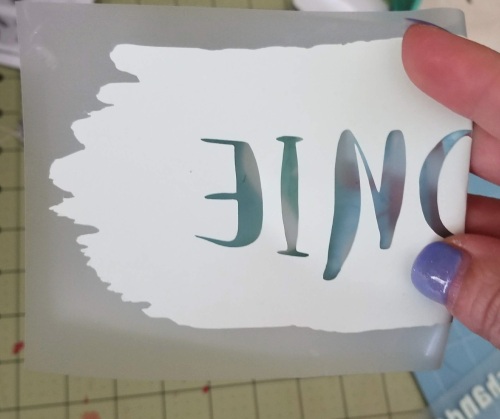
Click make it. Click mirror button. Then set cut on patterned iron-on.
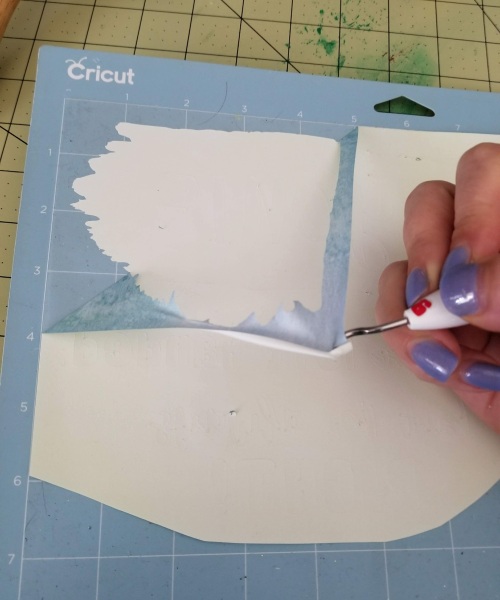
Place the colored side down, cut it, and then weed out the extra vinyl.
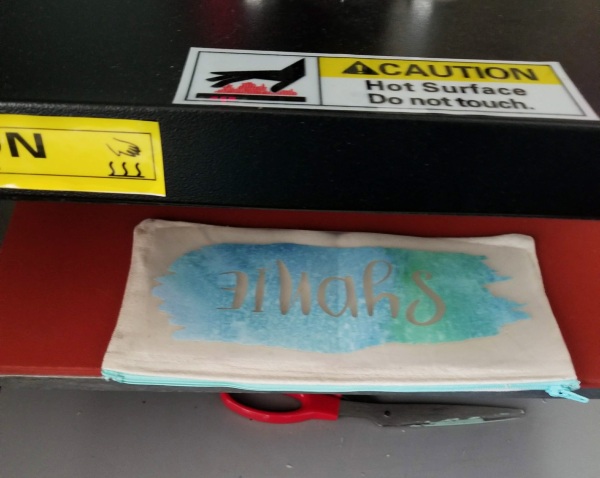
I use a heat press but you could also use an iron or an EasyPress (find printable EasyPress heat settings here). If you want to learn about the heat press I use and watch a video on how to use it click here!
I set the temp to 300, let it warm up, press the pouch to get the moisture out and then fold it in half and press again to get center line crease.
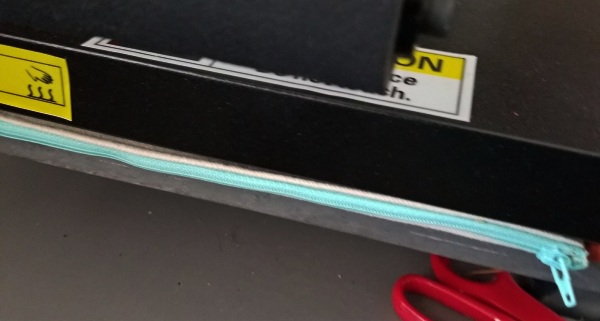
I also fold the patterned htv vinyl in half to get the center. Match the two up and press for 15 seconds. (I laid the pouch on the side so the zipper was hanging off the edge).
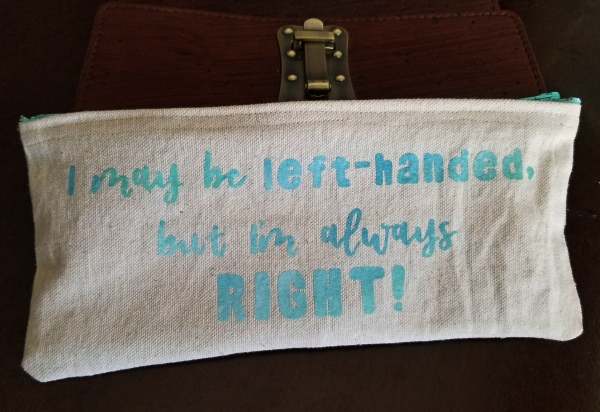
Remove the plastic backing. You can press again with a teflon sheet. If you have something for the other side, then flip it over and press on the wording on.
I like to remove the backing and press it one more time with a teflon sheet for about 20 seconds to make sure it’s nice and adhered!
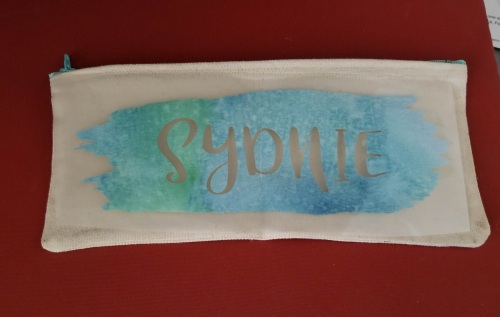
There you have it!! I love the look of this patterned HTV vinyl by Cricut! What would you make with it??
Thanks so much for stopping by!! Have a creative day!


