Make your own DIY fabric Disney tumbler! If you are a Disney fan or know a Disney fan, this would be a great gift! Grab some fabric, mod podge, and epoxy and get to work!
Hi Friends!! Are you a Disney fan?? Anything Disney related just makes me happy! I’ve made a lot of Disney shirts in the past but I decided to try my hand at something new.
Walt Disney really knew what he was doing when he created the iconic characters. I decided I needed to have a Disney tumbler and since y’all know that I love making DIY stainless steel mugs, I thought I’d show you a new way to make one!

The secret to this one is using fabric!! Of course, I had to add some glitter to it by using ribbon and a glitter vinyl monogram, but fabric is an easy way to get a lot of images on a mug.
Plus you really don’t need to monogram the mug, so if you don’t have a cutting machine, you can just have a pretty DIY fabric tumbler!
Materials Needed for Fabric Disney Tumbler
Disclosure: This post may contain affiliate links from Amazon, Walmart and/or Cricut. I receive a small commission at no cost to you when you make a purchase using my links.
- stainless steel tumbler – I like Ozark tumblers. You can find them on Amazon here
- fabric – I got this cute Minnie Mouse fabric at Joann’s in the remnants section!
- Mod podge
- Epoxy – I use Alumilite found here
- Red spray paint (optional)
- Cricut and vinyl (optional)
How to Apply Fabric to a Tumbler
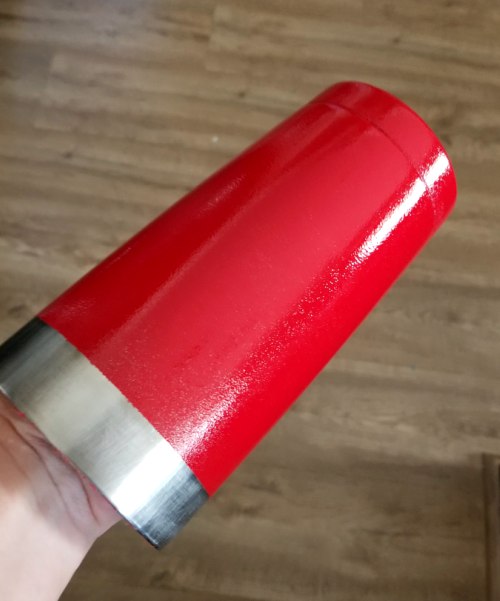
The first thing I always do is tape off the top and spray paint my tumblers. This is an optional step with fabric, depending on how light your fabric is and if you’ll be able to see through it. To watch a video on how I spray paint my tumblers click here!
There are different ways to apply fabric to a tumbler. I found it easiest to make a template with scrap fabric. I taped a piece of fabric to my mug and wrapped it around and taped it down.

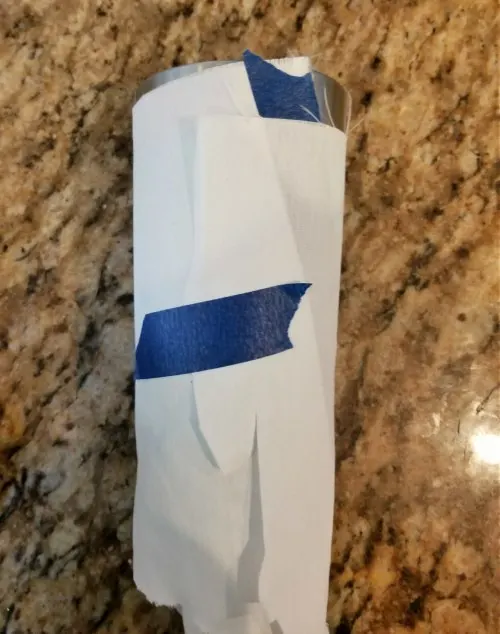
Then I used blue tape to make my cut lines. I applied the blue tape to the bottom of the fabric where the end of the mug was. I also applied it to the top where the rim was.
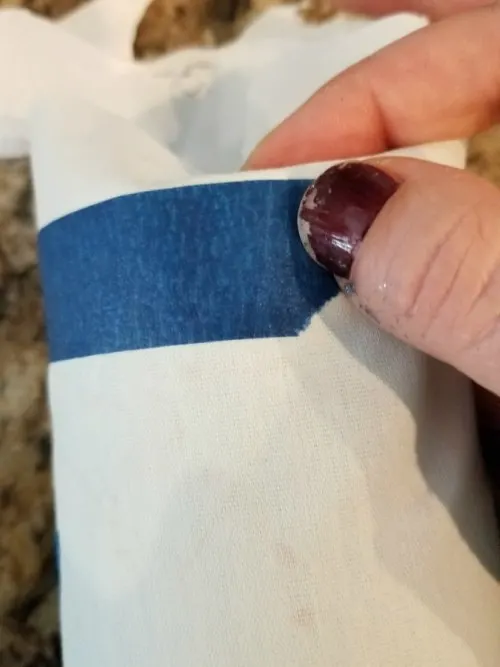
Just fold the fabric over the rim and apply the tape like you were applying it to the mug to tape it off for painting it.
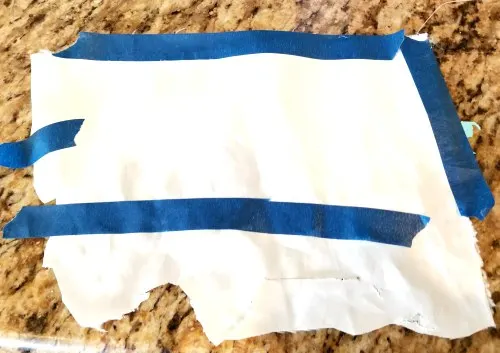
Then when you take the fabric off, you’ll have where you need to cut it. For the top rim, I cut under the blue tape. For the bottom, I cut on top of the tape (you’ll see the tape is still on the template. That’s how I knew it was the bottom!)
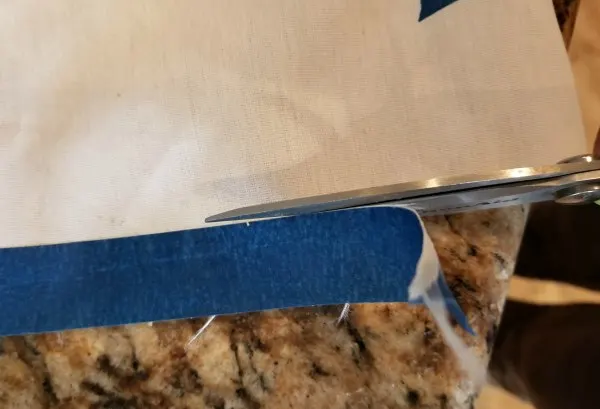

So now the fabric should be the right height for your tumbler. I left a little overlap on the back side. I’ll cut the rest of it off later!
Place the template on your fabric and cut it out. If the fabric is pretty busy, the overlap will be less noticeable. I knew I was going to put a decal over my overlap so I wasn’t overly concerned with how it looked.
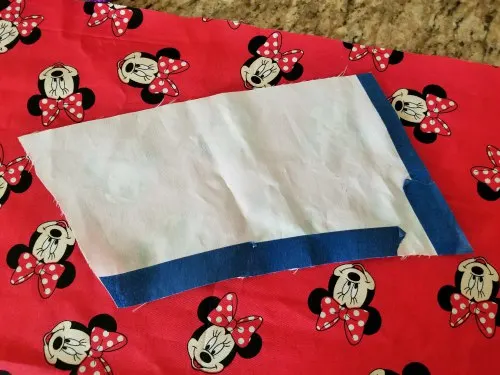
I tried to position my template so that I wouldn’t have too many cut off Minnie heads at the overlap.
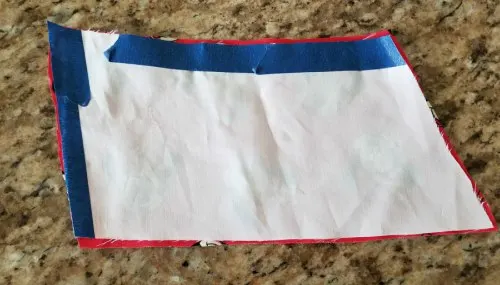
Tape off the top of the tumbler and apply mod podge in long smooth strokes to entire mug. You’ll want a fair amount.

The places under the fabric where you don’t get enough mod podge will turn dark once you add the epoxy. I have a few dark spots but they aren’t really noticeable!

Now you are going to add your fabric. Put down one side and smooth it down as go all the way around the mug.
It will move a little so you can adjust it until it’s pretty straight. The trickiest part is where the fabric meets!
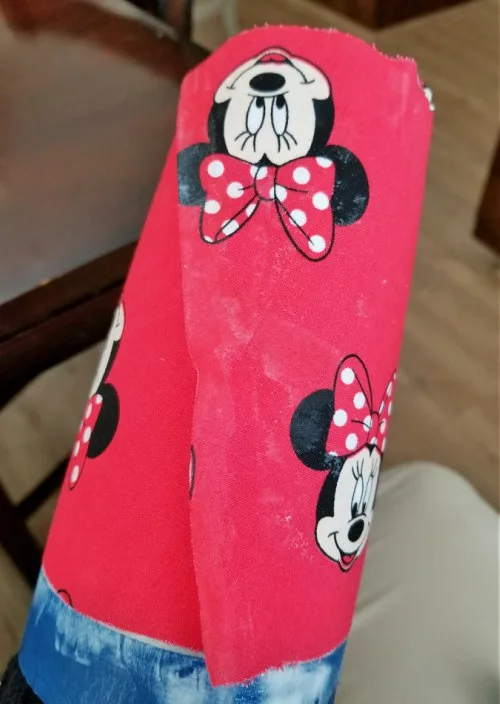
I put a good amount of mod podge under the fabric and then I applied mod podge on the top of the fabric where it overlapped. (Trim some off if you have a lot!)


You’ll notice the top and bottom have rough edges. I knew I was putting on ribbon around those edges so I wasn’t worried about it. If you are not adding ribbon, it’s best to add mod podge to the edges and let it dry before you stick it on the mug.
This will prevent the edges from unraveling. There are some videos on YouTube that show you a few different ways of working with the edges and overlap too, just search for DIY fabric tumbler.
Again, I planned on putting a vinyl decal on the backside where the fabric meets so I wasn’t overly concerned with how straight my line was. Once the mod podge dried a little, I folded back the overlapping edge so that it was even with the other edge.
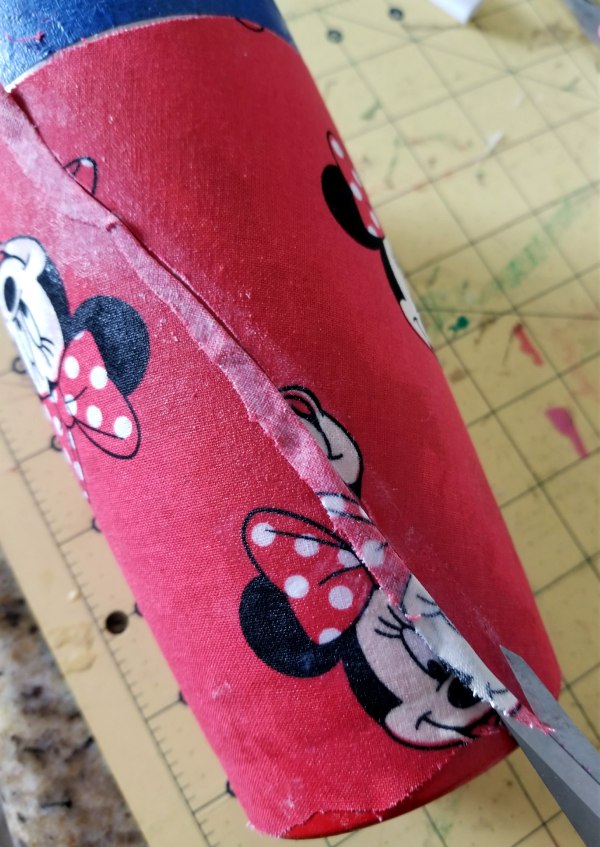
Use some sharp scissors, and trim that folded part off. Then add some more mod podge to glue it down.
Remove the tape. For the rims, I applied mod podge and then a glitter ribbon on top of it. Wipe away any extra mod podge with a paper towel or wipe.
The top rim worked perfectly. The bottom edge was a bit harder since it tapered so much and the ribbon didn’t lay completely flat. Next time I probably wouldn’t add ribbon to the bottom.
I would make sure to cut the fabric really straight and add the mod podge to the edges so it wouldn’t fray!!
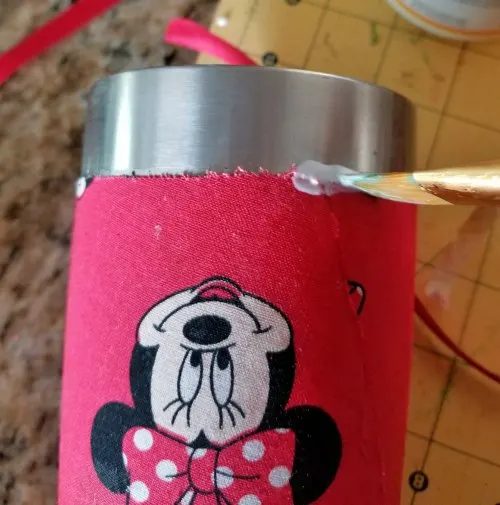


I let everything dry overnight, re-applied tape and then I applied a layer of mod podge over the top of the fabric and ribbon. Remove the tape before it completely dries and you can’t get it off!
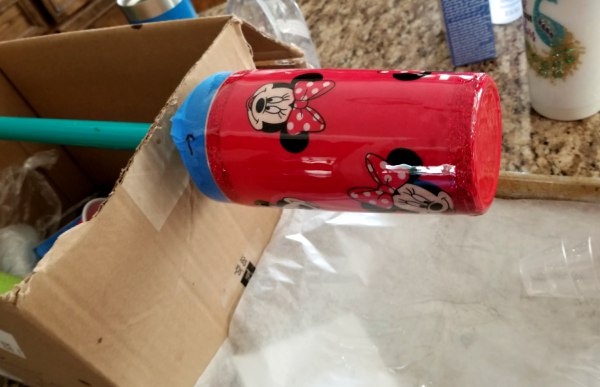
Once that dries for 24 hours or so, it’s time to epoxy! Make sure you get the epoxy around the ribbon crevices on the bottom. To check out my video tutorial on how I apply the epoxy click here.
The day after I applied the first coat of epoxy, I applied my vinyl decals. I have a video on how I apply vinyl to a tumbler if you’d like to watch it.
I designed the monogram font letter in Cricut Design Space using Disney font cartridge and added my name with Waltograph font (can download on dafont). Make sure to check out how to find Disney fonts to use in Cricut Design Space that are free.
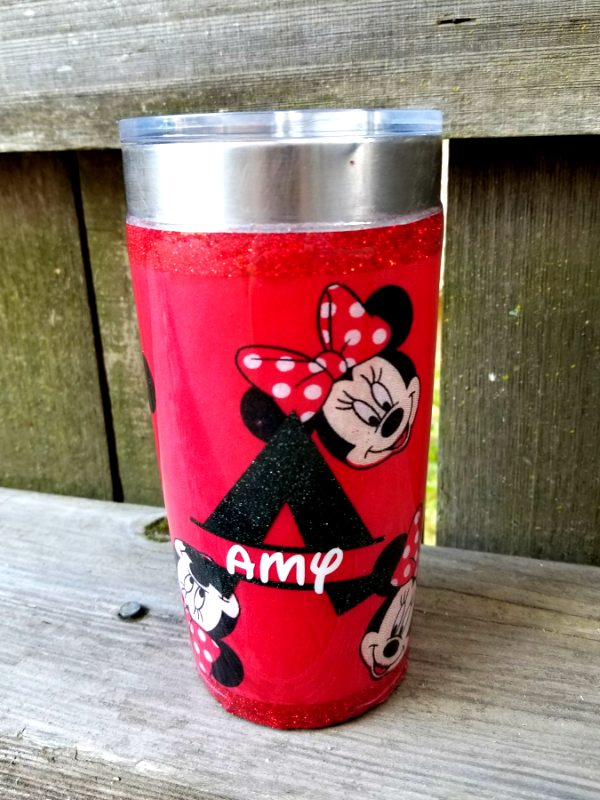
On the backside, I added a cute Tinkerbell decal that I had uploaded from google images. Then add another layer of epoxy and you’re done with a Disney tumbler!
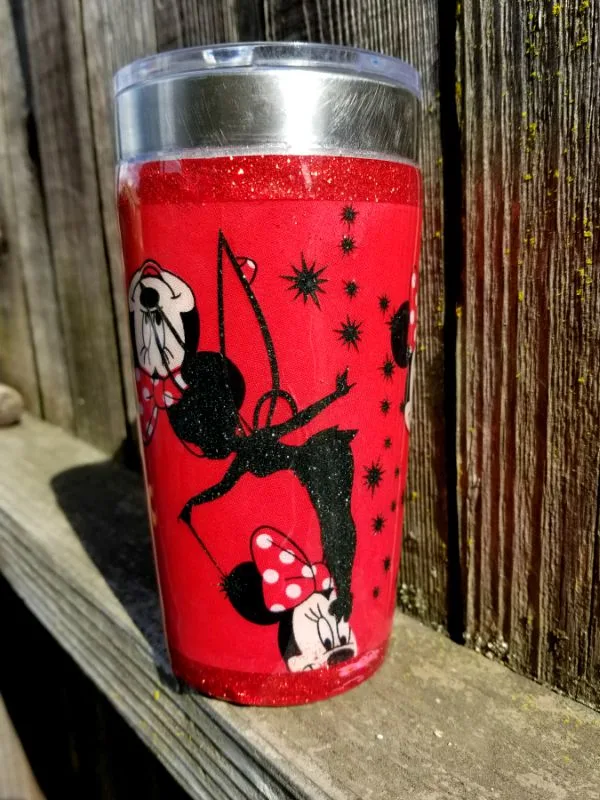
You can’t even see the seam except where part of Minnie’s face is missing at the very bottom;)
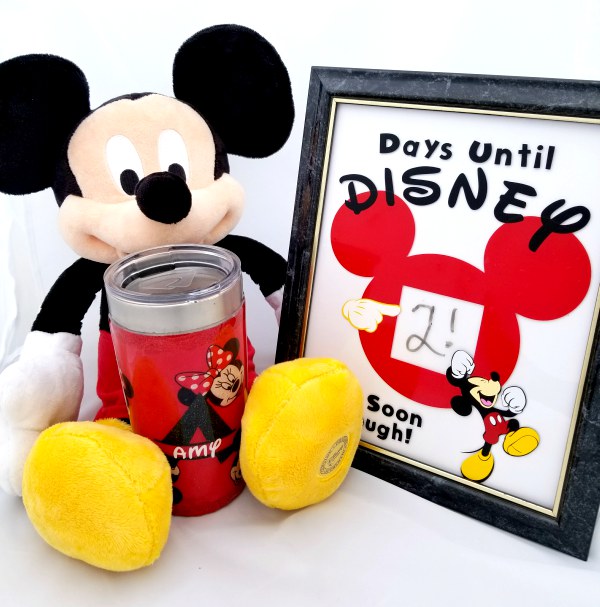
Are you going to Disney soon?? Make sure you check out how to make this easy Disney countdown sign.
If you are planning a trip to Disney or anywhere, a great company to plan your vacation through is Get Away Today!! Click here to check out all their great offers and just for being my reader, I have a $10 OFF discount code for you!! Use faith10 to save $10 off any Southern California Vacation Package (Hotel and 2 ticket minimum purchase to qualify for the discount). Saving money is always good!!
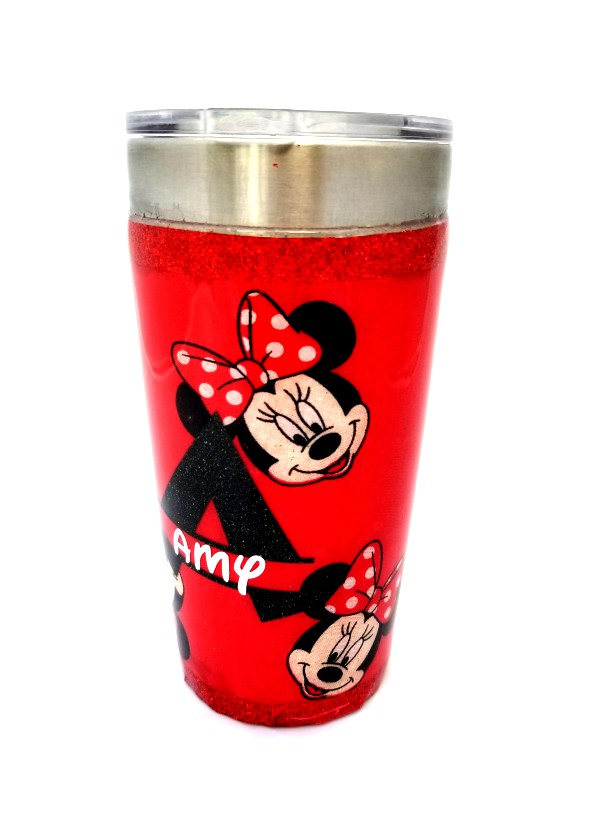
If you’d like to check out my list of all sorts of different ways to decorate a yeti or tumbler click here!
If you’d like to save this fabric tumbler tutorial for later, you can PIN it now if you’d like!
Thanks so much for stopping by and have a creative day!




Sandra
Thursday 29th of November 2018
Can you use paper on the cups ?
Leap of Faith Crafting
Friday 30th of November 2018
Hi Sandra, I've actually never tried! I would think it would be possible if you put mod podge down first and then put it again on the top after it was completely dry. But I think the paper would be very difficult to get flat without wrinkles. That is just my guess, however, it might work! Now you have me curious to try it!
Jen
Saturday 17th of November 2018
Hi Amy! Thank you for all of your wonderful Tutorials! I have a quick question... I made my first glittered tumbler a couple days ago using glitter and finishing up with epoxy. My edge at the top is rough and not that crisp & clean” looking. I had my painters tape on perfectly straight. I just wondered if you had any advice on how to keep it more sharp looking? I want to make some for Christmas gifts and don’t want them to look rough. Lol 😳😊
Leap of Faith Crafting
Tuesday 20th of November 2018
Hi Jen, that edge is tricky! It definitely gets better as you do more. My first couple were not ideal either. The timing of taking the tape off during the epoxy steps is what makes or breaks that line. Doing it too early can cause the epoxy to still move up a little and too late can cause the nicks and the tape to stick. I think it also depends on the temperature of where you are doing it. The epoxy takes longer to set when it's cold, so you might have to wait over an hour to take the tape off. I usually take mine off somewhere between 45 minutes to 80 minutes. I have found that tea tree oil on a qtip can help clean some off of the edges. Hope that all makes sense! Good luck!
Mrs Major Hoff
Wednesday 2nd of May 2018
Cute idea!
Leap of Faith Crafting
Tuesday 8th of May 2018
Thank you!