
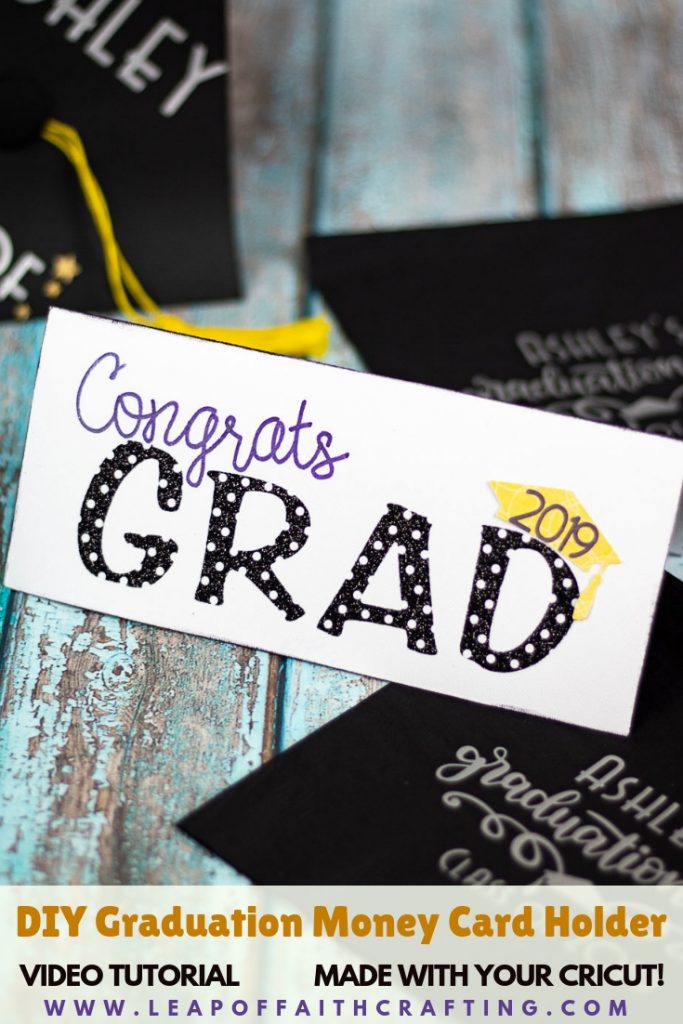
Make a cute money holder graduation card DIY style with some help from a Cricut.
Can you believe it’s almost the end of the school year? For some, it’s a bigger life moment than others. There will be a lot of students graduating and moving on to a new phase of their lives.
You might be celebrating one of these soon to be graduates and wondering what on Earth you should be gifting them. For the majority of grads, I would gander that cold hard cash is the best way to go!
I know it seems impersonal and I get it. It’s hard for me to just give money too. I usually will make something little and add money inside!

But if you are like me, I always have to give money in something cute too. If you are wanting to make a graduation card DIY style, you are in the right place!
I made one that is super quick to whip up if you have a cutting machine.
But if you don’t, do not worry! I also made free printable graduation cards that look the same and all you need to do is print, cut, and glue.
If you are throwing a party for a grad, make sure to check out my DIY graduation party ideas and graduation ceremony ideas.
I have printable directions at the bottom and a full video tutorial explaining all the steps, so make sure to watch that!
Materials Needed for Handmade Graduation Cards
Disclosure: This post contains affiliate links from Amazon and/or Cricut.com. I receive a small commission at no cost to you when you make a purchase using my links (purple text).
There are a few options when making this graduation money card holder. You can use all cardstock and just glue them together.
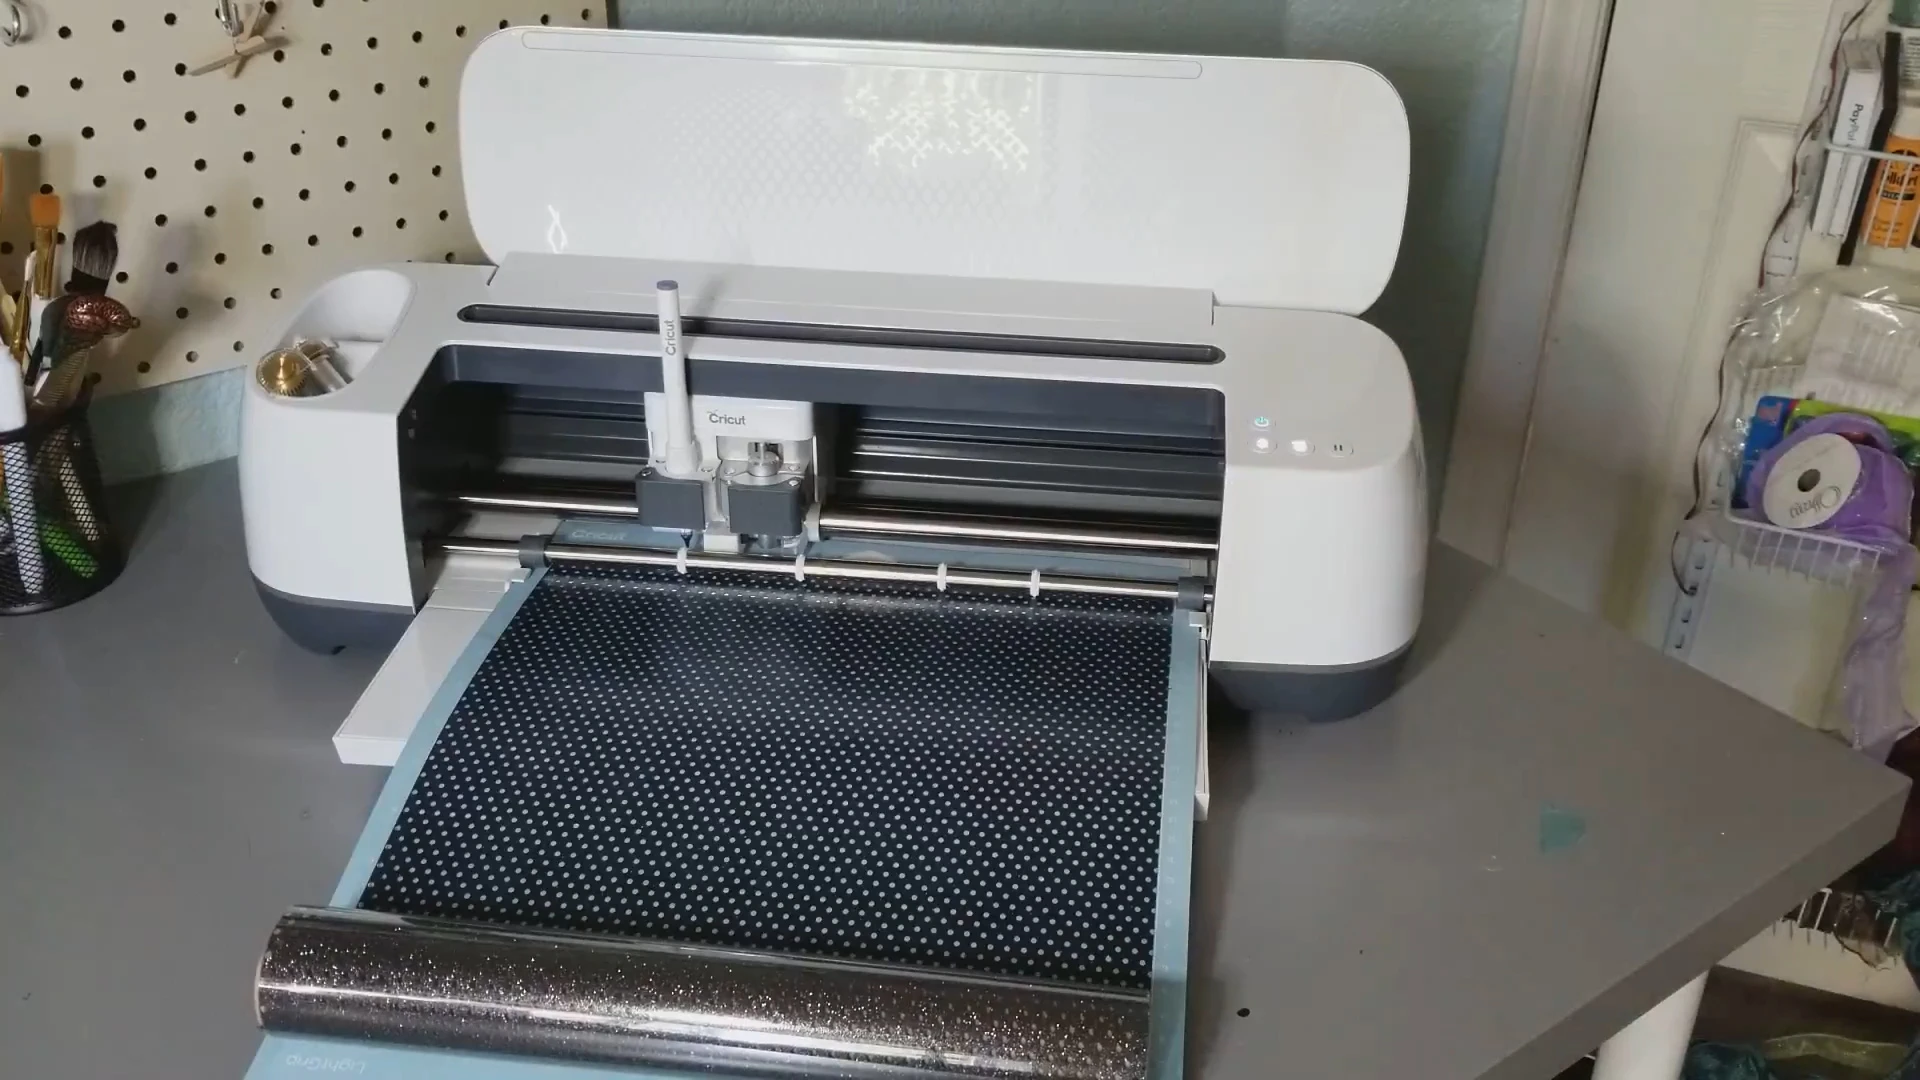
I had just received a glitter mesh iron-on vinyl from Cricut and I really wanted to try it out and I am so glad I did. The end result was so cute and easy!
- cardstock – I used white and dark grey Cricut cardstock and some other scraps
- Cricut cutting machine with a scoring wheel – always check prices between Cricut.com and Amazon (click links to compare!)
- Cricut gel pen
- glue stick
- iron-on vinyl (optional) – I used Cricut glitter mesh
- EasyPress 2 (optional) and mat
- stamp pad and dauber (optional)
Graduation Card DIY Tutorial
You can find this file in Cricut Design Space here. If you’d like to customize it further by adding a name or changing the year, click customize on the bottom.


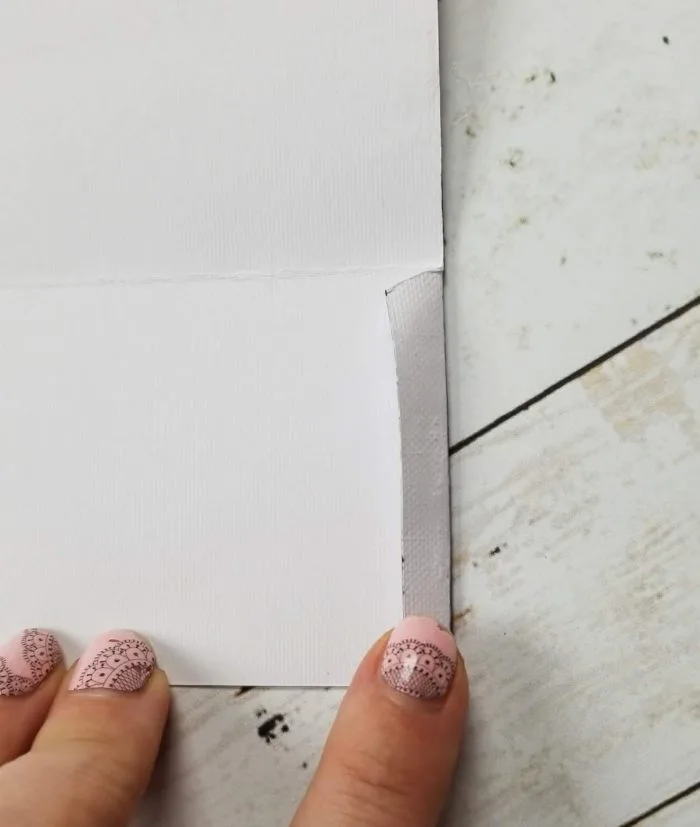
Cut all of your materials out. The first cutting mat it had me cut out was the large white cardstock.
Set the material to cardstock. The Cricut screen will prompt you to insert a scoring wheel and pen into the pen holder.


When it’s done with the scoring wheel, the Cricut will stop, the go light will start blinking white, and the screen will tell you to remove the scoring wheel and insert the cutting blade.

Once you have changed the blades, push the white flashing light on your machine for it to continue.


Cut out the rest of your materials by placing on a Cricut mat.

Applying Iron-on Vinyl to the DIY Graduation Card
Skip this section if using all cardstock!

If you are using iron-on like I am, make sure to click on the mirror setting in the preview screen and place the plastic backing/shiny side face down on your mat. Weed off the extra iron-on vinyl.

If you need extra help with this step, make sure to read my cutting HTV and weeding tutorial.
Preheat an EasyPress 2 to 290F and set to 30 seconds (if using glitter mesh).
If not, refer to the interactive EasyPress guide to find the perfect temperature for a Cricut MiniPress or other heat sources.

If you’ve never one, I have a full review and how to get started with an EasyPress 2.
Place the white cardstock on a mat and press the front for 3 seconds.

Center the iron-on on the cardstock and press for 30 seconds with light pressure. Flip the cardstock over and press the back for 15 seconds.


Peel off the backing. Repeat the same steps for the other piece of iron-on.

Putting the Graduation Card DIY Together!

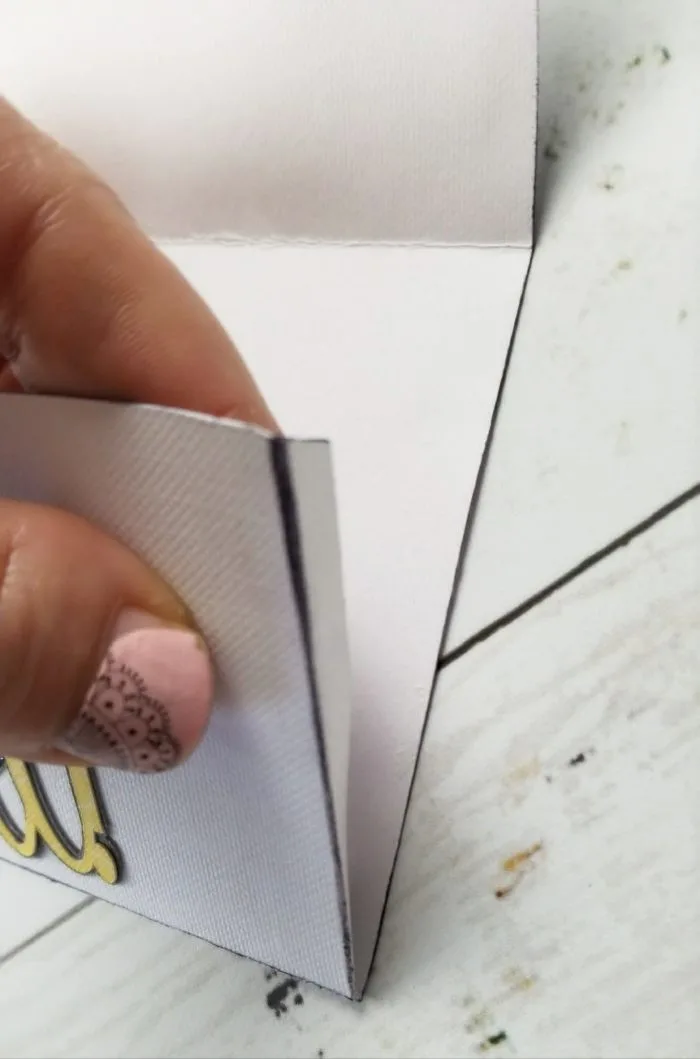
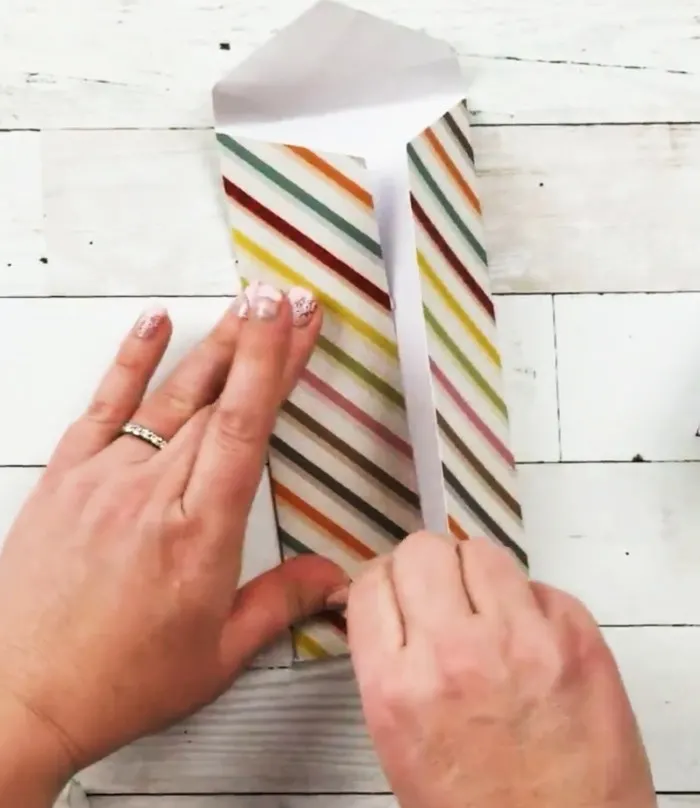
You can attach all the pieces and fold in the card in any order. I attached all the cardstock pieces with a glue stick.
Fold the card along all of the score lines including the two side flaps. Fold the flaps inward.


Then apply glue to the flaps where they will touch the bottom side, fold it over and press down.


Then I glued on the rest of the cardstock.

I wanted to make it pop a little more, so I used a dauber and ink pad to spread ink along the creases. Totally optional step though!

To make the envelope, fold all of the score lines. Fold the bottom piece in. Add some glue on the edge of one of the side flaps and press it down.
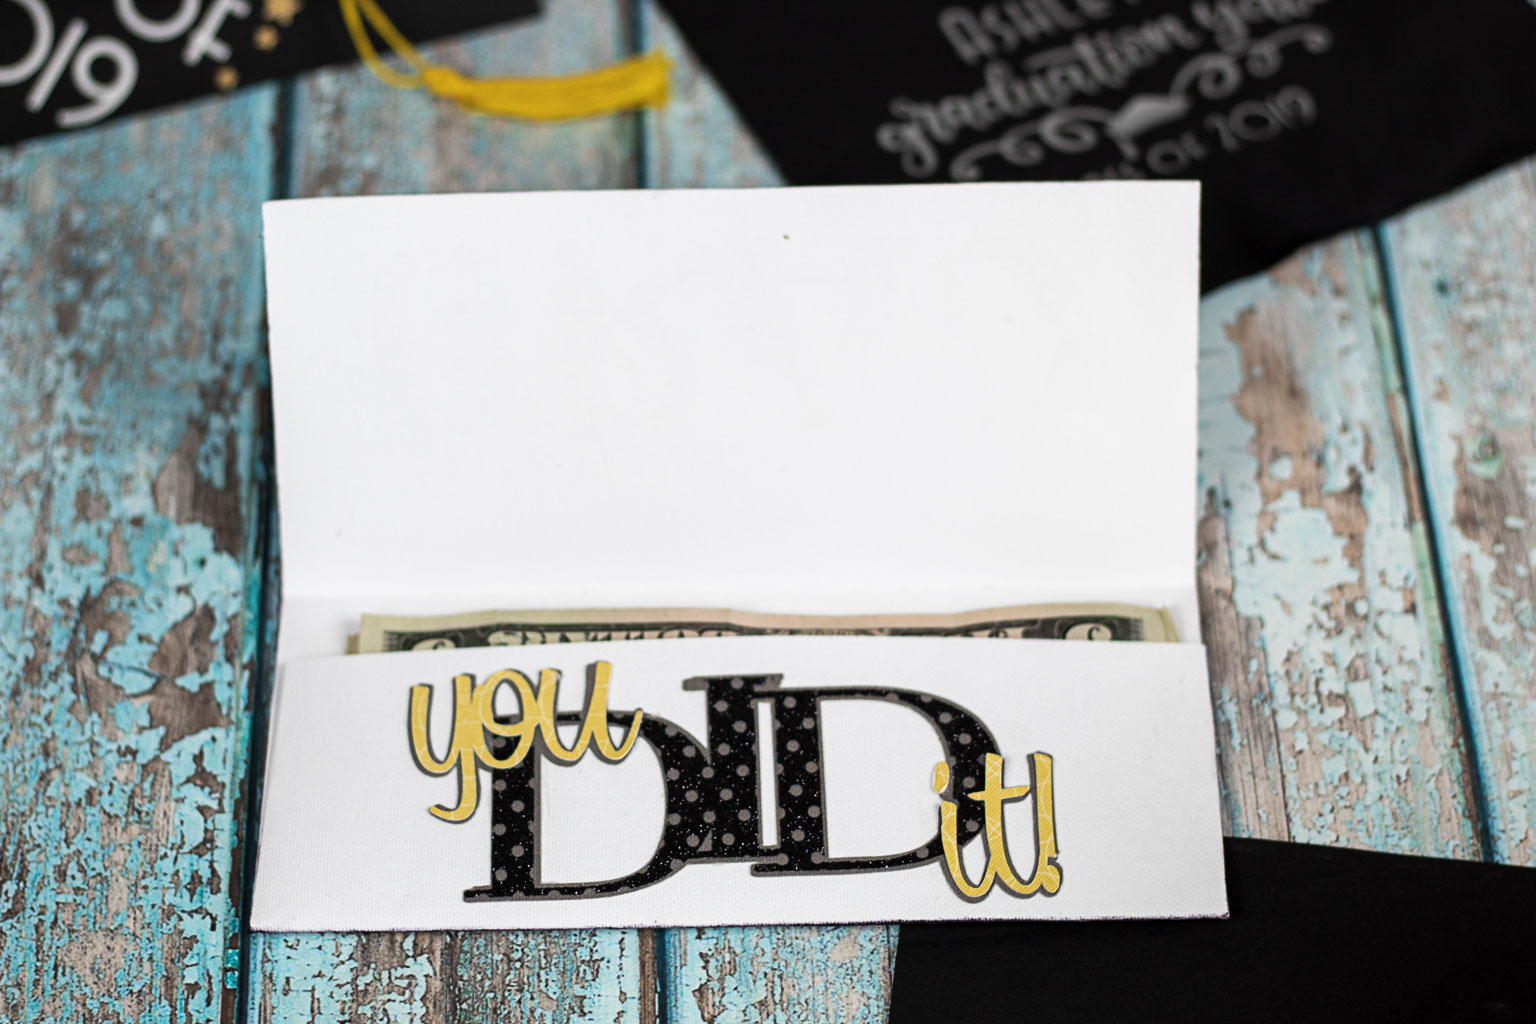
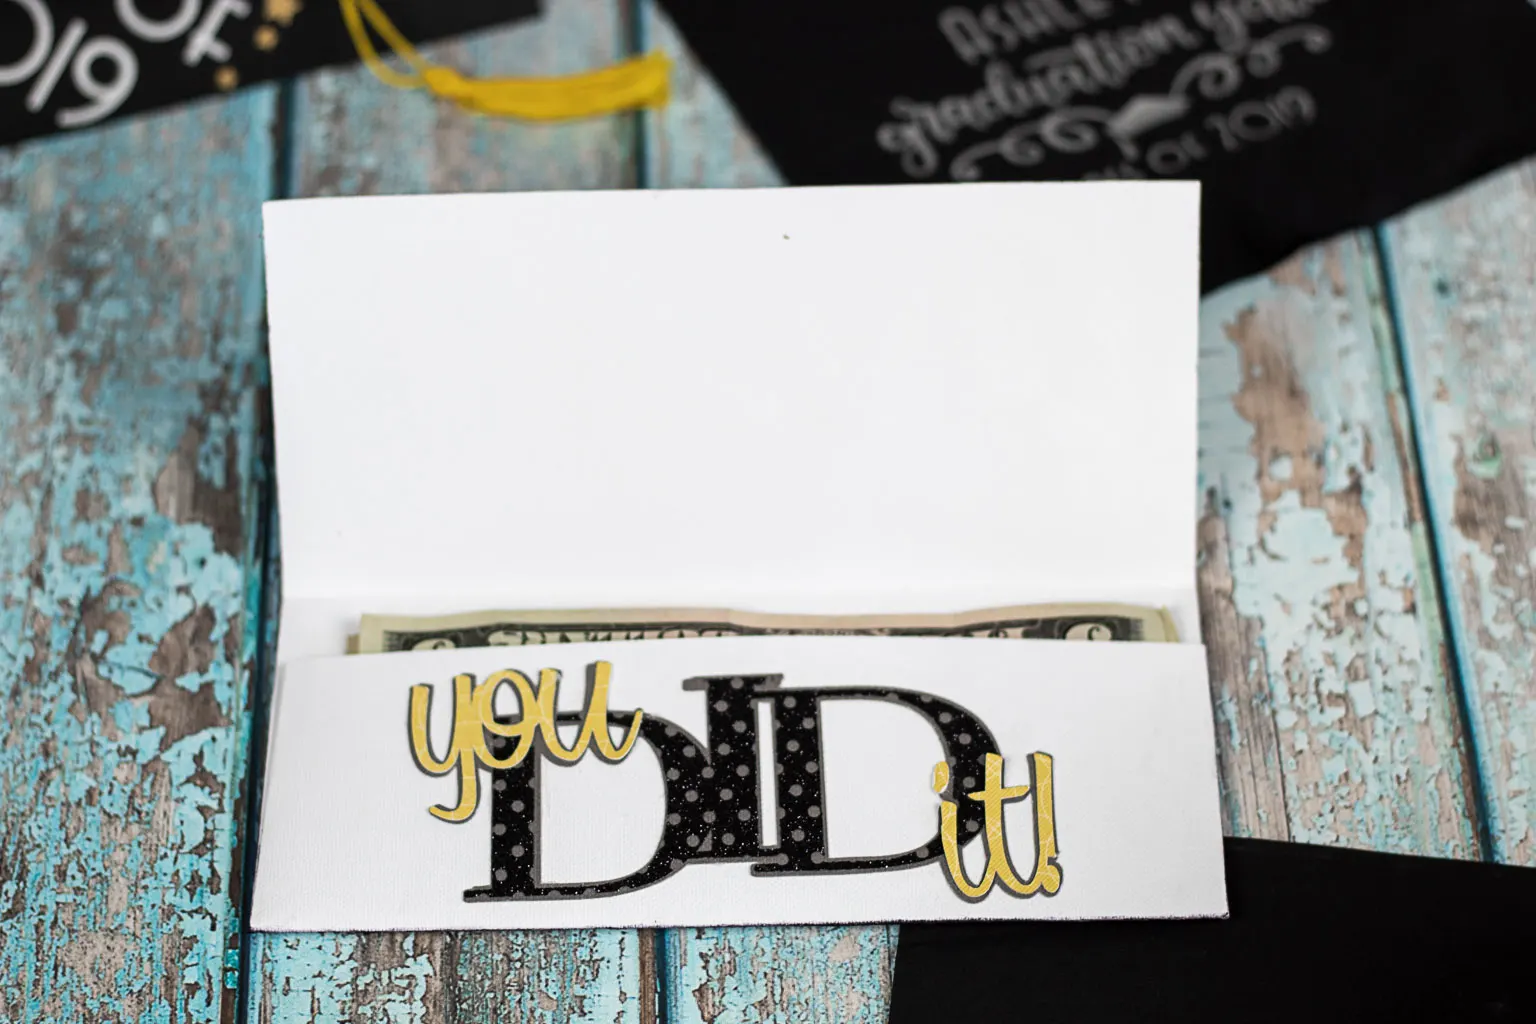
Put cash or a check inside the graduation card DIY and write a few sentiments on the opposite blank side to complete the senior gift.
And then put the whole thing in the envelope and write a much deserving grads name on the front!


I’m loving the glitter mesh iron-on! It gave the card fun depth and sparkle, but as you know I love everything glitter!


If you’d like to save this idea for later or just want to share, please hover over the top left of the image below and PIN It now!

Here are the printable directions…


Graduation Card DIY: How to Make a Cute and Easy Money Card Holder
Give the gift a grad really wants with these handmade graduation cards that hold money.
Materials
- Cardstock
- Glue stick
- Iron-on Vinyl (optional)
Tools
- Cricut cutting machine with scoring wheel
- Cricut gel pen or marker
- Cricut EasyPress 2 (optional)
Instructions
- Go to Cricut Design Space and open up file. Customize if you want to add name or change year.
- Cut out all materials. Cricut will prompt you to insert scoring wheel and pen.
- If using iron-on vinyl, cut on mirror setting with shiny side facing down on mat.

- If using iron-on, preheat EasyPress. I set mine to 290F since I was using iron-on glitter mesh. Check Cricut interactive guide. Press the cardstock for 3 seconds. Center iron-on and press for 30 seconds on front. Flip over and press for 15 seconds on back. Remove plastic backing.
- Attach all pieces of cardstock together with a glue stick or glue dots. Optional- add stamp ink to edges with a dauber.
- Fold the white cardstock on all of the scored lines. Fold the flaps inward and glue them to the bottom side.

- Fold the score lines of the envelope. Fold in bottom flap and glue the top flap to the one underneath.

- Put money or cash in the handmade graduation card and give it as a gift!
Notes
See post for full step by step tutorial with photos and video.
Recommended Products
As an Amazon Associate and member of other affiliate programs, I earn from qualifying purchases.

Thanks so much for stopping by! Please comment below if you have any questions.
Have a creative day,


")
")


Cathy Rayburn
Monday 27th of May 2019
The provided link is not taking me to the Graduation Card in Design Space. I am new to Cricut (had my machine for 2 weeks!) Do I need to be a Cricut Access member to get this???
Leap of Faith Crafting
Monday 27th of May 2019
Congrats on your new machine! Hmmm, no you don't need to be a member, just signed in to Cricut Design Space. It opens for me, it just takes a few moments. See if this link works https://design.cricut.com/#/design/144845477