Ever wonder how to make a puzzle from a picture? With a Cricut Maker and chipboard, it is a quick and easy craft that makes great gifts!
I love giving and receiving photo gifts. There are so many unique and creative projects you can make with your own photos and I have to show you one of my new favorites!
I have been playing around with chipboard and the Cricut knife blade lately and I’m so impressed with how it cuts. I made a huge wall art piece out of cut letters with the knife blade that turned out really cute.
I saw a Cricut puzzle in Cricut Access and knew that I needed to make one. It was so easy and I was able to get a bunch of other things done while my Cricut did all the work! (I am a huge fan of multi-tasking!!)
So today I’m going to show you how to make a puzzle from a picture using the knife blade, chipboard, and a Cricut Maker. You can make so much with a Cricut. If you’d like more inspiration, make sure to browse my Ultimate Resource of Cricut Ideas.
If you don’t have a Cricut Maker, you can always make a photo puzzle with a sublimation printer too!
Materials Needed for DIY Photo Cricut Puzzle
Disclosure: This post contains affiliate links from Amazon and/or Cricut.com. I receive a small commission at no cost to you when you make a purchase using my links (purple text).
- chipboard – 2 sheets of 2 mm
- printable vinyl
- Cricut cutting machine– always check prices between Cricut.com and Amazon (click links to compare!)
- Knife Blade
- Strong Grip Mat
- Printer
- glue dots or tape
- painter’s tape
How to Make a Puzzle From a Picture
(I’ll be using Cricut Design Space to design my puzzle. If you need further instruction on CDS, I have a Cricut Design Space Tutorial 101 video series that will give you some great tips.)
The first thing you’ll need to do is open the puzzle in Cricut Design Space (the link is a direct link to the puzzle project but sometimes it doesn’t like to open!). If it doesn’t open, search “puzzle” on image screen and insert on your canvas.
Then you’ll need to upload a photo. It’s just like uploading anything else. Click “upload” and “browse” and find your photo file. Then save it as “print then cut” file. Insert it on your canvas.
Ungroup the puzzle so you can move the top layer over your photo. Click on the photo and click the arrange button on top to “send back one layer”. Center it in the puzzle frame. If it fits perfectly, you can skip the next step and go to make it section. If you need to trim some of the edges off, continue on.
To Trim off the excess: Move just the top layer of the puzzle out of the way. Hold your shift key to select both the photo and bottom layer of the puzzle (rectangle) (or use your cursor to put a square around both) and click the SLICE button on the bottom right.
Delete the extra edges that are sliced off.
Make It!
I have a video of the cutting part to show how amazing everything cuts! Make sure to check it out.
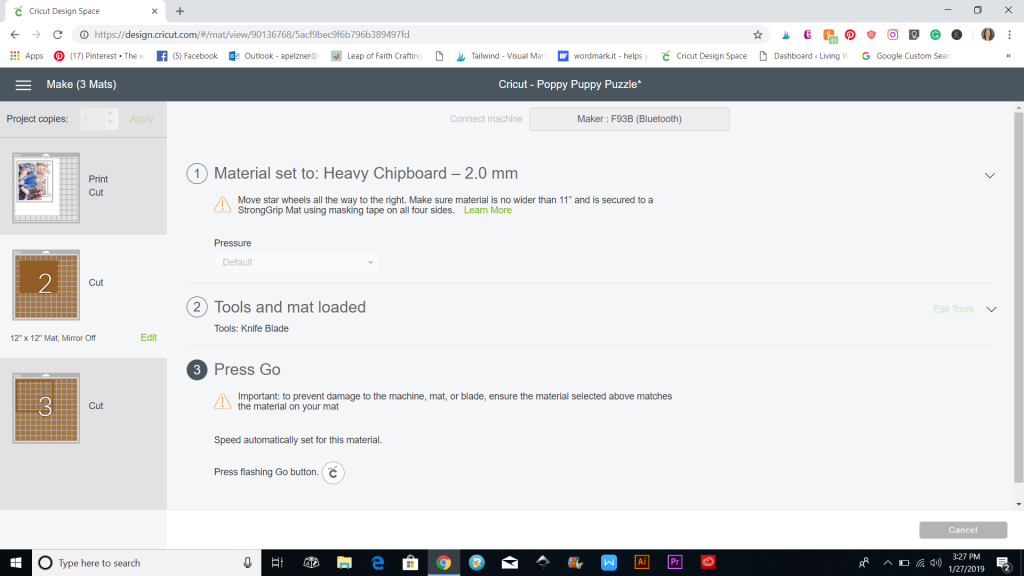
Now click the green make it button at the top. You’ll see this screen. Click continue and send the first layer to your printer. Print the photo on printable vinyl. I then just cut it out with scissors instead of having the Cricut cut a rectangle!
To cut the chipboard, you’ll need to move the white wheels on the Cricut machine to both sides. I move two to each side.
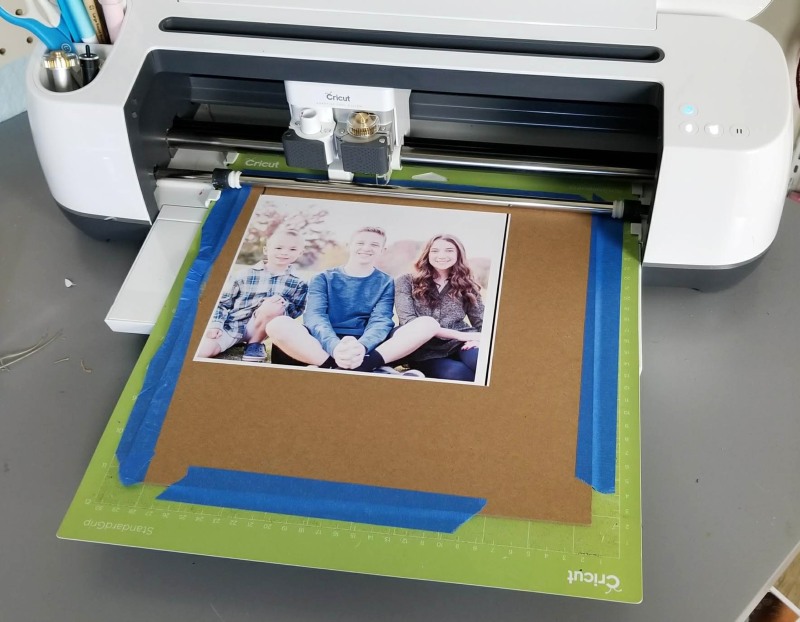
Place one of the chipboard sheets onto the strong grip mat. I put the top left edge about 1/2 – 1″ in from the edge of the mat. Secure it down with tape.
Select “heavy chipboard” in the dropdown material menu. CDS will prompt you to insert the knife blade. Open the latch and put the knife blade it and lock it in place with the latch.
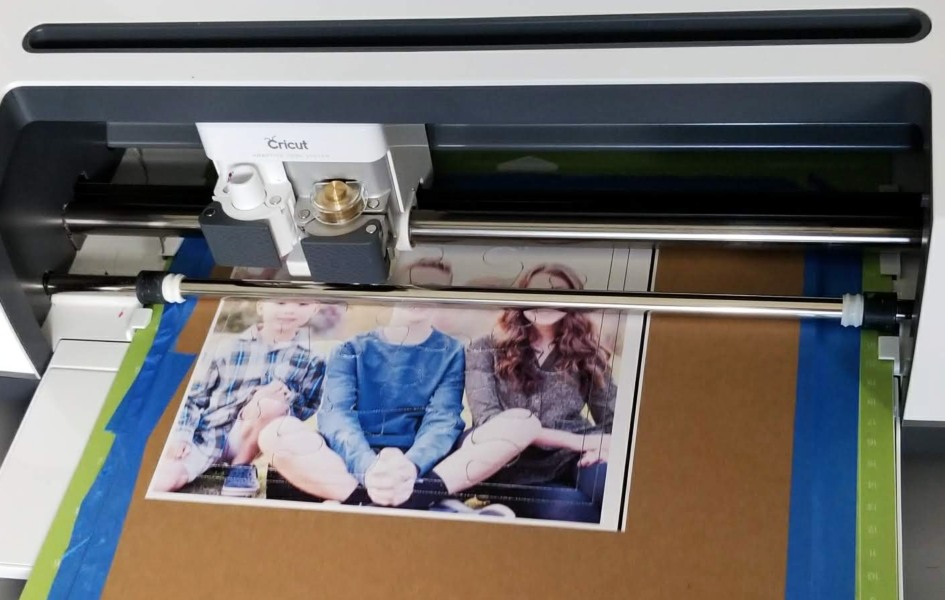
Load the mat and then the blinking go button. You’ll notice that the Cricut takes 15-20 passes over the rectangle. This can take quite a few minutes. Just let it finish and unload it when you are prompted to.
For the second piece of chipboard, remove the paper backing off the photo and lay it on the chipboard so there is about an inch on the top and the bottom. Apply the printable vinyl and push it down really well. I used a brayer.
In CDS, you’ll want to make sure to edit the mat and move the puzzle layer to where the top left lines up 1 inch on top and side like the photo is.
Attach the chipboard to the mat the same way. Make sure the edge of the photo aligns at the 1-inch intersection and hit cut. Mine made 20 passes.
When it’s done, unload the mat and remove the tape and pieces.
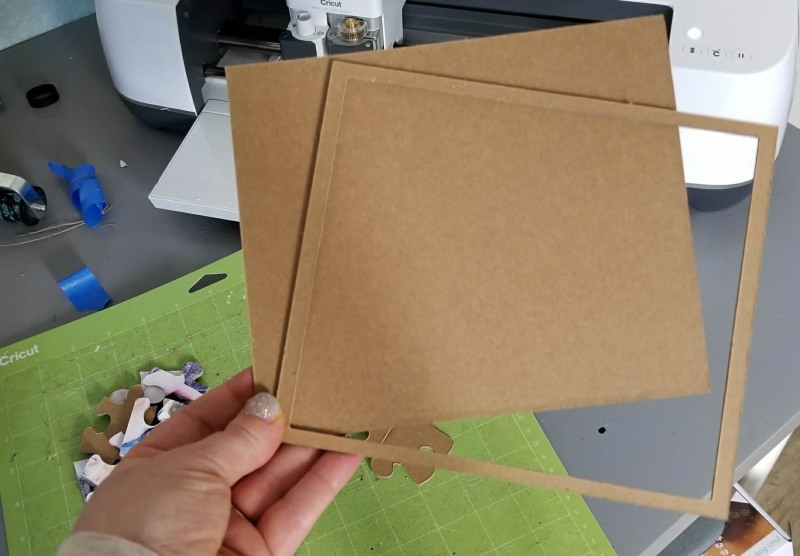
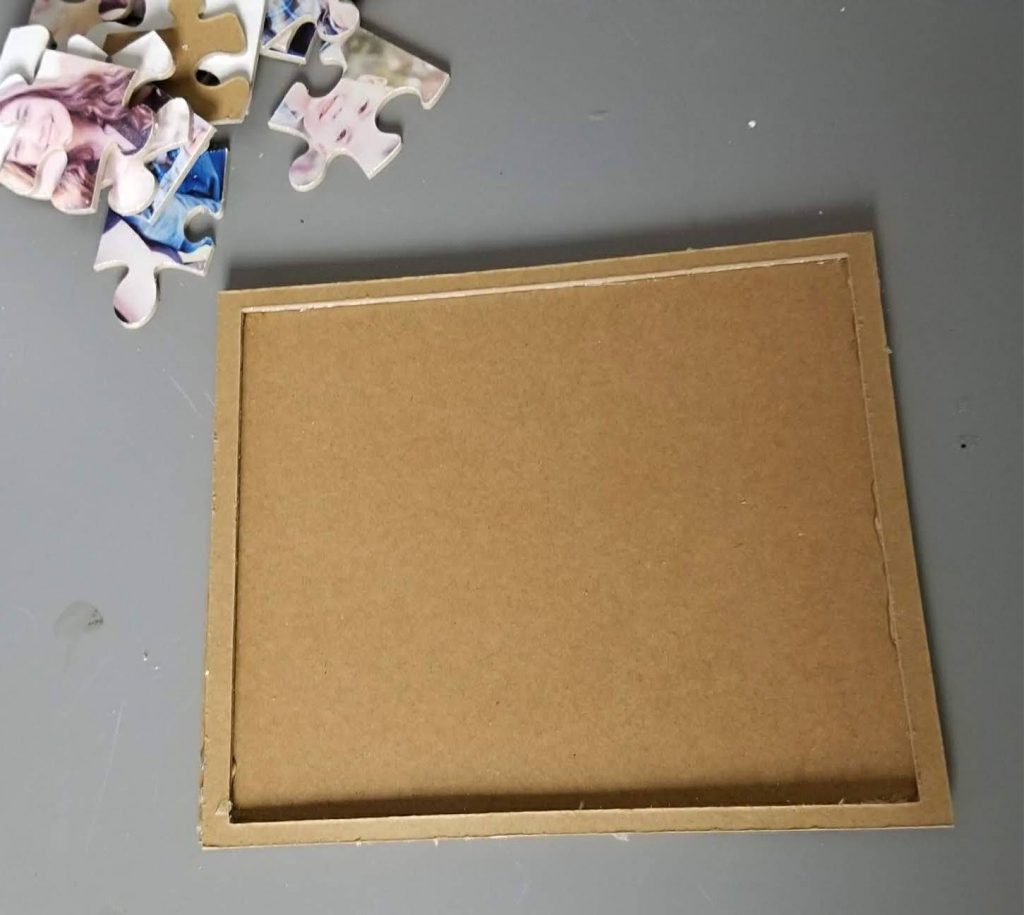
I turned the edge piece over and glued it to the bottom rectangle piece with my tape glider (but this was a personal preference). Make sure that it’s at the very edge or it will be too tight for the pieces to fit it.
If you use hot glue, make sure none leaks into the interior of the frame. This will cause problems when you try to insert your puzzle pieces since they won’t be able to lay flat with the glue bumps.
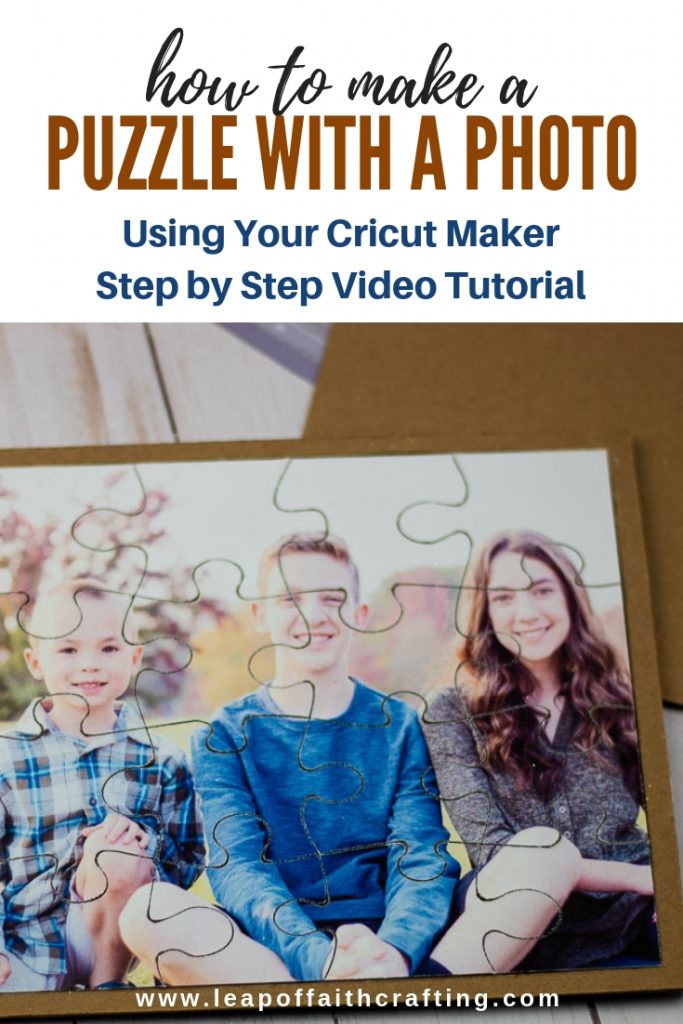
That’s it! Now you have a cute picture Cricut puzzle.
If you’d like to save this tutorial for later, hover over the top left of the image below and PIN IT now! Thanks!
Here are some printable directions!

How to Make a Puzzle From a Picture For That Perfect Gift!
Make a cute photo gift with a Cricut maker and the knife blade.
Materials
- Chipboard - 2 pices of 2mm
- Printable Vinyl
Tools
- Cricut Maker
- Knife Blade
- Printer
Instructions
- In CDS, search for puzzle in image section. I used the 8x8 puzzle.
- Upload a photo to CDS and save as print and cut.
- Size the photo and puzzle file to same size. Trim edges with slice function if needed. Keep in mind Cricut has set sizes for printed material depending on your browser.
- Make It. Print photo on printable vinyl.
- Attach chipboard to heavy grip mat with painter's tape. Cut first layer on heavy chipboard setting.
- Remove backing off of vinyl photo and apply it to second chipboard sheet. Make sure to leave about a one inch border on top and left side. Scrape down well.
- Edit mat so that the edge of the cut image is one inch down and over to the left. Tape down chipboard on mat. Load mat and cut.
- Glue the rim of the puzzle and the bottom together and insert the pieces.
- Enjoy your new puzzle!
Notes
Please see blog post for full details and pictures of the steps.
Recommended Products
As an Amazon Associate and member of other affiliate programs, I earn from qualifying purchases.
Thanks for stopping by and have a creative day!











Wendy
Thursday 1st of September 2022
I just want to find out what printer I can use to do this?
Leap of Faith Crafting
Thursday 1st of September 2022
Any printer that allows you to print thicker material. I use a HP officejet pro!
Allison
Saturday 4th of May 2019
Would it work to cut the image and the chipboard separately, and then individually apply the printed vinyl pieces to the cut chipboard? It seems like the edges on the pictures would be much more smooth that way...
Leap of Faith Crafting
Tuesday 7th of May 2019
Hi Allison, I would think you could do that. It might be a little tough to totally line them up but I definitely think it's doable!
Natalie
Sunday 7th of April 2019
This looks so cool, but I have an Air 2. Can I still make this as long as I have everything else??
Leap of Faith Crafting
Monday 8th of April 2019
HI Natalie, unfortunately, no. The Air doesn't have the capability of cutting through chipboard. The maker has a separate knife blade that can only be used with that machine which cuts the thicker materials. Thanks for stopping by!
Jen
Thursday 31st of January 2019
This was a wonderful, easy to follow tutorial! I absolutely love my Cricut Maker and I am always excited to learn no ways to use it. This is such a perfect personal gift idea! Thank you for sharing!
Leap of Faith Crafting
Friday 8th of February 2019
Thanks so much Jen! I love my Cricut Maker too, they are so amazing!!