
Learn how to make your own Unicorn glitter personalized tumbler cups using both glitter vinyl and double sided adhesive sheets!
Hi Friends! I know I have been showing you a lot of ways to decorate stainless steel Yetis or Ozarks, but today I’m going to show you how to make your own personalized tumbler cups. You can epoxy more tumblers than just stainless steel ones!
It is a very similar method but these DIY acrylic tumblers are so much cheaper and great for little kids.
I used two different methods on the front and backside to show you some options. Plus I wanted to make a cute unicorn glitter cup for one of my favorite little girls!
I love giving homemade tumbler cups as gifts. The recipient always loves them because they are a truly unique gift!
Personalized cups for kids are a huge birthday gift hit and most likely will turn into one of their prized possessions.

Materials for Personalized Tumbler Cups
Disclosure: This post may contain affiliate links from Amazon. I receive a small commission at no cost to you when you make a purchase using my links.
- Tumbler with straw – these are ones I use
- Mod Podge
- White Spray Paint – Rustoleum Gloss Enamel
- Extra Fine Glitter
- Epoxy Resin
- Double Sided Adhesive Sheets
- electrical tape or painters’ tape
- Cricut – This is an amazing machine! You can check out my ultimate resource for cricut ideas by clicking here!
Glitter Cup Tutorial
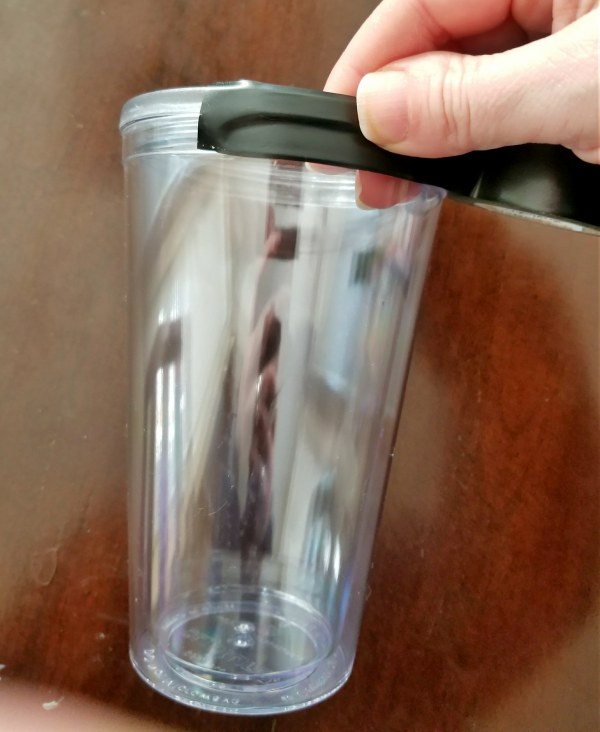
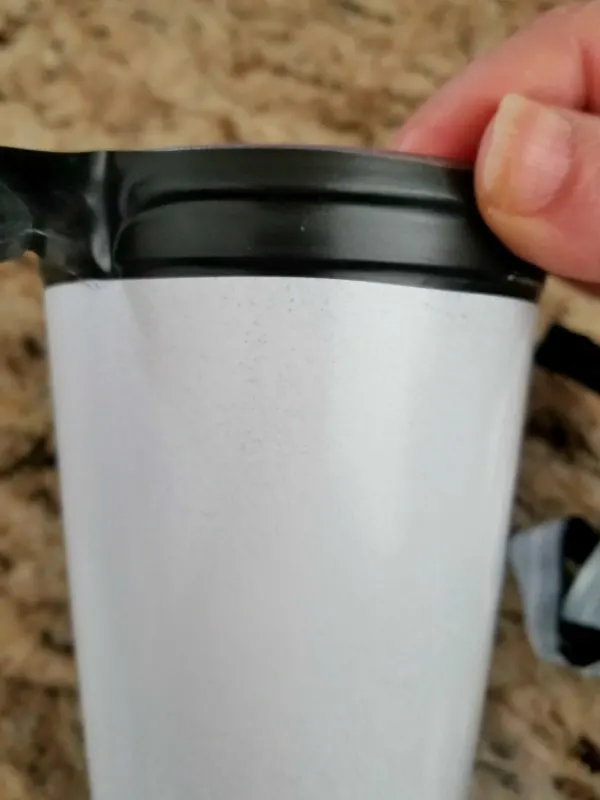
To start, you’ll want to wash your tumbler and apply electrical tape or painters’ tape to the top (and bottom if you’d like). If you’d like to check out a video on how I apply electrical tape click here.
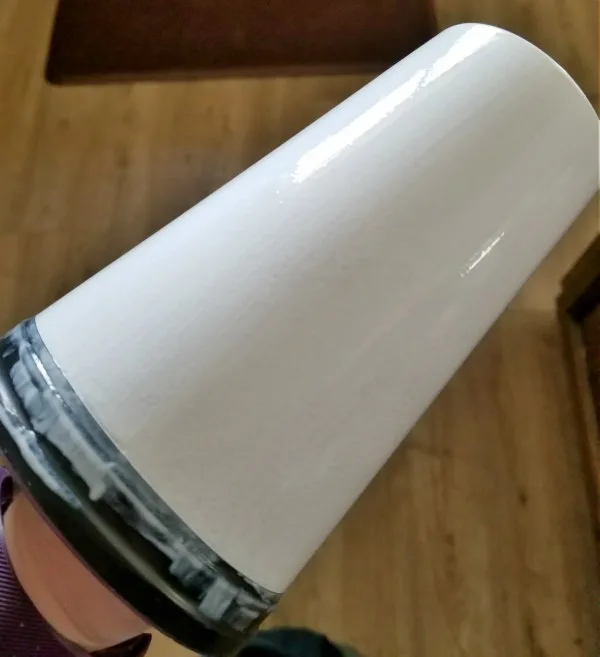
Place the tumbler upside down outside and walk around it while spray painting it. It might take spraying around it 5-8 times to get it fully coated.
If you’d like to check out a video of how I spray a tumbler click here.


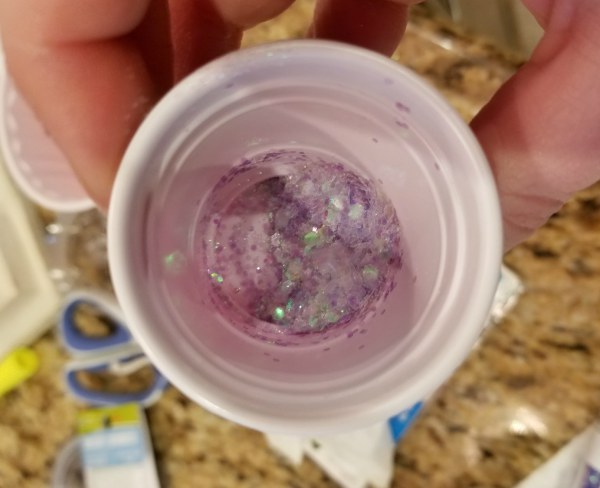
Once it’s dry, add a layer of mod podge all the way around the tumbler and then add your glitter.

To check out a video tutorial of these steps, check out my tutorial here on applying mod podge and glitter.


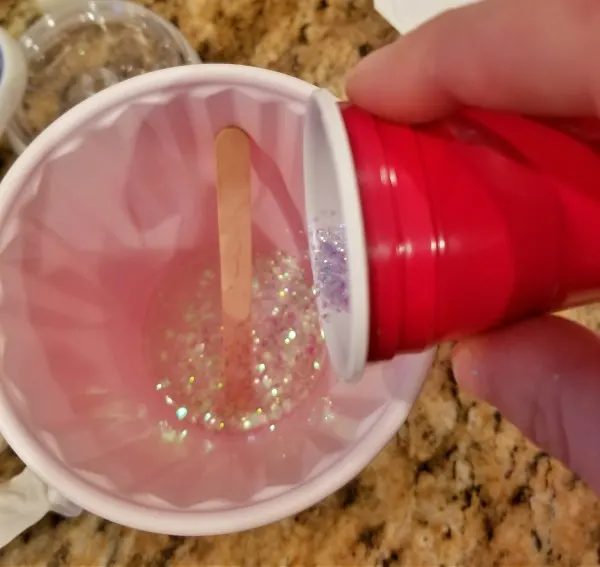
Peel your tape off and let it dry. Once it’s dry, you’re going to apply your first layer of epoxy. This is where you are going to add the extra sparkle in.
Giving Epoxy an Extra Sparkle

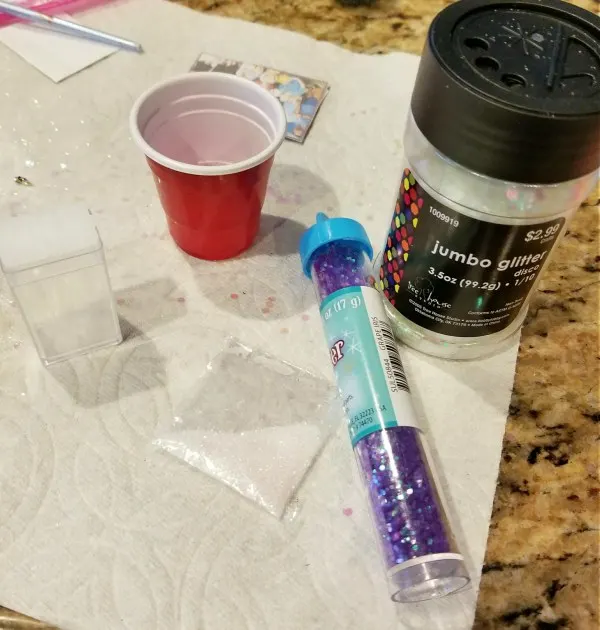
I mixed jumbo glitter with large purple and added some of the mixture to the epoxy itself. (To watch a video tutorial on how to apply the epoxy to a tumbler click here).


After the first layer of epoxy has fully dried, make sure to clean your tumbler with alcohol before applying decals.
For the front side, I cut out an SVG file I found online with glitter vinyl and applied it with transfer tape. Here is a tutorial for applying vinyl to a tumbler.
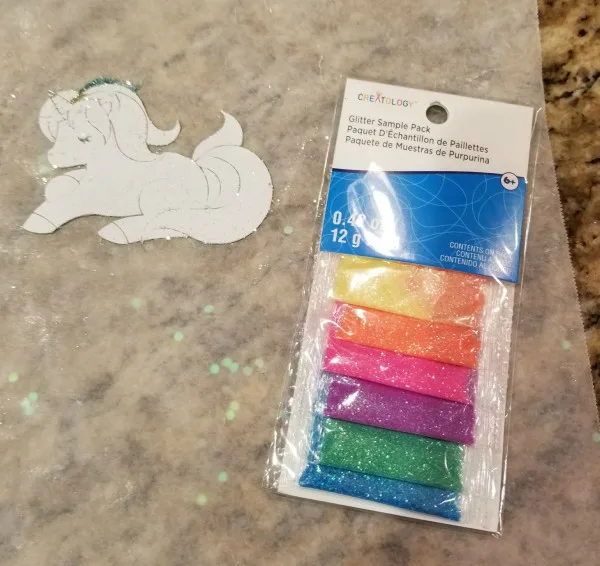
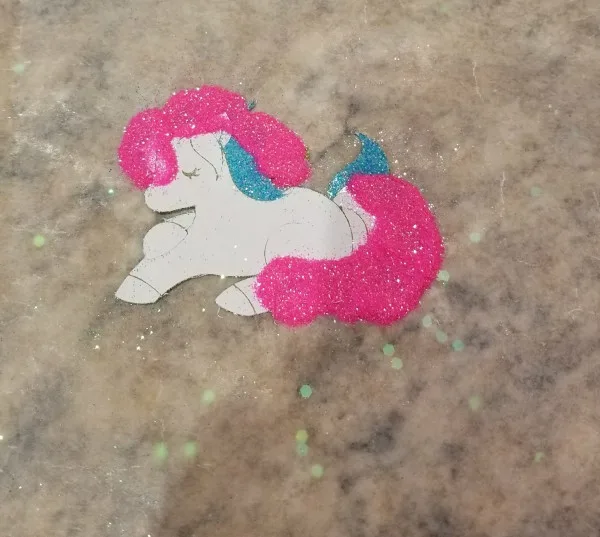
On the other side, I found a free unicorn online and cut it out with my Cricut on double-sided adhesive sheets (or silly winks) added glitter, and then applied it to the glitter tumbler.
If you need help on how to upload images into Cricut Design Space, make sure to watch the video at the top or side of the post. (It moves around depending on what device you are on!)
Using Double Sided Adhesive Sheets for Tumbler Designs
This is the same method I used to apply a glitter peacock to my glitter yeti cup. Make sure to watch the video on how to use the double-sided adhesive sheets with your Cricut.


Once you’re done with your glitter, add a layer of mod podge or spray sealant to the glitter cup.
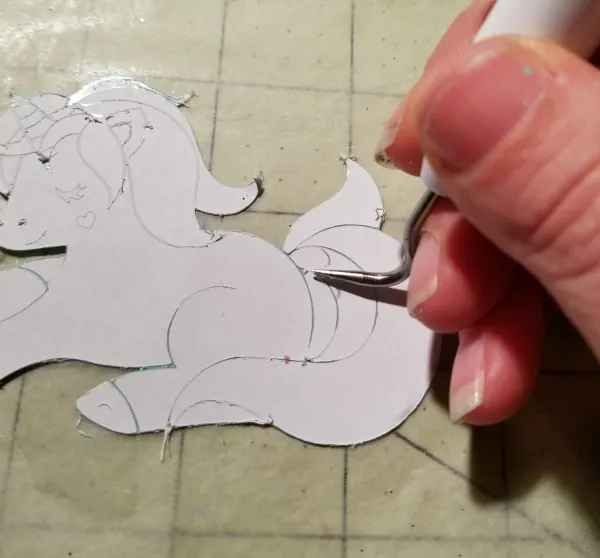
Applying Design to Glittered Acrylic Cup
To apply the glitter image to the tumbler, the hinge method works great! You can watch a quick video on how I do it here.


On this unicorn design, I used gold for the very thin outside outlines. This didn’t ‘show up well so I ended up tracing around the outside with a skinny sharpie after I applied to it my unicorn glitter tumbler.

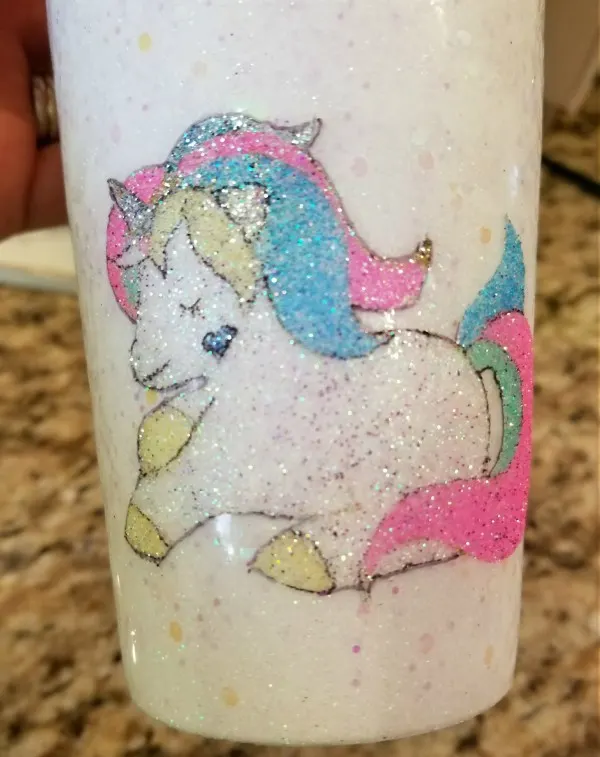
Once that’s applied along with all of your vinyl, add your second coat of epoxy to the unicorn tumbler cup and you’re done!
Unicorn Glitter Tumbler

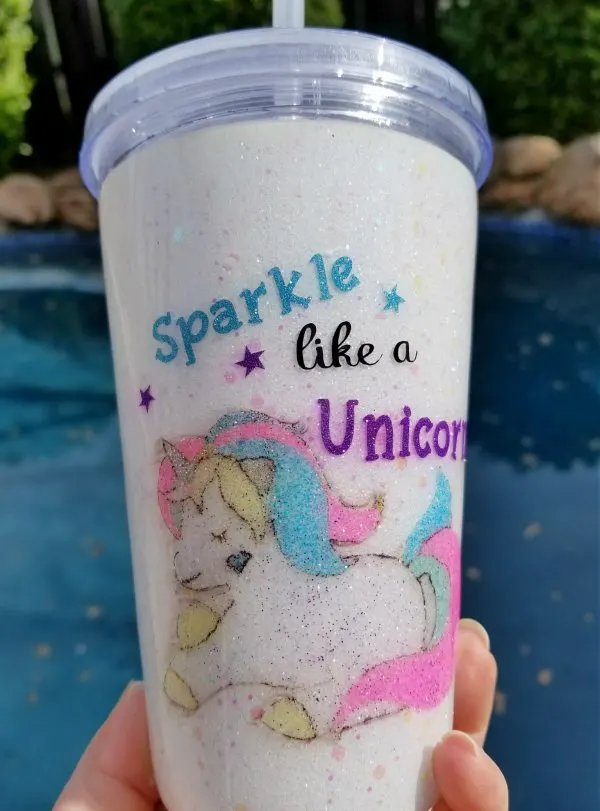


I love how vibrant and fun these personalized tumbler cups came out! I think I might have to make myself a unicorn cup.
If you’d like to get more ideas on how to personalize Yetis and/or tumblers click here!


I also have an easy glitter unicorn makeup brush holder tutorial you can check out here!


If you’d like to save this tutorial for later, you can PIN it now! Thanks so much!

Thanks so much for stopping by! Have a creative day!


Kami
Saturday 15th of February 2020
Hi! Do you have to use an epoxy coating when doing these on acrylic tumblers or is the Modge Podge sufficient? Thanks!
Leap of Faith Crafting
Wednesday 19th of February 2020
I'm used Mod Podge on a few tumblers and they hold up great too! The texture and appearance is different, but it is a lot easier!
Chelsea
Saturday 19th of October 2019
How do you dry these? Do you put them on a turner like the stainless steel ones?
Leap of Faith Crafting
Monday 21st of October 2019
Yes, exactly like a stainless steel one!
Jill Newman
Thursday 10th of October 2019
I just want to cover a crack in plastic Starbucks cup...minor hiding of long crack 🤓🤓
Leap of Faith Crafting
Tuesday 15th of October 2019
Actually, I've never covered a crack, so I'm not sure! Sorry, I couldn't be more help!