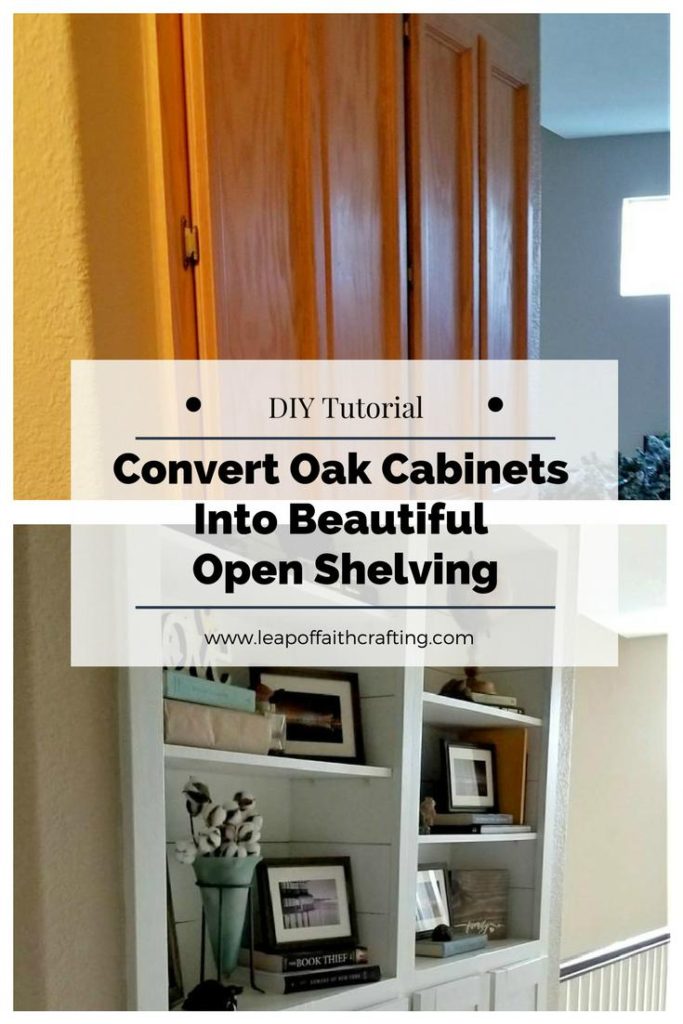
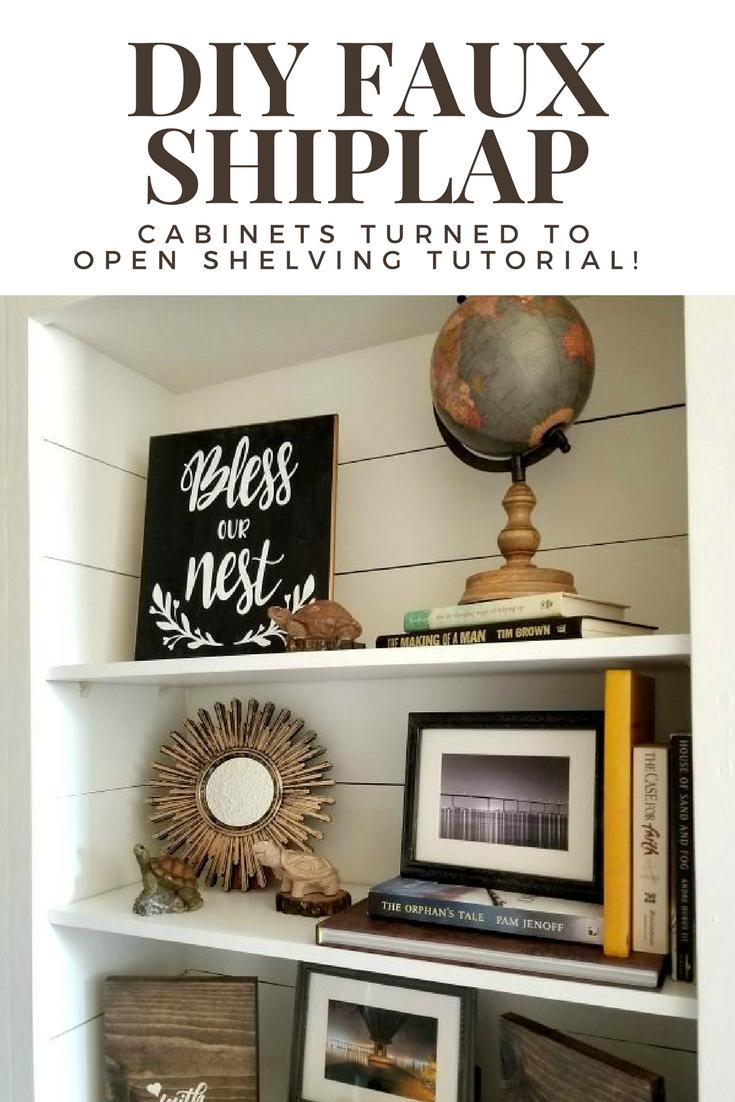
Want to know the easiest and cheapest way to add shiplap to your house?? Use plywood shiplap! It’s so easy to put up and looks beautiful!
Hi Friends!! I’m continuing on with my farmhouse hallway makeover and today I have an easy project with faux plywood shiplap!
If you remember, I put up a faux shiplap wall over my fireplace and it made such a huge difference in my family room. So when I was deciding on ideas for my cabinet makeover I knew I wanted to incorporate shiplap.
I ended up removing my upper cabinet doors for open shelving and adding the faux shiplap plywood on the bookcase walls.
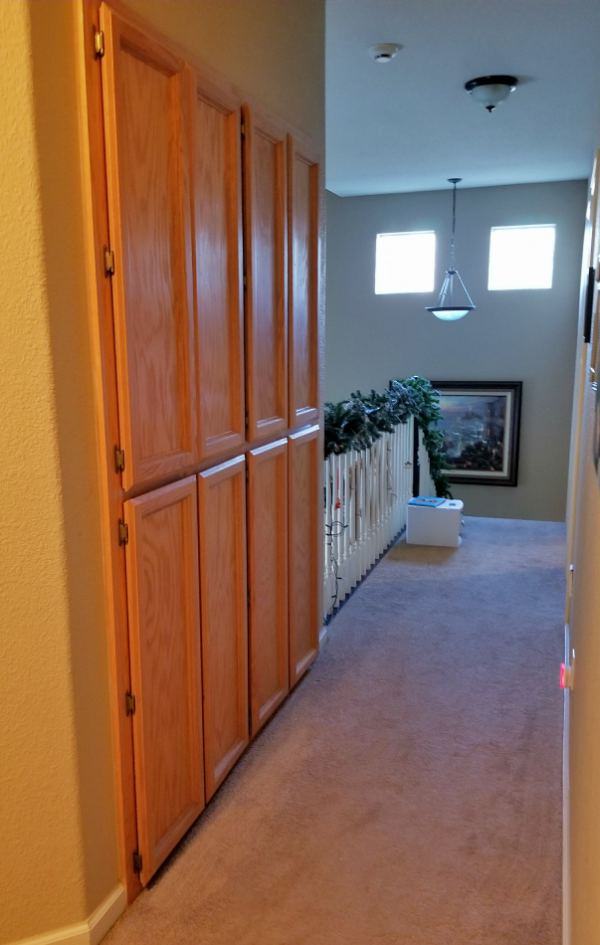
Here is a picture of what my hallway cabinets looked like before. Standard oak cabinets which stuck out like a sore thumb in my newly made over farmhouse style house.
The first thing I did was to remove all the cabinet doors. I’m not reusing any of the doors because I ended up making all new shaker cabinet doors on my own.
They are pretty easy to make and I love them so much more than these generic doors. Hop on over to my tutorial on how to make shaker cabinet doors here.
Ok, let’s get into how to make shiplap out of plywood for this budget friendly hallway makeover.
Materials Needed for Plywood Shiplap
Disclosure: This post contains affiliate links from Shareasale, Cricut, Awin, CreativeFabrica, and Amazon.com. I receive a small commission at no cost to you when you make a purchase using my links (purple text). As an Amazon Associate, I earn from qualifying purchases.
- RevolutionPly 5mm Poplar Plywood 4×8 foot – cut into 5.5 – 6 inch pieces (measure the height of your cabinet and see which one will work better i.e. not leave you with a 3 or 4 inch piece at the end)
- miter saw
- compact circular saw
- nail gun
- 1x4s
- orbital sander
- paint – I used Sherwin Williams color Alabaster
- caulking
- wood filler
Making Shiplap from Plywood
The easiest way to make shiplap from plywood is to have the hardware store cut the large 4×8 foot sheet for you. I asked them to rip it into 6 inch strips.
I bought my plywood from my local Lowe’s and they are always great about cutting things for me. Every so often they charge after 5 or 6 cuts, but it’s worth it for these longs strips!
Prepping a Bookcase for Shiplap
As I mentioned before, I ended up removing the cabinet doors for open shelving on the top half.
This way it turns into a bookcase and I can display some cute farmhouse decor and books.
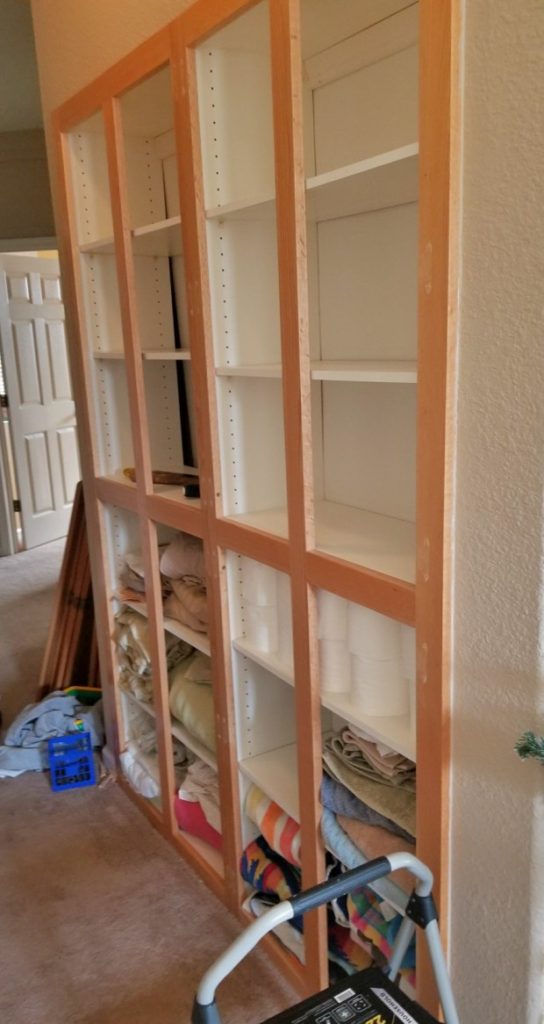
Once I removed the doors, I filled in all the outer holes with wood filler.
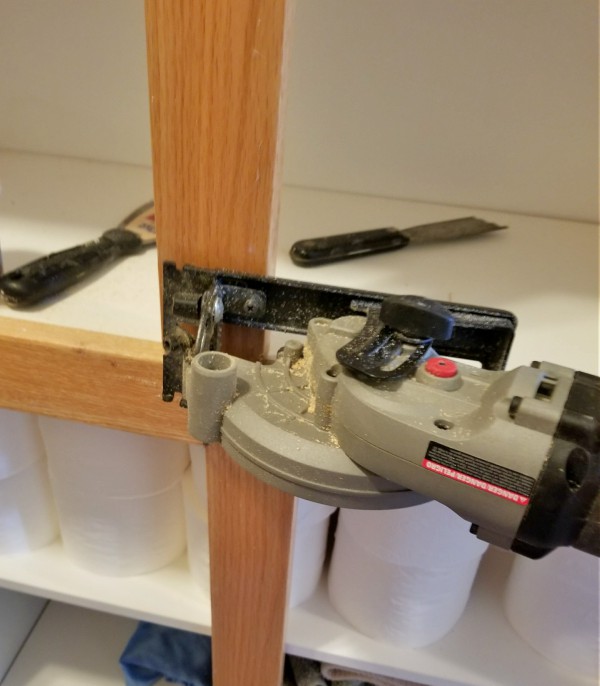
Then I used my small circular saw to cut off the middle boards on the top half. I only cut the bottom. The top had these metal hooks that were just stuck in the wood.
Luckily I tried to pull out the board before I tried to saw that part. Just be very careful if you are going to saw… the board jumps a bit when it cuts all the way through.
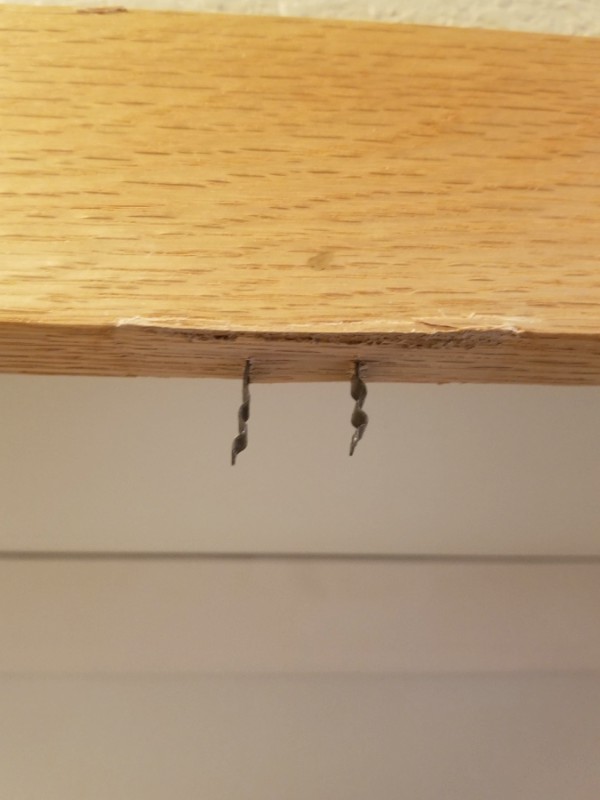
When I pulled the boards down a little bit of the wood came with it so I just filled it with wood filler and shaped it.
Make sure you measure how big your holes need to be for the shelf peg before you cover them up! I stuck a few different drill bits in a hole until I got the one with the snuggest fit and I set that aside.
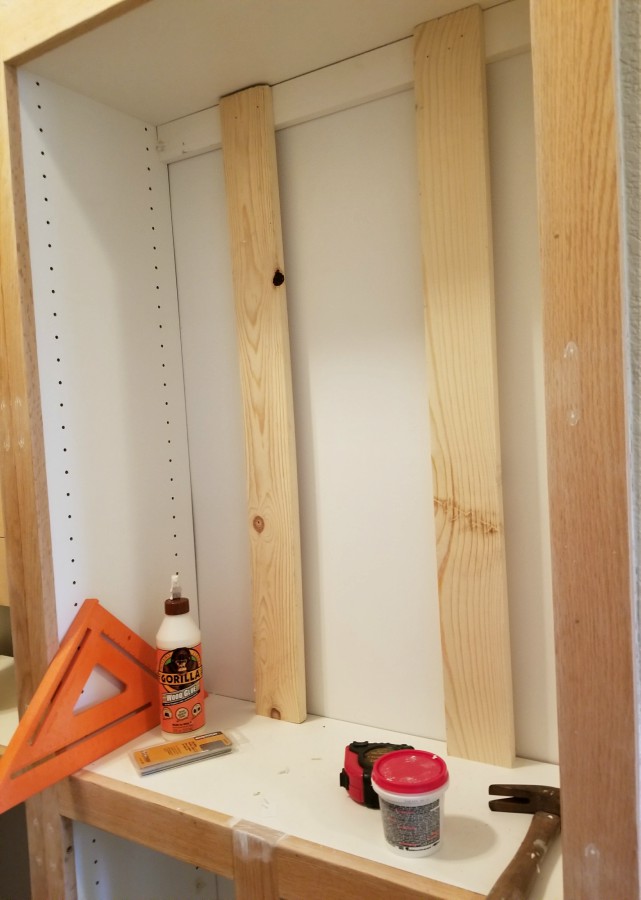
Since I didn’t want my shelves as deep as the cabinet was and because the board on the backside of my cabinets was pushed out, I cut two 1×4 to size and inserted them.
I used wood glue and nails to attach them to the board on the top and wood glue on the bottom. I made them really tight fitting so they wouldn’t move when I nailed the shiplap in.
Adding Shiplap Plywood to Bookcase
Now, here is where my really easy faux plywood shiplap comes in. I get this 4’x8′ piece of RevolutionPly 5mm Poplar Plywood from Lowe’s that is $15!
I only needed one whole piece when I did my faux shiplap wall over my fireplace and I didn’t even use a whole one for this.
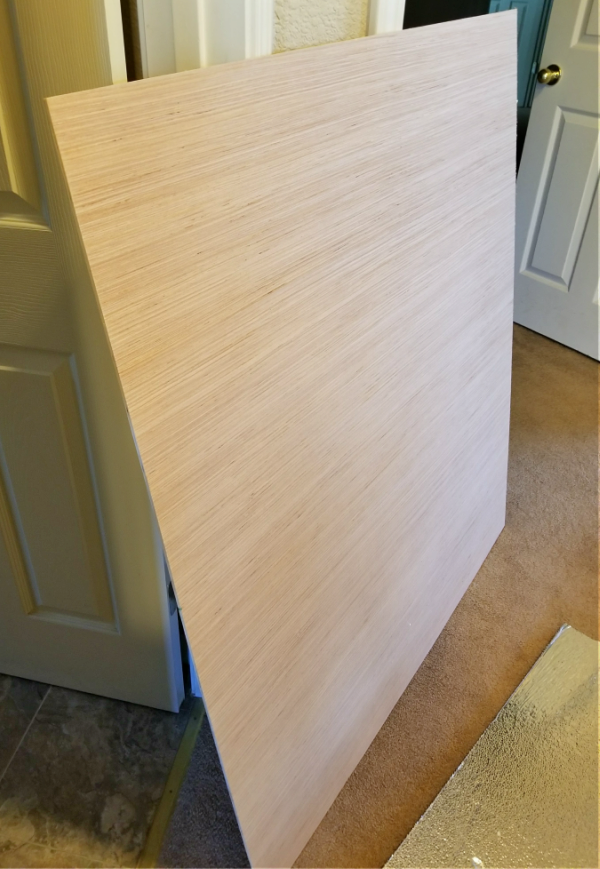
I had the fabulous employees at Lowe’s cut it into 6 inch strips, so all I had to do is make the short cuts with my miter saw. I measured the length of inside my cabinet and cut pieces to that size.
I started by putting the first plywood shiplap plank all the way to the top and then using my nail gun, nailed them into the 1x4s.

Then to space the planks a little bit apart I stuck a ruler in between and nailed the next one down.
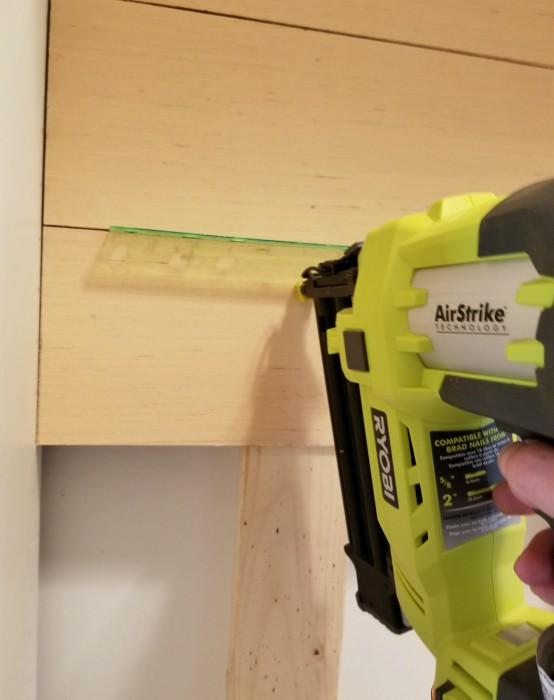

Then I measured the sides and lined them up with the back plywood shiplap plank and nailed it in. The sides weren’t all the same size so I measured as I went.
Once I had all the faux shiplap installed, I added wood filler to the holes. Then I sanded the slats and the whole surround with my orbital sander when they were dry.

We then painted the entire outside trim and plywood shiplap with a Lowe’s brand of Sherwin Williams Alabaster color.

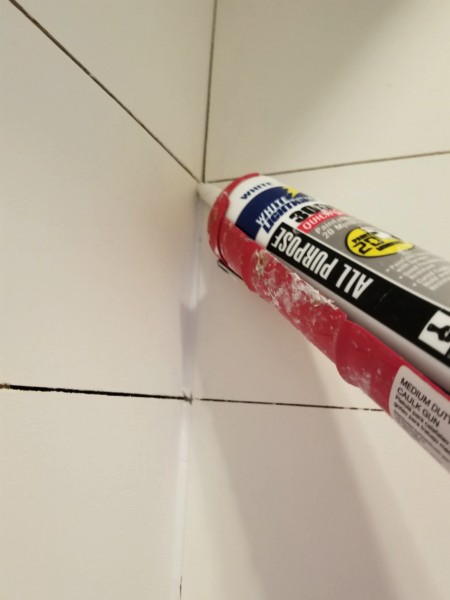
Once that was dry, I caulked all the edges trying to make sure not to get any caulking in the horizontal spacing between the slats.
I used a ruler or screwdriver to wipe it out if I did. I did another coat of paint after the caulking was dry.
Adding Shelves to the Shiplap Bookshelf
Now I had to cut my old shelves since they were too big to fit. I measured the depth and cut it with my compact circular saw.
To cut the long length, I find it easiest to clamp a board on top of the shelf I’m cutting so it keeps me straight. I measure down the entire board and draw a line where I want to cut and then place the board the same distance as the edge of the circular saw to the blade.


Now you need to decide where you want your shelves to go. I wanted them to cover up one of my lines so I measured from the bottom (or top) for the two holes.
And then I measured the same distance from each side (I think I did 2 -2.5 inches) and drilled two holes with the drill bit I set aside at the beginning. Do the same thing for the other side.

Then I pushed the pegs in and put my shelves in.
It wasn’t quite that simple… I think I had to trim the wood a couple of times to make them fit. Some of the slats were a little tilted but nothing noticeable!


That’s it! Not too bad for $15 in materials, right? I absolutely love how it came out!
It adds light to my dark hallway and I can add a little farmhouse style with my DIY decor.

Make sure to check out my tutorial on how to make the shaker cabinet doors if you want to redo your whole cabinet like I did!

If you’d like to learn how to make the DIY Chalkboard sign “Bless Our Nest” click here! Or if you’d like a FREE SVG cut file and a tutorial on how to make the DIY wooden signs click here.

For a tutorial on how to make the reverse canvas “What a Difference a day makes” sign click here.

I love our new hallway! Everything turned out so well and inexpensive!
Want to save this making shiplap from plywood for later? You can Pin it now if you’d like!
Thanks for stopping by! Have a great day!