
Hi Friends! I’m a little excited about this sharpie on canvas library bag tutorial I have for you today! My daughter is a huge book lover (so much so that she started her own book review blog! You can check it out: We Dream In Chapters here!!) and we enjoy going to the library or Barnes and Noble. I wanted to make her a personalized library book bag that she would love to carry around. I had made this file several months ago when I made her a glitter tumbler but it didn’t turn out very well on the mug since the glitter was dark. I really liked the file and wanted to use it for something and finally realized it would be perfect for a DIY canvas tote library bag!
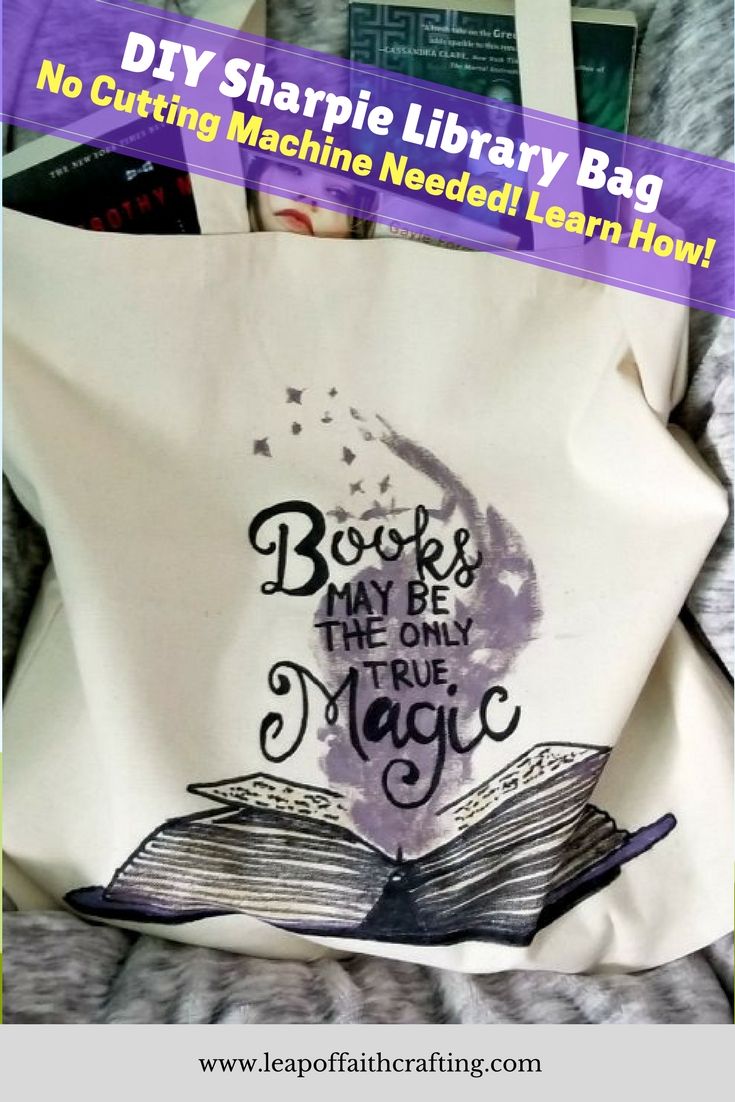
The best part about this DIY bag is that you don’t need any fancy craft supplies to make it – just a printer, a pencil and sharpie paint markers! Sharpie paint markers are so fun and easy to use!! I made an Our Love Story Canvas sign with them (check out my video tutorial here!) and DIY dishwasher safe mugs (tutorial here!).
Materials for Sharpie on Canvas Library Bag
- canvas tote bag – I got mine at Joann’s in a 3 pack with my 50% off coupon! Or you can get one on Amazon by clicking here
- Sharpie oil based paint markers – I got mine on Amazon here. These are not normal Sharpies!!
- Printer, paper, pencil
- paint – I used speedball screen print paint found here but you could use chalk paint or acrylic paint
- File – You can download the book PNG by going to PNGtree.com here
- You can also download the file of the words by clicking here: PDF PNG JPG
There are a few different ways you can cut this out. If you have a program that you can attach the files together like I did and then print them out, go for it. If not, print them out separately. (This way may end up being easier, since you can transfer the book first, paint it, and then transfer the wording once it’s dry.)
First thing you’ll need to do is print out the file in MIRROR setting (or some printers will have t-shirt setting). For my printer, the mirror option is under “more options” in the printing preferences (see pic below). I wanted mine to be about 12 inches so I was putting it on a bigger bag so I needed to print it out poster size. Decide on what size you need depending on your bag size. If you can print it on a normal 8.5×11 piece, you can skip the next step!

In order to cut it out bigger, I used the option under “Multi-Page” tab of 2×2 poster. Print it out in fast grayscale on paper to see if it’s the size you want. I had to play with mine and ended up printing it about 6 times before I got it to where I wanted it! You can mess with the zoom size if it’s not printing out the size you want it.

This is how my pages printed out. Just tape them together on the backside and cut out around the square. (If you had to print them out separately, you’ll have two separate taped together sheets.)


To use the pencil transfer method, start tracing all the letters and image with pencil. You can also color in the whole letters too, whichever is easiest.


Fold the square in half and half again so you get lines going horizontal and vertical. Fold the bag the same way and then line the creases up so the image is centered on the canvas bag. Tape down the paper so the image is facing the canvas. (Like I mentioned before, if you have two separate sheets, I’d do the book first.)

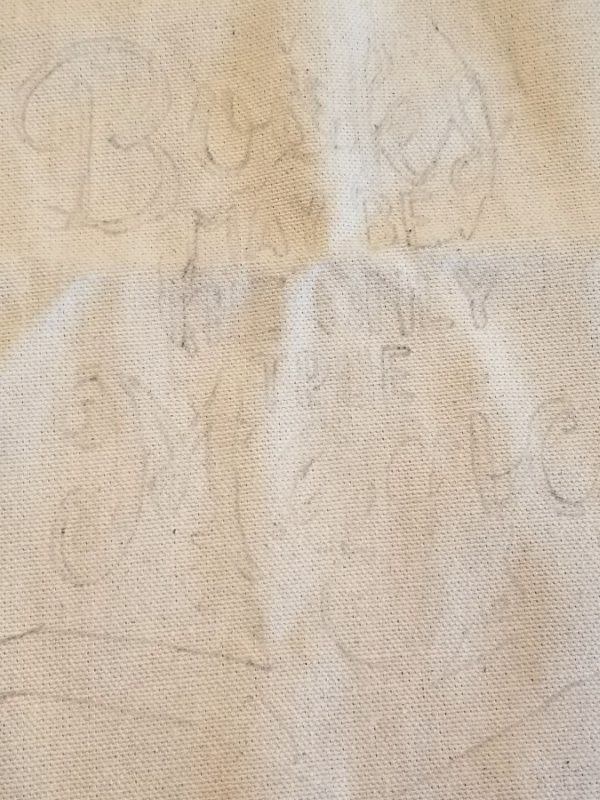
I put a cutting board inside the bag to make the surface harder to press against. Now, take a tip of a pen or you can you use a sharpened pencil and trace around all the letters and edges of the images.

It’s hard to see, but you’ll end up with the pencil transfer on the canvas! This is what you will color in with your Sharpie paint markers.

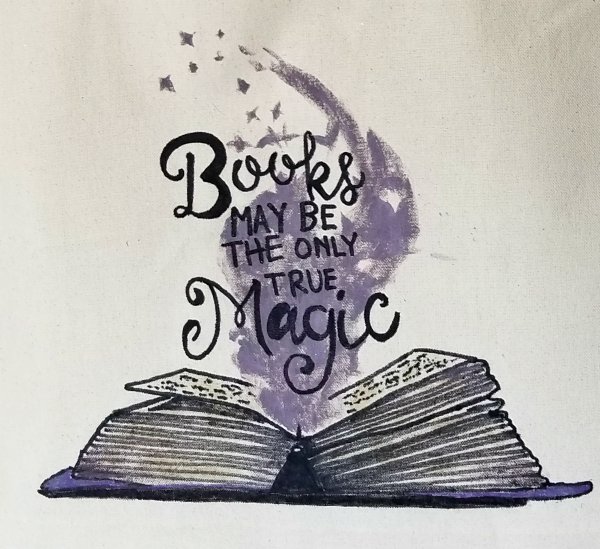
Make sure you have a piece of cardboard or cutting board inside your book bag so the paint would go through the other side. I started with the book and just traced the outline with a black oil based sharpie paint marker. Make sure you have a picture of it in front of you so know what you are coloring! I colored in a little bit of purple around the edges. Then just made a lot of lines from the edge to the center for the book pages.

I ended up using fabric paint for the purple potion flame. I mixed red, blue, and white Speedball paint together since that’s what I had on hand. Then I started painting in the lines and made it lighter in some places and made a few stars at the top.


To get a little brown coloring at the edges to make it look worn, I took a wet tea bag and just dabbed around. (I was just drinking tea and had the tea bag in front of me, and thought “Why not try it?”!)

I really am not an artist or painter but I just looked at the picture and tried to copy what I saw. The hard part of this image is that once I painted, the outline of some of the words were gone. I painted in the letters I could, and then once the paint dried I did the same thing with the pencil transfer method but it didn’t work as well. I was able to see some of the lines and luckily it was block text so it was easy to just free hand it.


Once it’s all dry, put a teflon sheet over it and iron it to heat set the paint markers.


For not using vinyl or freezer paper stencil which I usually use for canvas bags, I was pretty happy with how it came out. So it is possible to make cute customized gifts or items for yourself without any fancy machines! However, since I do have a Cricut, I added some Harry Potter symbols on the back of the sharpie on canvas tote bag for my little Ravenclaw.

I absolutely love my Cricut Explore and would highly recommend getting one if you like to make personalized gifts. It can be used for so many things and save you money in the long run! Check out my ultimate guide of Cricut ideas by clicking here!


Thanks so much for stopping by! Have a creative day!

If you’d like to save this tutorial for later, you can PIN it now if you’d like!


