
Wondering what to get your teenagers?? Check out this easy and cheap DIY teen gift idea. Make them a personalized wooden phone stand.
Hi Friends!! I’m so excited about today’s post! I’m part of a blog hop along with other craft bloggers all posting tutorials about handmade gifts.
I love making personalized gifts for family and friends. There are so many great gift ideas on the hop so make sure you scroll all the way through the tutorial to check out the other posts after you read about making a DIY teen gift. 
I decided to make something for those hard to shop for people on your list – teenagers! I know most teenagers just get gift cards or electronics but I wanted to show you a super easy and cheap way to make something your teen will use.
My teenager spends a lot of time on her phone and tablet (I’m assuming I’m not the only parent with a kiddo like this!) and I am not a fan of her holding an electronic that gets hot for a long period of time. Light bulb went off!! I could personalize a wooden phone/tablet stand – a win win for me and for her! This is what I came up with – 
I love this project because it really is super easy and you don’t need any fancy crafting machines. Believe me, you can do this!!
A big THANK YOU to Walnut Hollow for being one of the sponsors of this hop and providing me with two beautiful wooden tablet stands. Hop on over to their website by clicking here!
They sent me these two different tablet/phone stands that you could give as gifts on their own but you know me, I always need to personalize everything! Click on the image you like to go to it on their site and while you’re there check out the other cool wood and craft items they offer!

Modern Slide Together Tablet Stand from www.walnuthollow.com

Bark Edge Slide Together Tablet Stand courtesy of www.walnuthollow.com
I personalized both stands in two different ways. I’ll show you how to do both!
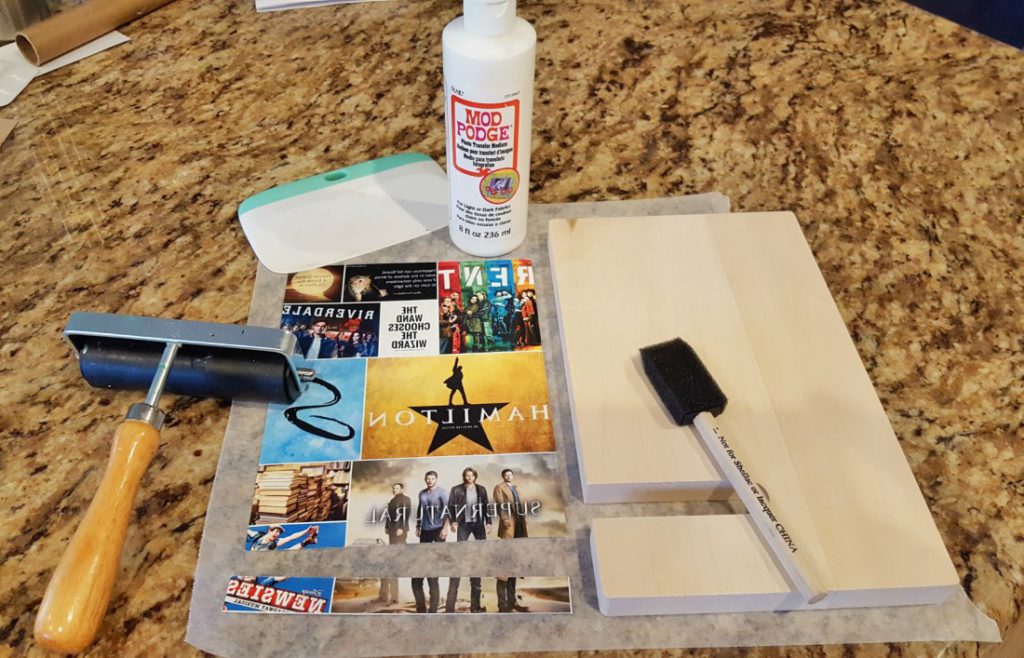
Materials for DIY Teen Gift Idea – Wooden Phone Stand Tutorial
Disclosure: This post contains affiliate links from Amazon and/or Cricut.com. I receive a small commission at no cost to you when you make a purchase using my links (purple text).
- Walnut Hollow Phone/Tablet stand
- picture printed out by a LASER printer on regular paper – This will not work with an inkjet! Find a friend and ask them nicely to print out a picture 6×10
- wood transfer material – click here to see the one I use
- foam brush
First thing you need to do is decide on what design you want to add to the tablet stand. I wanted to make a collage to represent what my daughter loves so I googled all the things I could think of and downloaded the images. Then I went to the collage maker at www.befunky.com.

When you go into the collage section, on the left side drop-down menu it has a Pinterest section. I clicked that and it took me to the above page.
I used the 2nd template and then uploaded my photos and dragged them into the boxes I wanted. You can delete blocks and make them different sizes if you want to. Then save it to your computer and print it out with a LASER printer on regular paper.
**Make sure you print it out as a MIRROR image!! Most printer settings will say flip, mirror, or iron-on setting. If your design has any words on it, they will transfer backwards if you do not print it out as a mirror image.
If it’s just a photo of people it probably won’t matter.** The sizing was hard for me to figure out since my friend’s printer didn’t have a custom defined size. The stand is 6″x10″. My print out ended up being 6×9 but it worked out fine.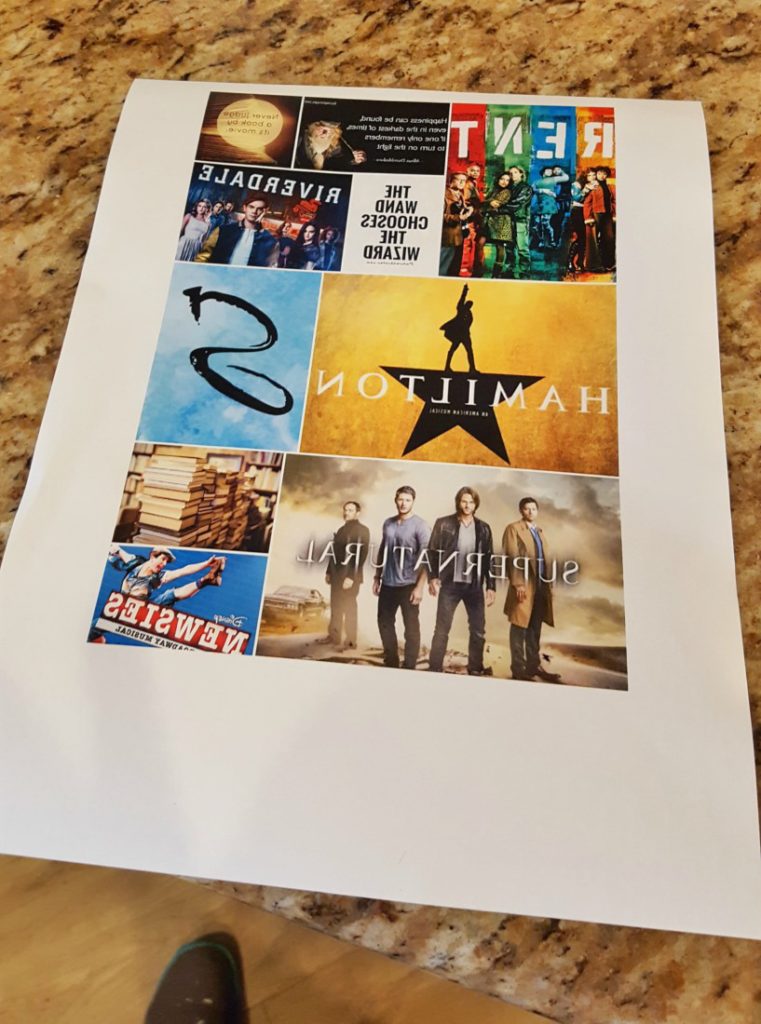
Trim the edges off. Since the stand has a section missing towards the bottom, just measure the top half and bottom half separately. Mine was about an inch too short but I put it down about a half an inch from the perpendicular piece and it looked like it was continuous once it was leaning back.
How to Transfer Pictures to Wood
Then lay the design on wax paper because it gets a bit messy. You want to cover the entire picture (photo side UP!) with the photo transfer medium. Squirt a generous amount all over the paper.
Then brush it all over making to sure get the edges.
Then you are going to flip it over and place it on the stand where you want it. It’s easiest to have a scraper or roller on hand to press down the paper well and get out all the bubbles. If not, press down really well with your hand. Some of the medium will squeeze out the top or sides. Just wipe it off.
Once you have everything pressed down well you need to let it dry for 24 hours. I know, it’s so hard to wait!! Just put it aside and go work on another project for the rest of the day.
Removing the Backing After it’s Dry
After it’s thoroughly dried, you are just going to get a sponge wet and place it on the paper so it gets wet and then start rubbing it off. 
Continue to get the sponge wet again, let it sit on the paper for about 5-10 seconds, and then start rubbing. Don’t use the abrasive side of the sponge! I learned the hard way! It scraped some of the image off, but it gave it a little rustic flare so it turned out fine. Work all the way over the whole tablet until you get the whole top layer off. You can also use a paper towel to gently rub some off.
You will notice some white fuzzy stuff still on it.  It takes a few rubbings to get it all off. Once it’s almost dry, you can rub with your fingers in circles to get more of the paper off. Once it’s all the way dry and if it still has some more white fuzzies on it, just get your fingers wet again and rub again.
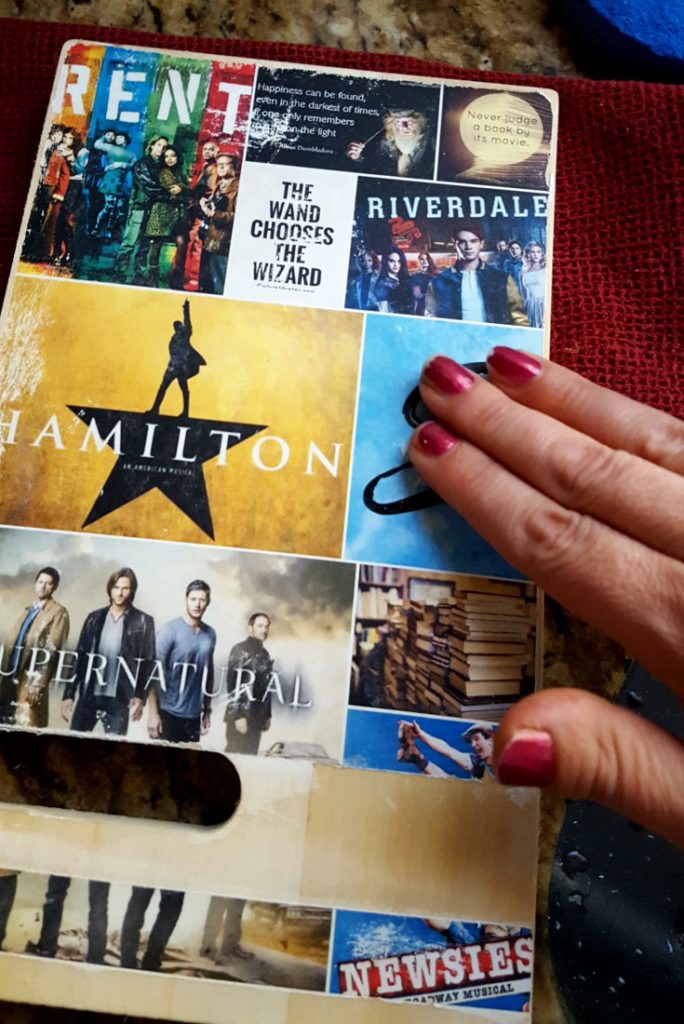
I made a little video of rubbing the white paper off if you’d like to see exactly how I did it, check it out by clicking here!
That’s really it for that DIY teen gift! Slide the bottom wood part into place and you’re ready to go. Easy and quick, right?? I’m loving how mine turned out.

Fits a Kindle perfectly!


Fits a phone perfectly too!

If you want to check out more gifts your kids will love, click here to get more inspiration!
Personalized Wooden Stand
Ok, so if you want another option, here is the other one I designed by using chalk paint and vinyl. This one would be great to give any family member, a friend, a teacher, as a hostess gift, etc… (or just for yourself!!)
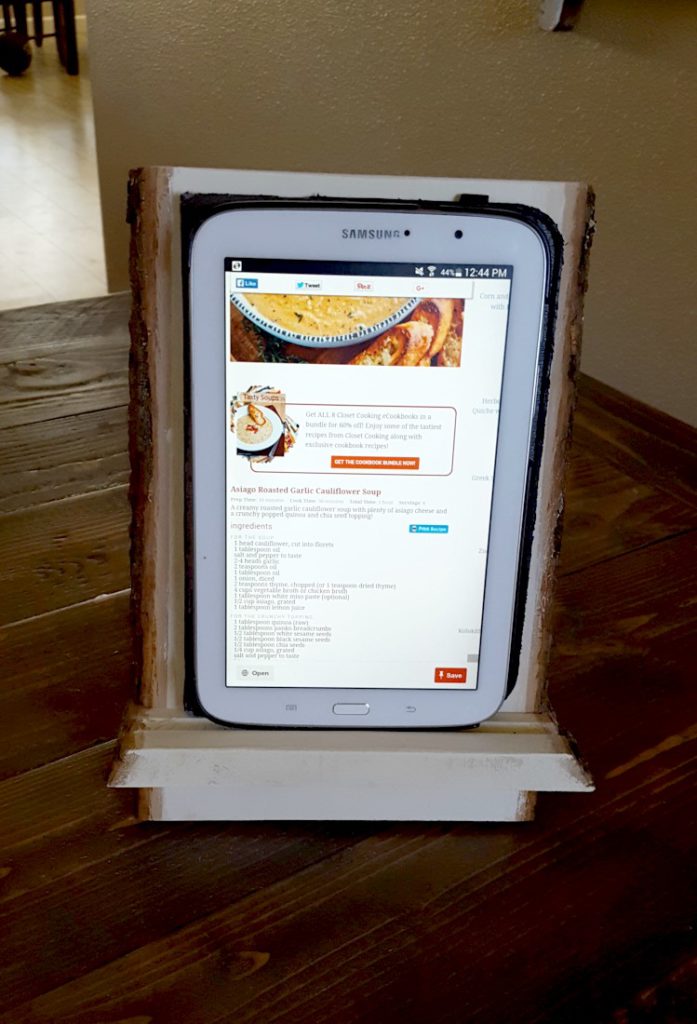
You could cut out any design and apply it. I wanted this one to be able to go in the kitchen so it’s easy to look at recipes on a tablet and also can just stand as decor on its own.
I tried to apply vinyl directly to the wood but it wouldn’t stick very well so I first brushed on a coat of chalk paint.
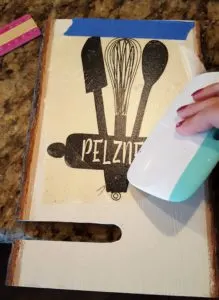
Then you need to decide on a design. You can find this file at pixabay.com. This is a great site for a lot of free vector graphics and pictures. I just typed in kitchen and a bunch of different vectors came up.
I uploaded it to Cricut Design Space, added the text on top, clicked on both and sliced. Cut it out with a Cricut Explore Air™ 2 machine on vinyl and weed it. (I love my Cricut and all that it can do. It can make so many cute Christmas decor and gifts!! You can check out more gift ideas you can make with it by clicking here!) Check out this video if you need detailed tutorial on how to upload and slice in Cricut Design Space.
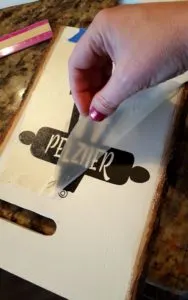
Apply transfer paper over top and apply it to the dried tablet stand. Scrape it down really well with a scraper.


Then just pull the transfer tape off. If the vinyl starts coming up, scrape it down again.

Ta Da, you’re done! It’s ready to give to the lucky recipient!
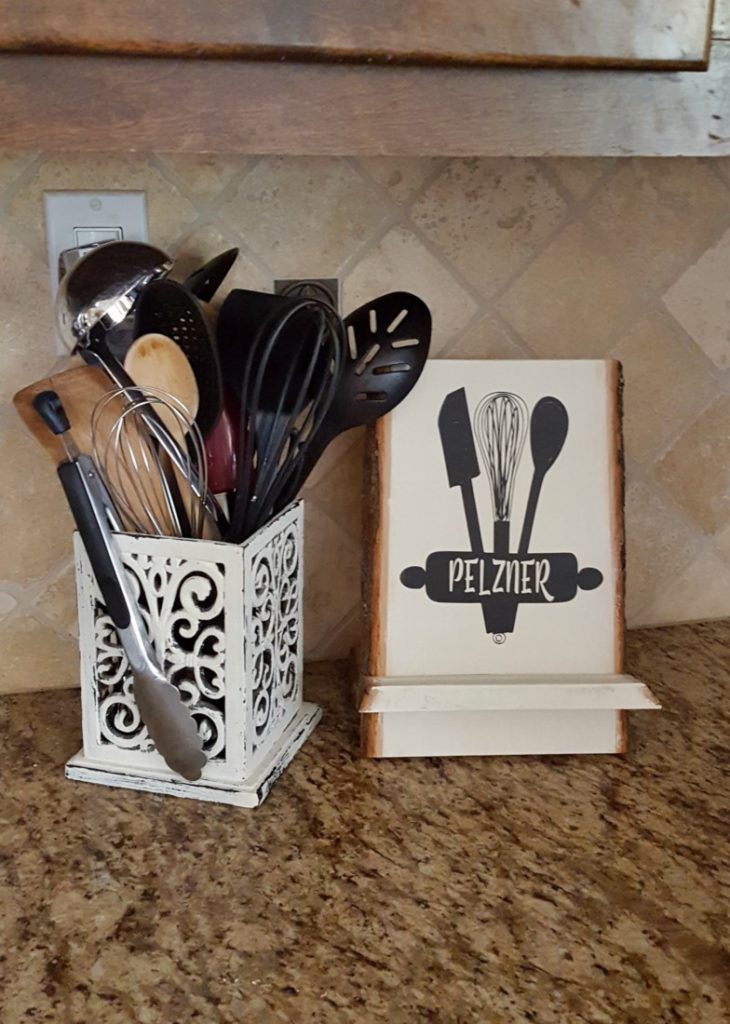

Now I can relax and scroll through Pinterest or follow a recipe easily!
 There you have it! Two easy ways to personalize these cool tablet/phone stands. How would you decorate one? Make sure you stop by Walnut Hollow to grab yourself one of these stands.
Thank you to all our amazing sponsors!
Also, make sure to check out the rest of the amazing handmade gift ideas on the hop!
Thanks for stopping by! Have a great day!


Rebecca Fraser
Monday 27th of November 2017
Such a beautiful idea - I love it! It looks so practical and not so hard to do. Thank you for sharing your project.
Leap of Faith Crafting
Monday 27th of November 2017
Thanks so much Rebecca! Yes, it's super easy!! Thanks for stopping by!
Victoria Banaszak
Wednesday 8th of November 2017
These are great gift ideas! I don't know anyone who couldn't use one of these.
Monika.buzsy
Wednesday 8th of November 2017
Cool technique! Love the different look.
vrmm26
Tuesday 7th of November 2017
Great idea, even for those of us way past teen-hood! Visiting from Handmade Holidays.
Leap of Faith Crafting
Tuesday 7th of November 2017
Thank you! Thanks for stopping by!
Beverly Jordan
Tuesday 7th of November 2017
Love your stand! The for the kitchen and having someone's name on it, is my fav! Great idea!