
Make these easy and cute glass holders by following this DIY glitter makeup brush holder tutorial!
I have a little confession… I’m in love with glitter!! It has been so fun making projects with glitter and these were no exception!
I’d thought I’d share this DIY glitter makeup brush holder tutorial that anyone can do. There are endless possibilities of how you can design these cheap glass votives and they can be used for so many things.
My daughter and I are using these to hold our makeup accessories. Ready to get started??? Here we go!

Materials for DIY Glitter Makeup Brush Holder
Disclosure: This post contains affiliate links from Amazon and/or Cricut.com. I receive a small commission at no cost to you when you make a purchase using my links (purple text).

-
- Glass Votives – I got these at my Dollar Tree so this is a super frugal project!!
- Mod Podge Matte Finish
- Fine Glitter – I used Sulyn 2oz.Caribbean
and Champagne
- Triple Thick Gloss Glaze
- Foam or bristle brush
- Vinyl Words – I use my Cricut Explore Air Wireless Cutting Machine
to cut out whatever I want but you can use stickers or buy a decal
DIY Glitter Brush Holder Tutorial
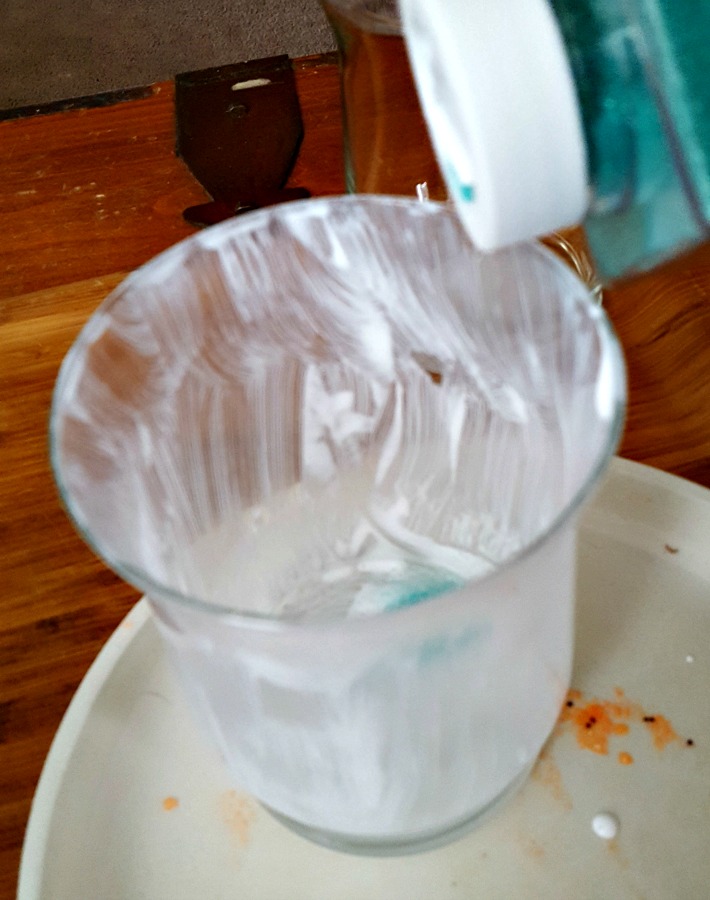
This is similar to my post on the Halloween Glitter wine glasses. Start by applying Mod Podge to the inside of the glass votive with a foam brush.

When it’s completely covered pour the glitter in while you rotate the votive around. You don’t need to add a lot.
Sprinkle it in while you rotate then stop adding glitter and keep rotating so the glitter comes all the way down to the end of the glass. Rotate until all the glue is covered by glitter.

Dump the left over glitter back into the glitter container so you don’t waste!

Let it dry overnight. Then use a dry bristle brush and act like you’re painting with it. This will loosen and take off the extra glitter that didn’t glue down so that it doesn’t gunk up your foam brush.

Then you’re going to add another layer of Mod Podge right over the glitter and repeat adding the glitter and rotating the glass around to cover it all up.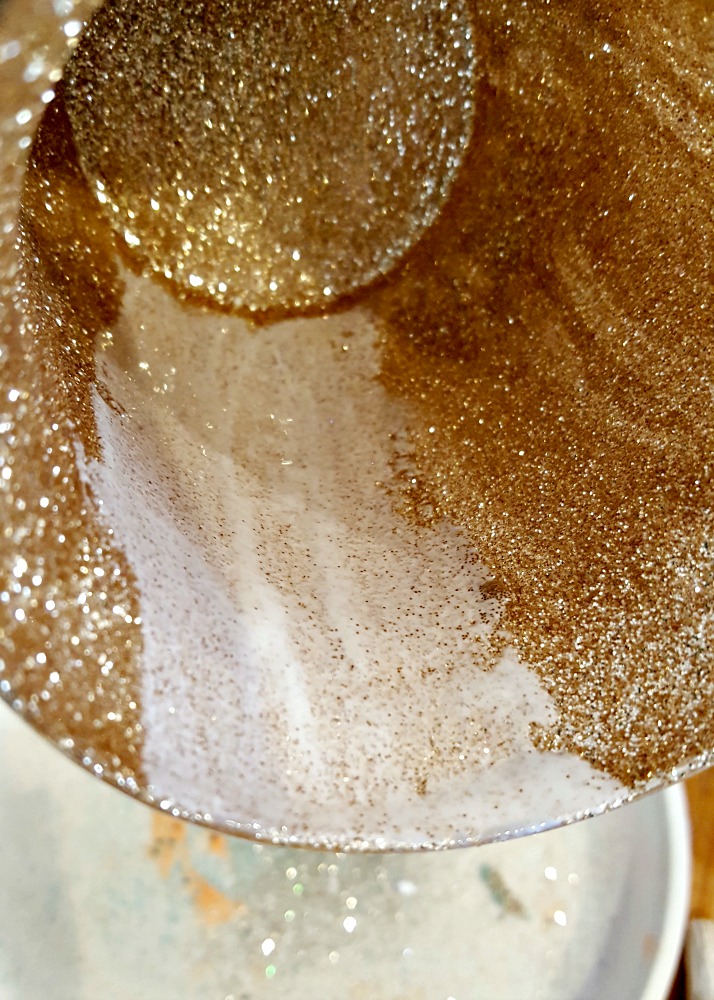
Let the second layer dry overnight again. If you are satisfied with how it looks, continue onto adding the triple thick. If not, add another glitter layer repeating the same steps. I added 3 layers to both of my votives.
Once your layers are dry, add Triple Thick over the glitter just like you did with the mod podge. This seals it all in.

Now you’re onto decorating!! Like I said before, I cut all my vinyl with my Cricut Explore Air Wireless Cutting Machine. (For an Ultimate guide of Cricut ideas click here!)
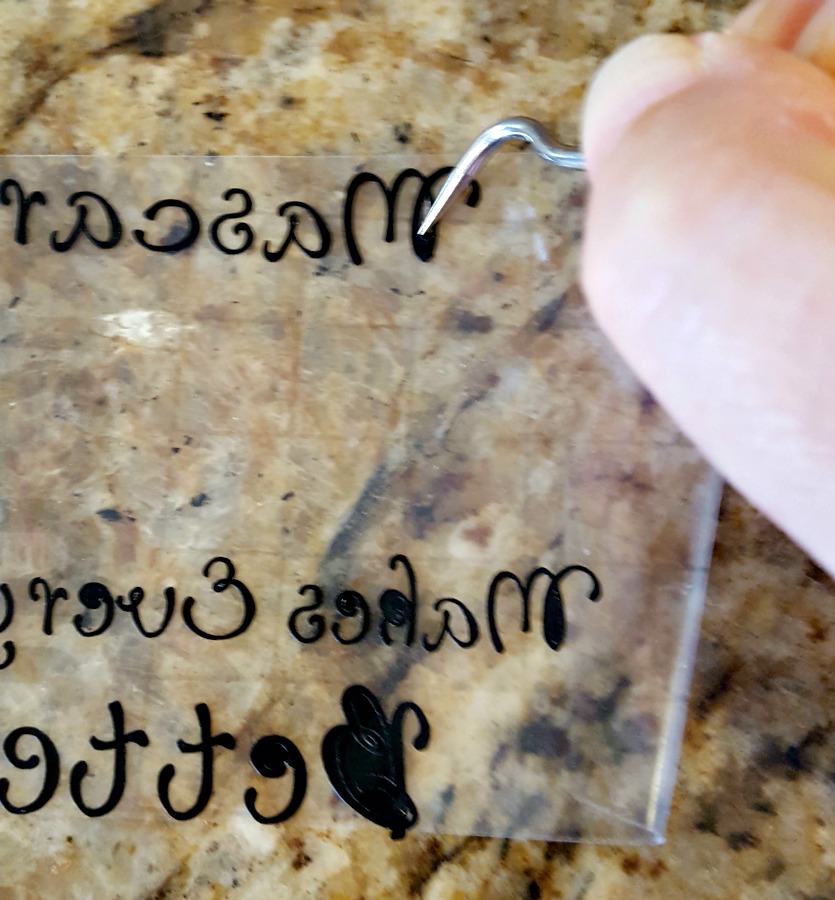
A quick tip when cutting small words out of vinyl. My first cut looked like this – some of the letters were pretty messed up.
That usually means the blade is getting dull. Want an easy fix???? Take some foil and ball it up. Take your blade carriage out, push the end so the blade is stuck out, and jab it in the foil a few times. This sharpens it right up!! Stick it back in and cut again!
You’re in luck! I have another great tip for cutting small words with vinyl – do reverse weeding!!
Lay your transfer paper on top of the un-weeded vinyl and press down with a Cricut Tools Scraper. Then slowly start pulling the transfer paper up. The words will be stuck in place on your transfer paper!


Weed the rest of the spare vinyl with your Cricut Weeder.
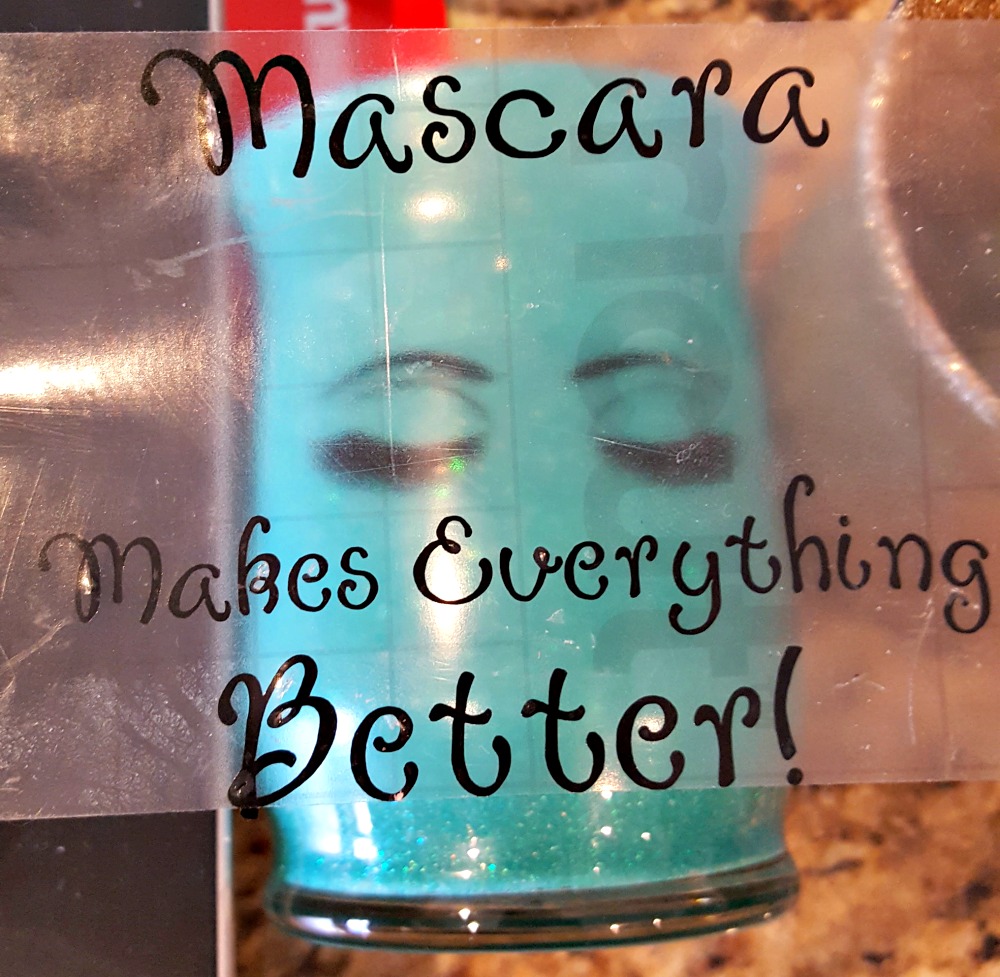
Now you’re ready to attach the viny to your glitter makeup brush holder. Make sure you clean off your glass with rubbing alcohol and let dry.
Then align your vinyl, lay it down, and stick it on by rubbing your finger all over it. If it’s warpping a lot, it’s easy to cut some slits on the side of the transfer paper so you can lay it down flat.
For applying with the hinge method, click here to read my tutorial. Slowly pull off the transfer paper, and you’re done!!

Take a look at the finished products. I put some marbles in them to make brushes stand up a bit. You could also add sand.
These would make a great gift for teenage girls or for bridesmaids gifts or housewarming, almost anything!! I made 12 of these for my daughter’s 13th birthday party favors with everyone’s name on it and they loved them!

If you are a fan of unicorns, check out my post on how I made this cute glitter makeup brush holder here!


What saying would you add to one?? Let me know if you make one, I’d love to see how it came out!!
Thanks for stopping by! If you’d like to save this post for later, Pin it now if you’d like!


Rena
Thursday 25th of November 2021
Would like to make this for granddaughter. How tall are the containers?
Leap of Faith Crafting
Saturday 4th of December 2021
They are from Dollar Tree, about 4-5 inches tall.
Jodie
Monday 28th of June 2021
Love them and will be making them at our next Craft day with the girls.
Michey
Monday 9th of November 2020
Very lovely
Teri
Saturday 18th of May 2019
How did you get the purple. Did you paint over the glitter?
Leap of Faith Crafting
Thursday 23rd of May 2019
Hi Teri, you mean on the unicorn? That is all in the glitter. I added a little bit of multi-colored glitter to the white glitter to give it a little extra color!
marisela
Saturday 27th of April 2019
hello, does the triple thick leave the inside of the cup smooth or rough like mod podge?
Leap of Faith Crafting
Monday 29th of April 2019
It's pretty smooth. I actually have never tried it with just mod podge, but the triple thick is much thicker so I would think it provides better coverage!